Learn how to use Cricut’s newest machine including what makes it different from older machines, how to use it and lots of project ideas in this Cricut Maker 3 review.
This post is sponsored by Cricut. All thoughts and opinions are mine alone.
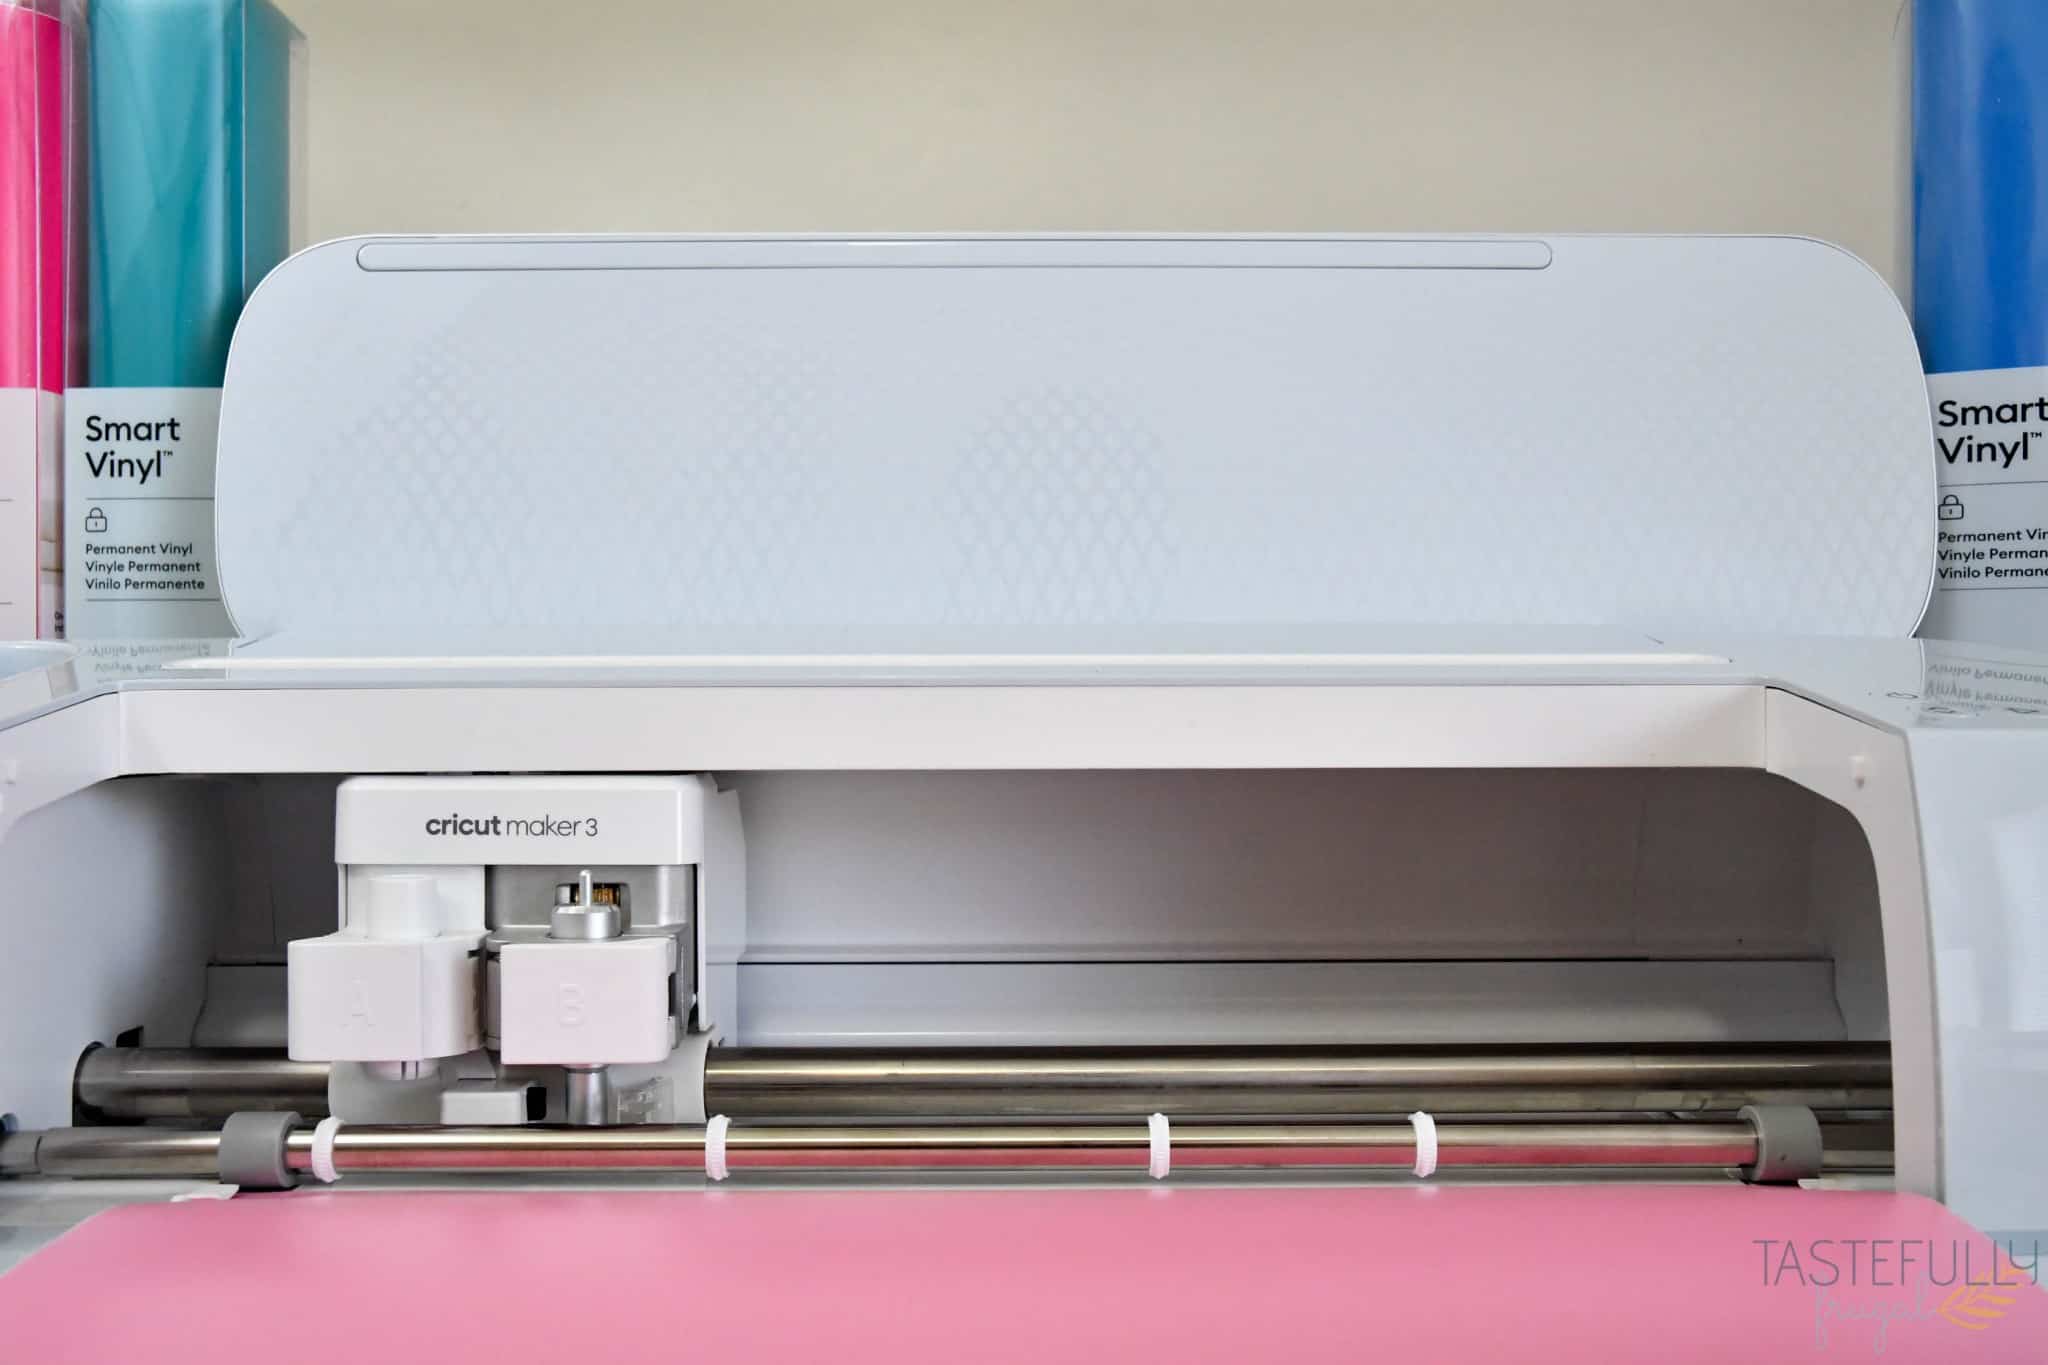
I was SO excited when Cricut announced their latest machines – Cricut Maker 3 and Explore 3. I was even more excited when Cricut said they were sending me a Maker 3 to review! Over the past year, especially with having two babies under the age of 2, I have found myself crafting more and more with the Cricut Joy because of how fast and easy it is to cut without a mat. Yes, there have been projects I use my Explore Air 2 and Maker on because they were too large for the Joy. But now the ease of cutting without a mat is now available on the Maker 3 and Explore 3 too!
Cricut Maker 3 Review
I’ve had the Maker 3 for about three weeks now and I have used it a ton! I’ve used Smart Materials without a mat, and other materials with a mat. In this review we’ll take a look at the following:
- What’s included in the box
- Initial Setup
- Maker 3 vs. Maker
- Does the Maker 3 really cut faster than the Maker?
- My thoughts on the new Smart Materials
- Tools and accessories available for Maker 3
- Project Ideas
So did the Maker 3 live up to my expectations?? Let’s find out!
What’s Included in the Box
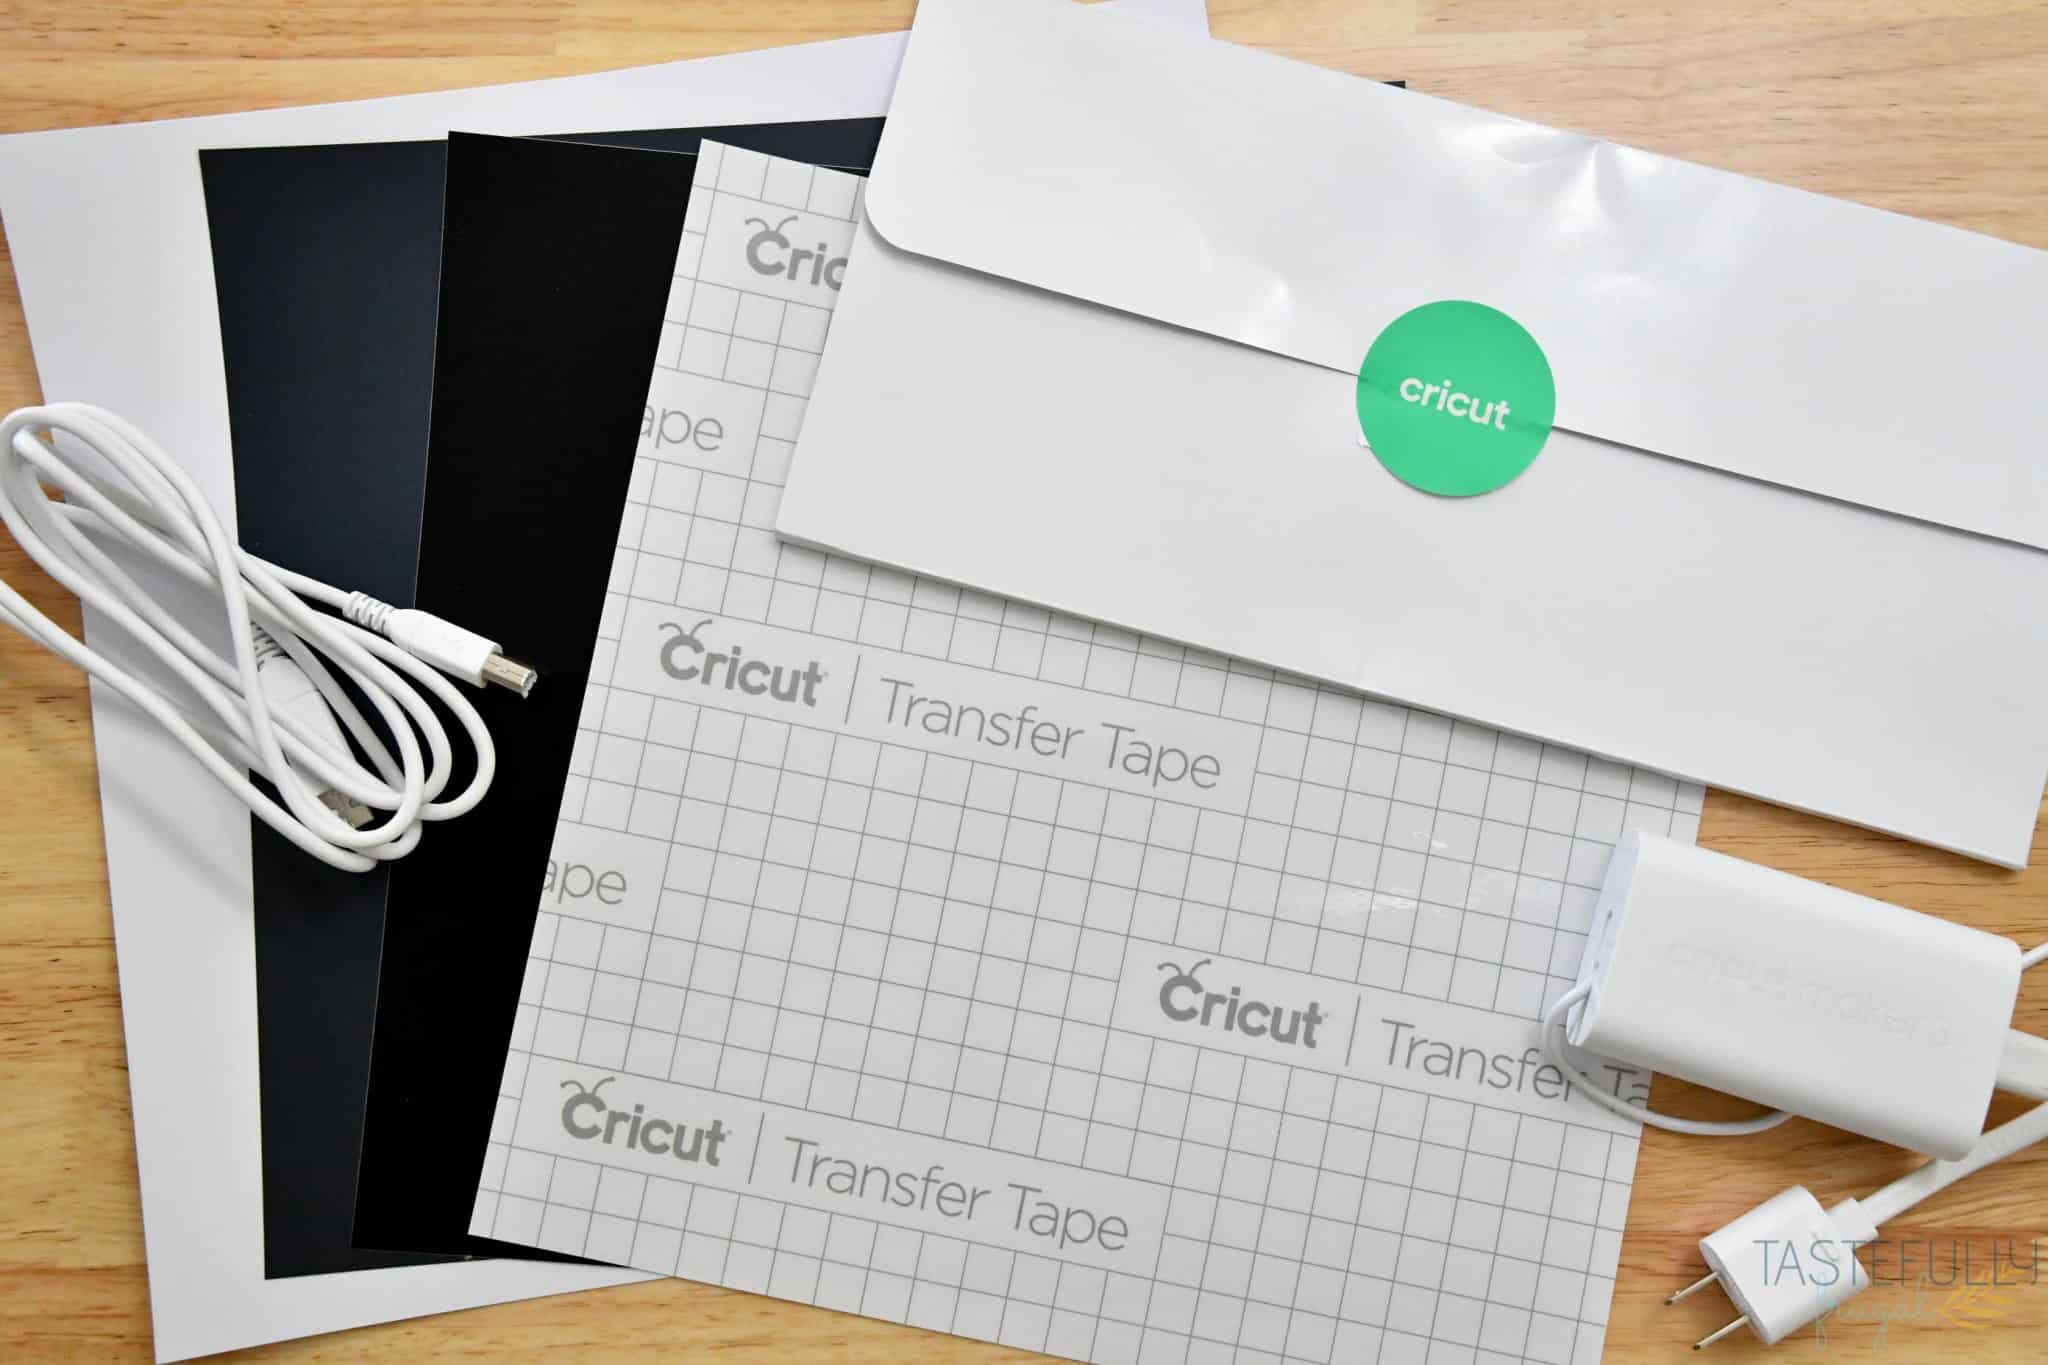
I had a little help from my Cuties unboxing the new Maker 3. If you missed the video, you can check it out over on Instagram. Like other Cricut machines, the Maker 3 comes with a welcome packet that includes instructions and a small material sample. BUT you also get a 12×12 sheet of other Smart Materials too including Smart Vinyl, Smart Iron-On and Smart Paper Sticker Cardstock and Transfer Tape. If you’re new to Cricut and not sure what makes these materials “smart”, I’ll explain that in just a bit.
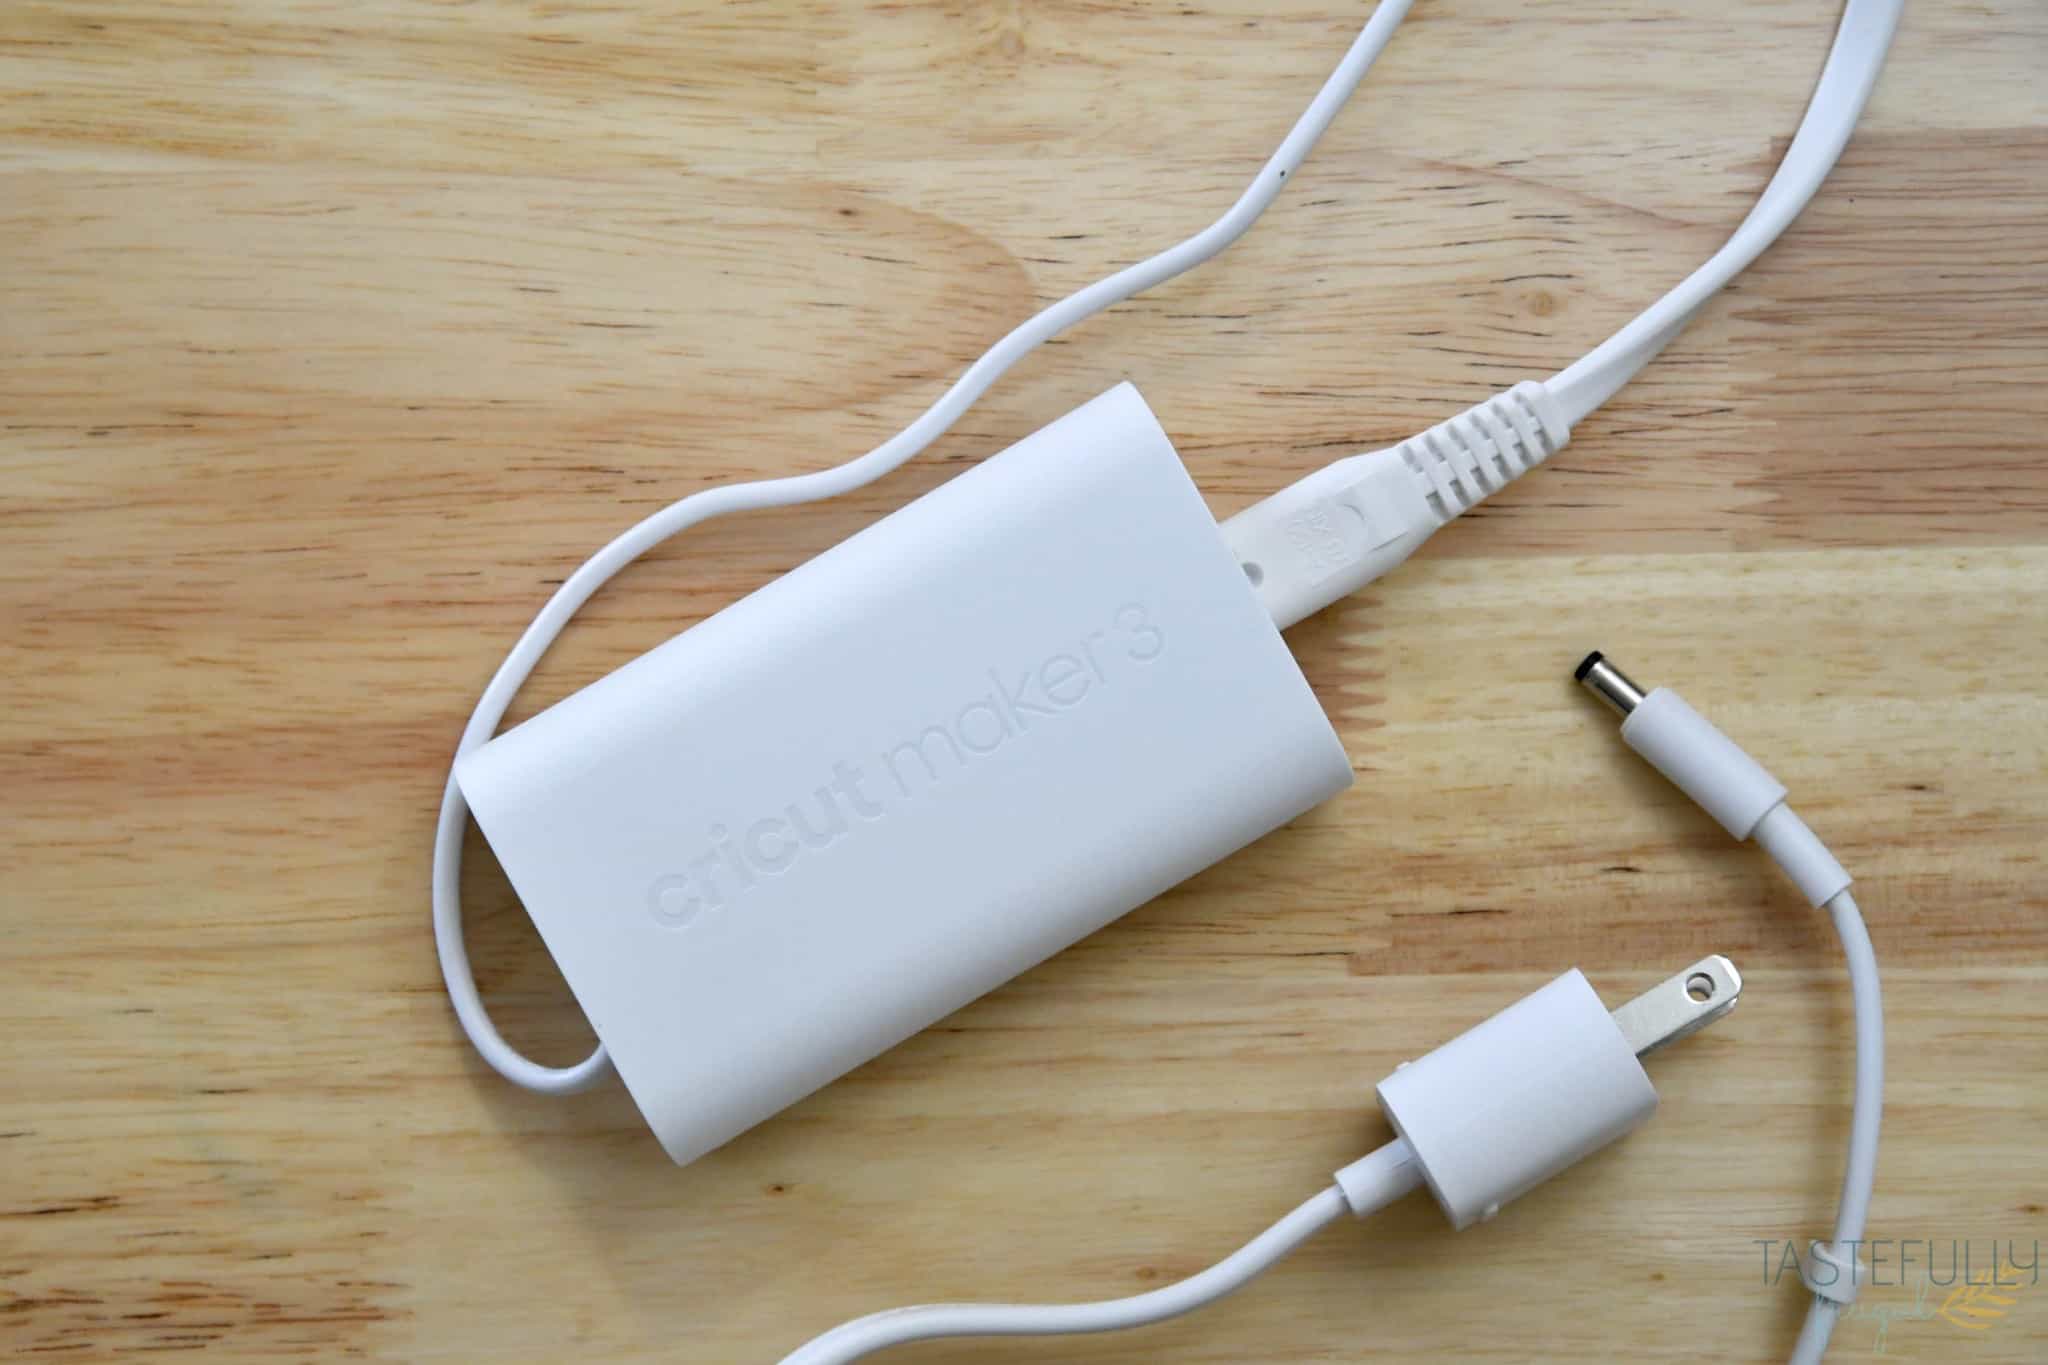
It also comes with a power cord and USB cable to connect your Maker 3 to your computer to register and update. *NOTE* The power cord for the Maker 3 is different from the original Maker. They are not interchangeable. Don’t worry though, the Maker 3 power cord says Maker 3 on it so you won’t have to worry about remembering which is which if you have another Cricut machine.
One of the most common questions we get asked in our Cricut Support Facebook Group is Do you need a computer to use Cricut machines? The answer is two-fold. Yes and no. You do not need a computer or laptop to use Cricut Design Space to make your projects and cut them. You can do that on an iPad/Tablet or phone with the mobile app. However, when you first get your machine, you do need to connect it to a computer with Cricut Design Space installed so you can register the machine and receive any updates.

Initial Setup
One of the many things I love about Cricut is how easy they make using their products right out of the box! Once you have your Maker 3 out of the box and unwrapped you’ll want to set it up by your computer or laptop.
Next, go to cricut.com/setup and follow the onscreen prompts to register and install any possible updates on your Maker 3.
When Cricut released the EasyPress 2 four years ago, and with all subsequent machines after (with the exception of the Joy), they added USB ports on the machines so you receive updates on the machines if/when they are released.
If there is an update for your machine (there was for mine) and the power light on your machine turns red while you’re doing the update DON’T STRESS! This is totally normal and it’s just the machine’s way of showing it’s updating.
Maker 3 vs. Maker
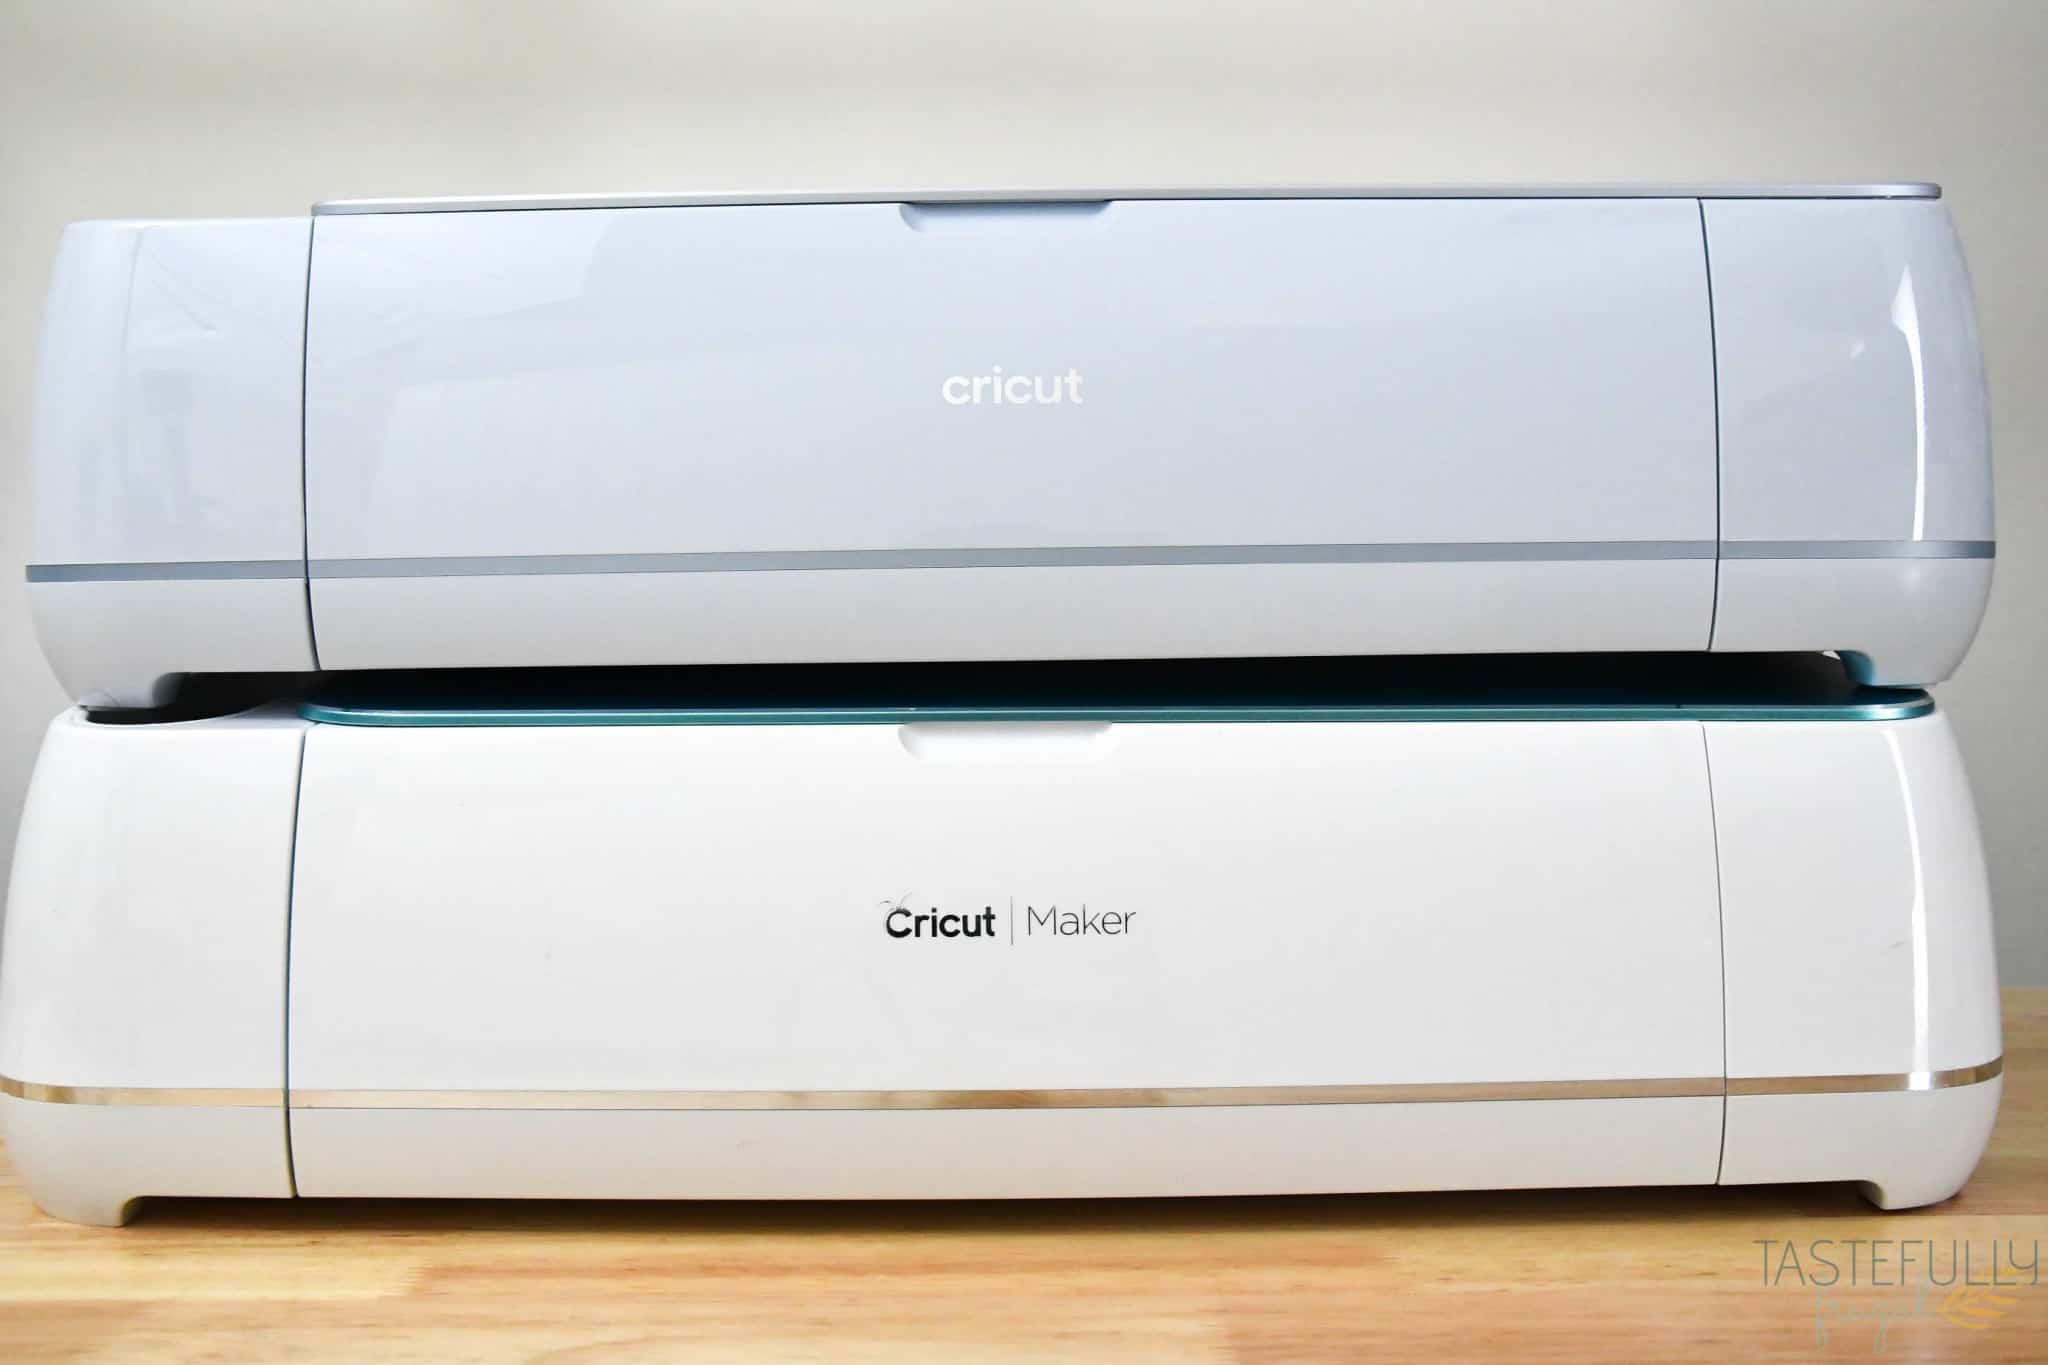
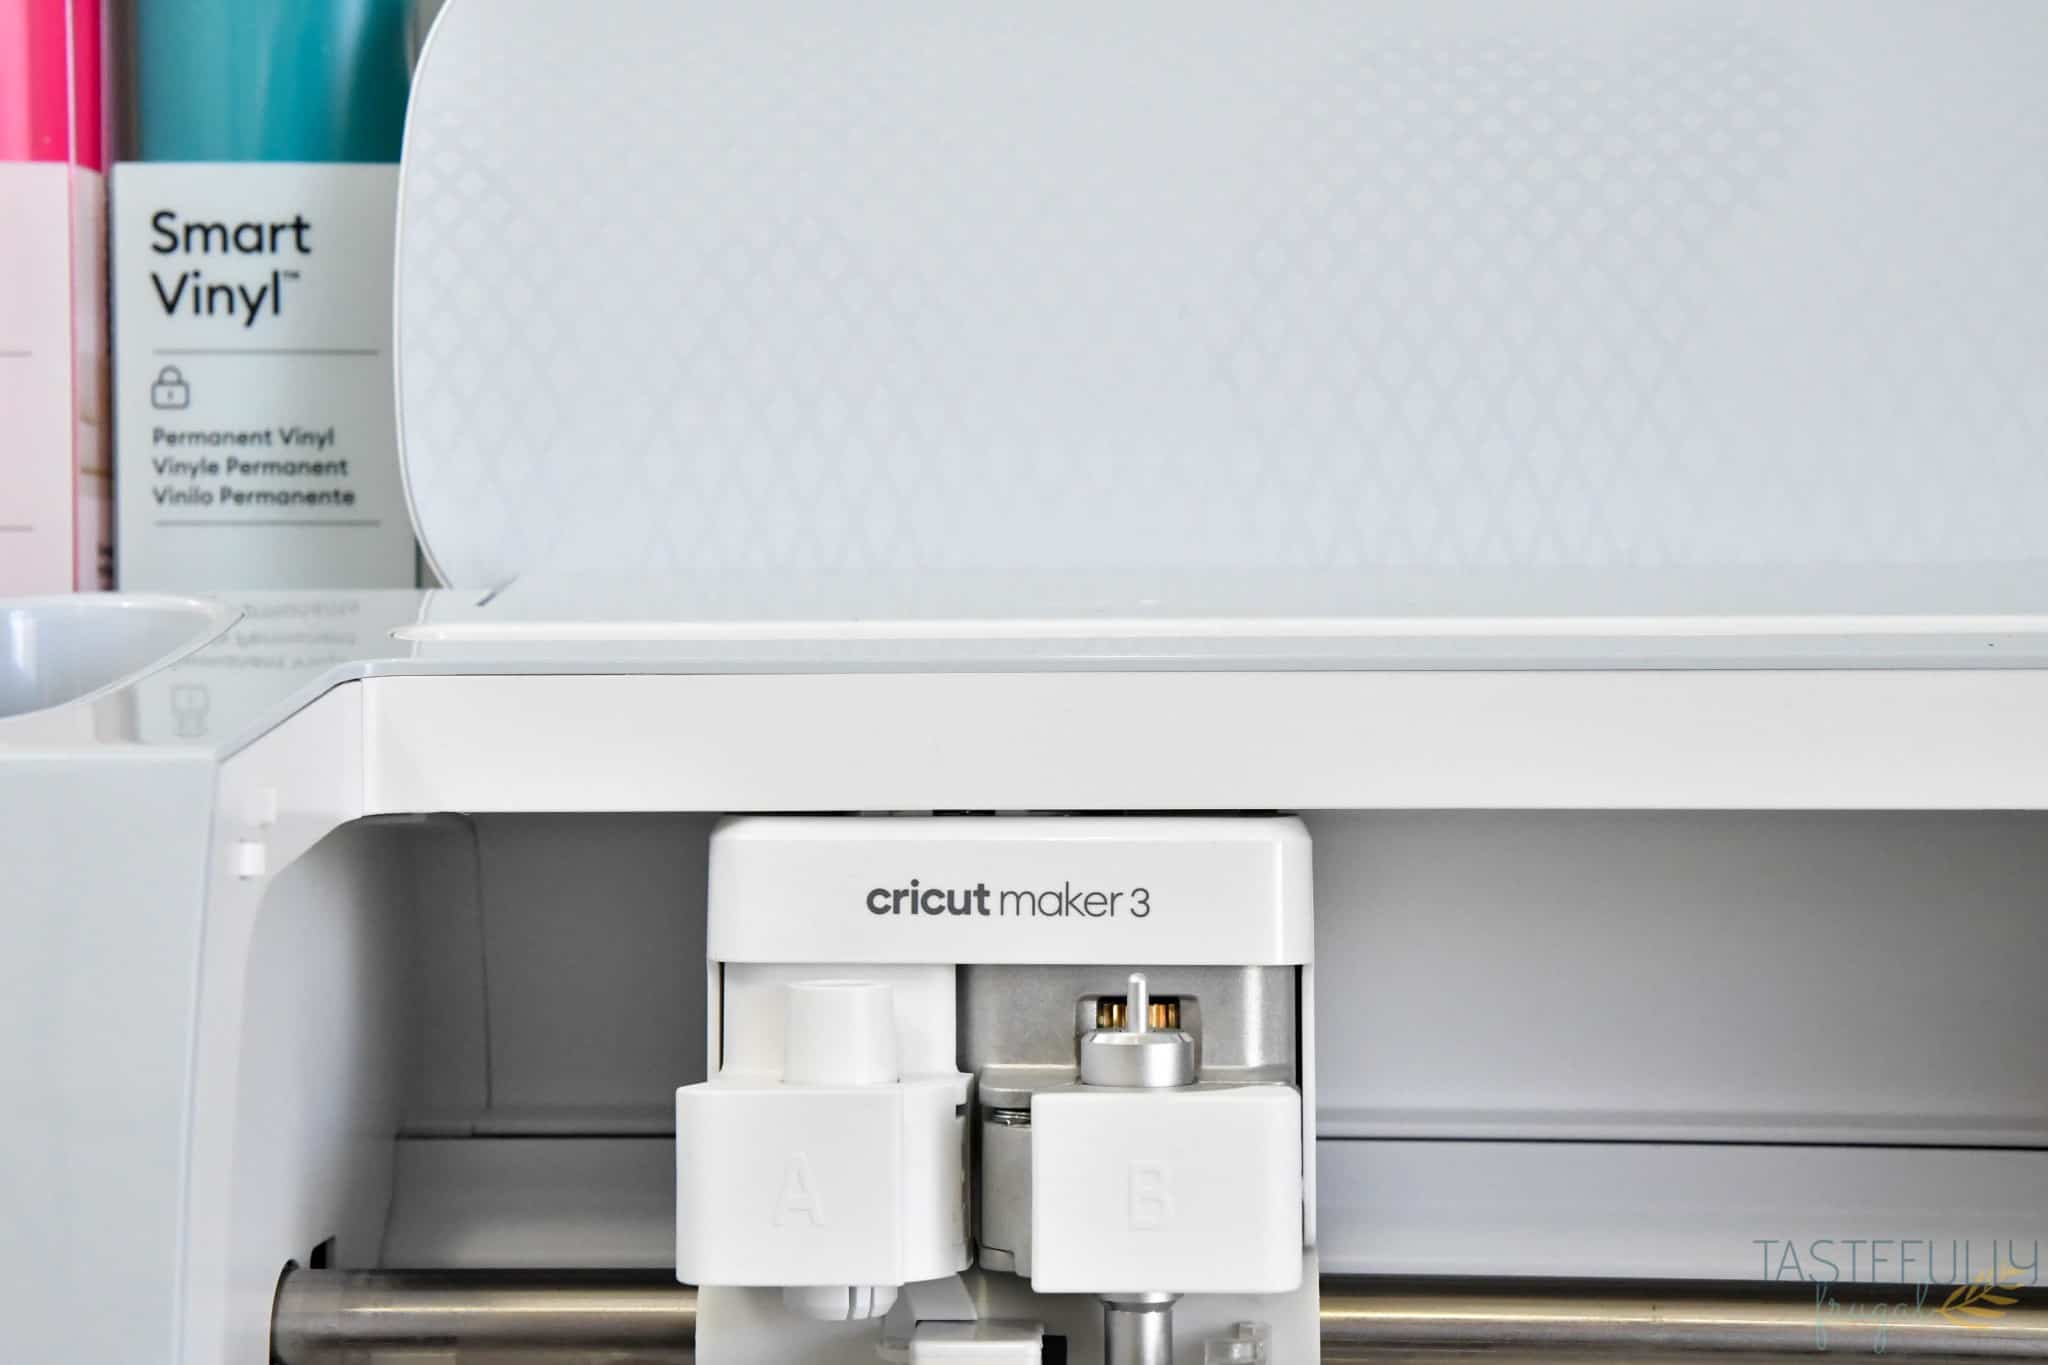
So what makes the Maker 3 different from the original Maker? We already talked a little bit about matless cutting. The Maker 3 has a wider cutting area that allows you to load Smart materials without a mat. The original Maker had a maximum cut size of 11.5” x 23.5”. The Maker 3 can cut 11.7” wide x 75’. Yes, that is 75 FEET! How amazing is that?! I haven’t cut the full 75 feet yet BUT I did do a 18’ cut for a classroom makeover I am working on and it was AWESOME!
The Maker 3 also has the ability to cut faster too! When using Smart Materials the Maker 3 cuts almost twice as fast as the original Maker does; and that’s even cutting on fast mode!
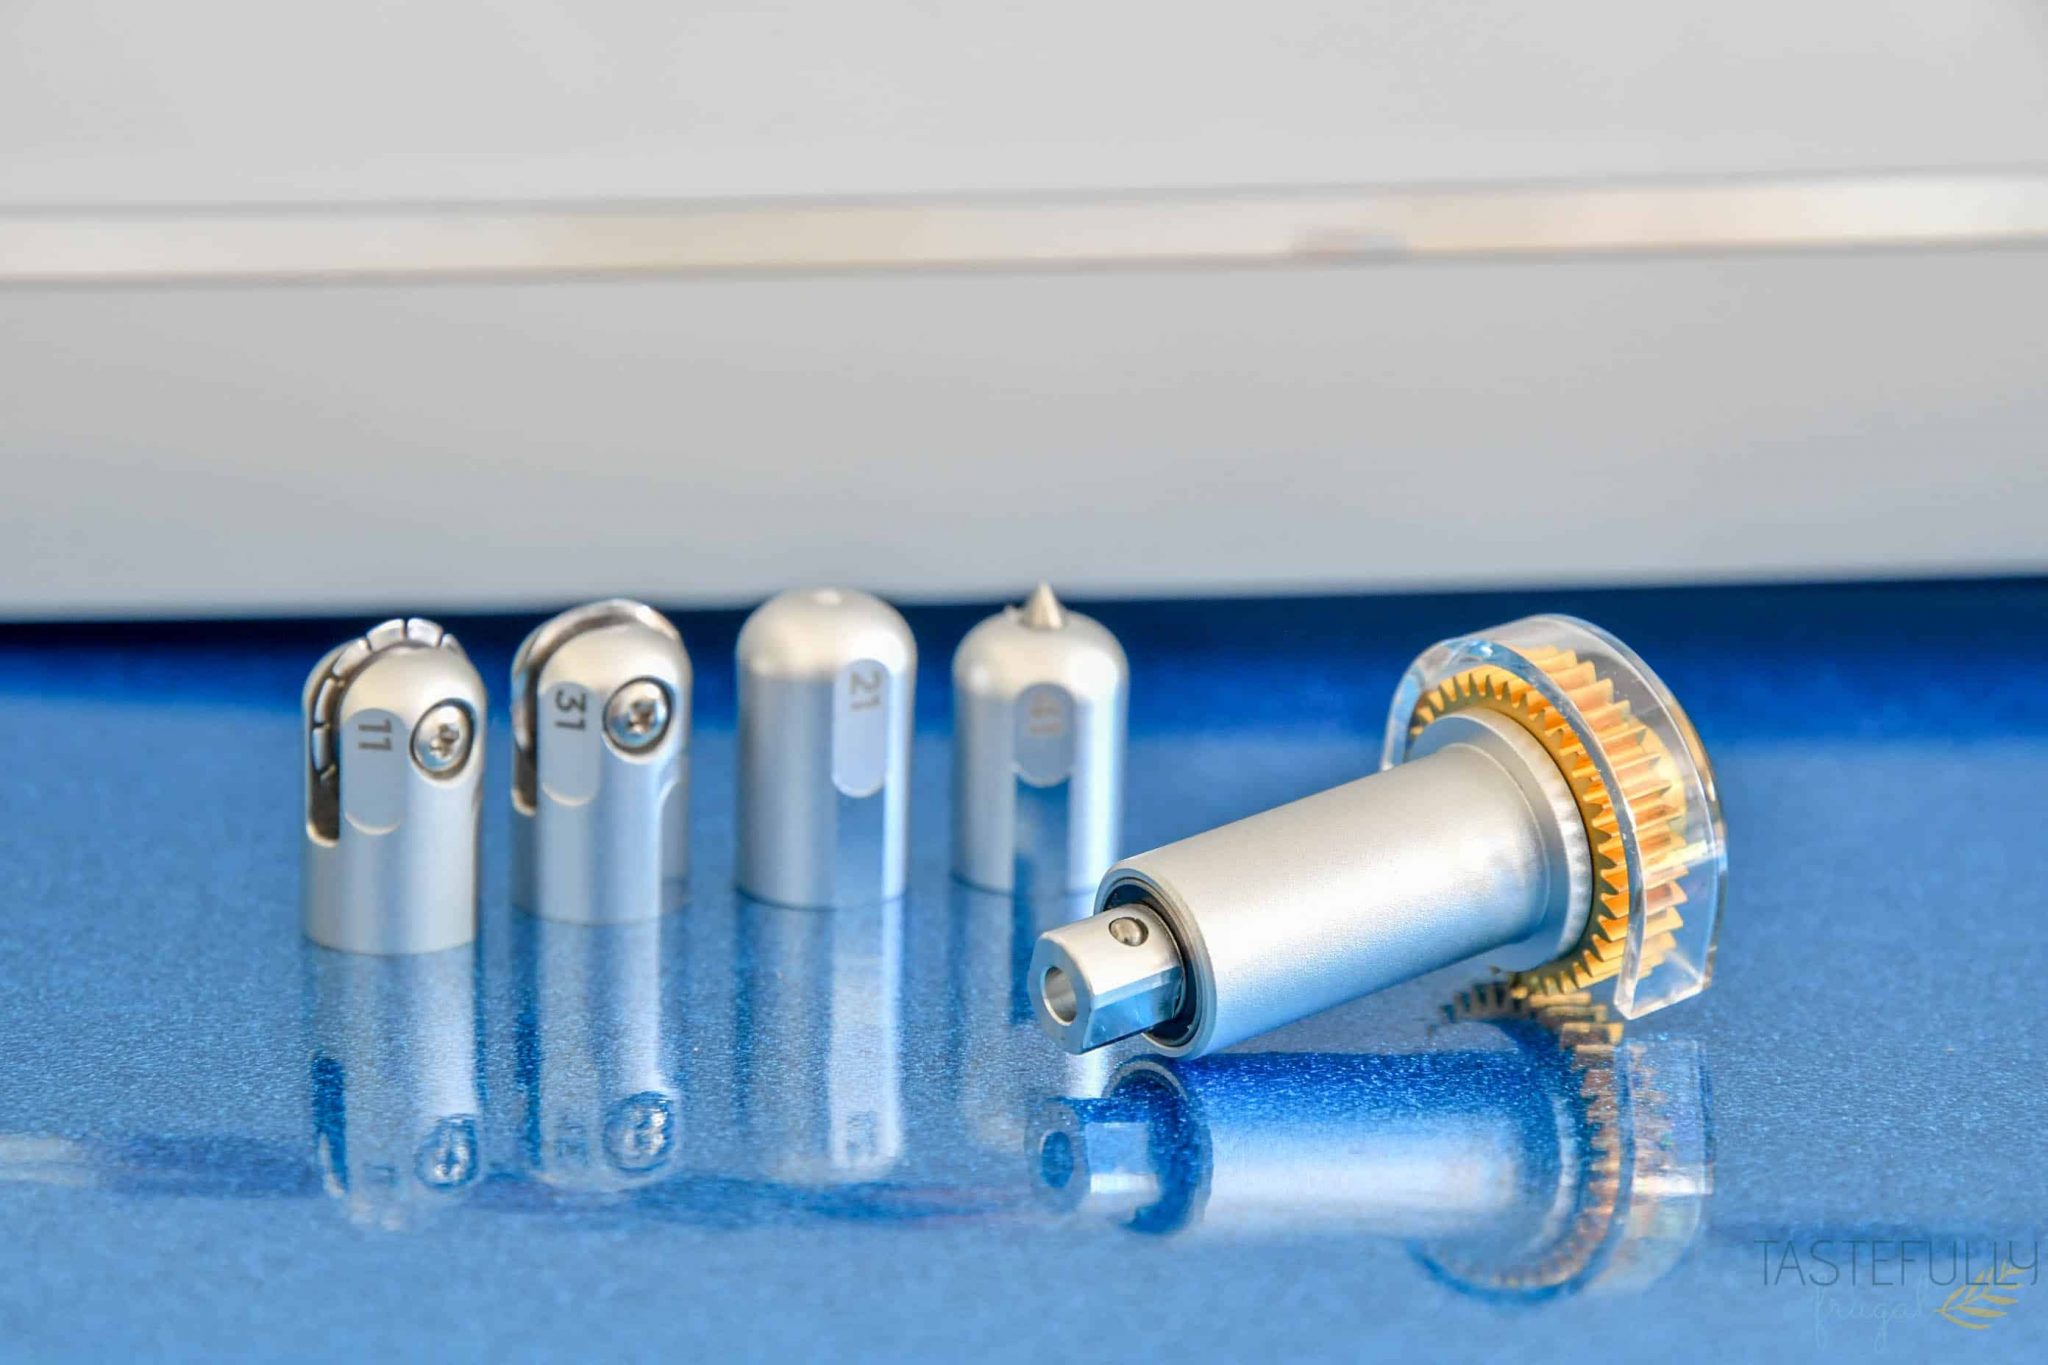
One of the things I was really happy to see when the Maker 3 launched was that all the tools I have for my Maker still work in the Maker 3. So the rotary blade, knife blade, the Quickswap tools, all of them!
Of course if you don’t have a Maker, you can still buy these tools for the Maker 3. And since they have been out for a few years now you can often find them on sale too! If you’re shopping on Cricut.com, you can use code TF10 to save 10% and get free shipping on $50+ orders!
You can also use all the same mats and other materials you use on the Maker with the Maker 3 too. AND you can cut all the same materials! 300+ materials are tried and tested to work on both the Maker and Maker 3.
Does the Maker 3 really cut faster than the Maker?
We touched on this a little bit earlier, but yes the Maker 3 really does cut faster WHEN USING SMART MATERIALS. When you are cutting with a mat the speed is the same for both the Maker 3 and Maker.
My Thoughts on the new Smart Materials
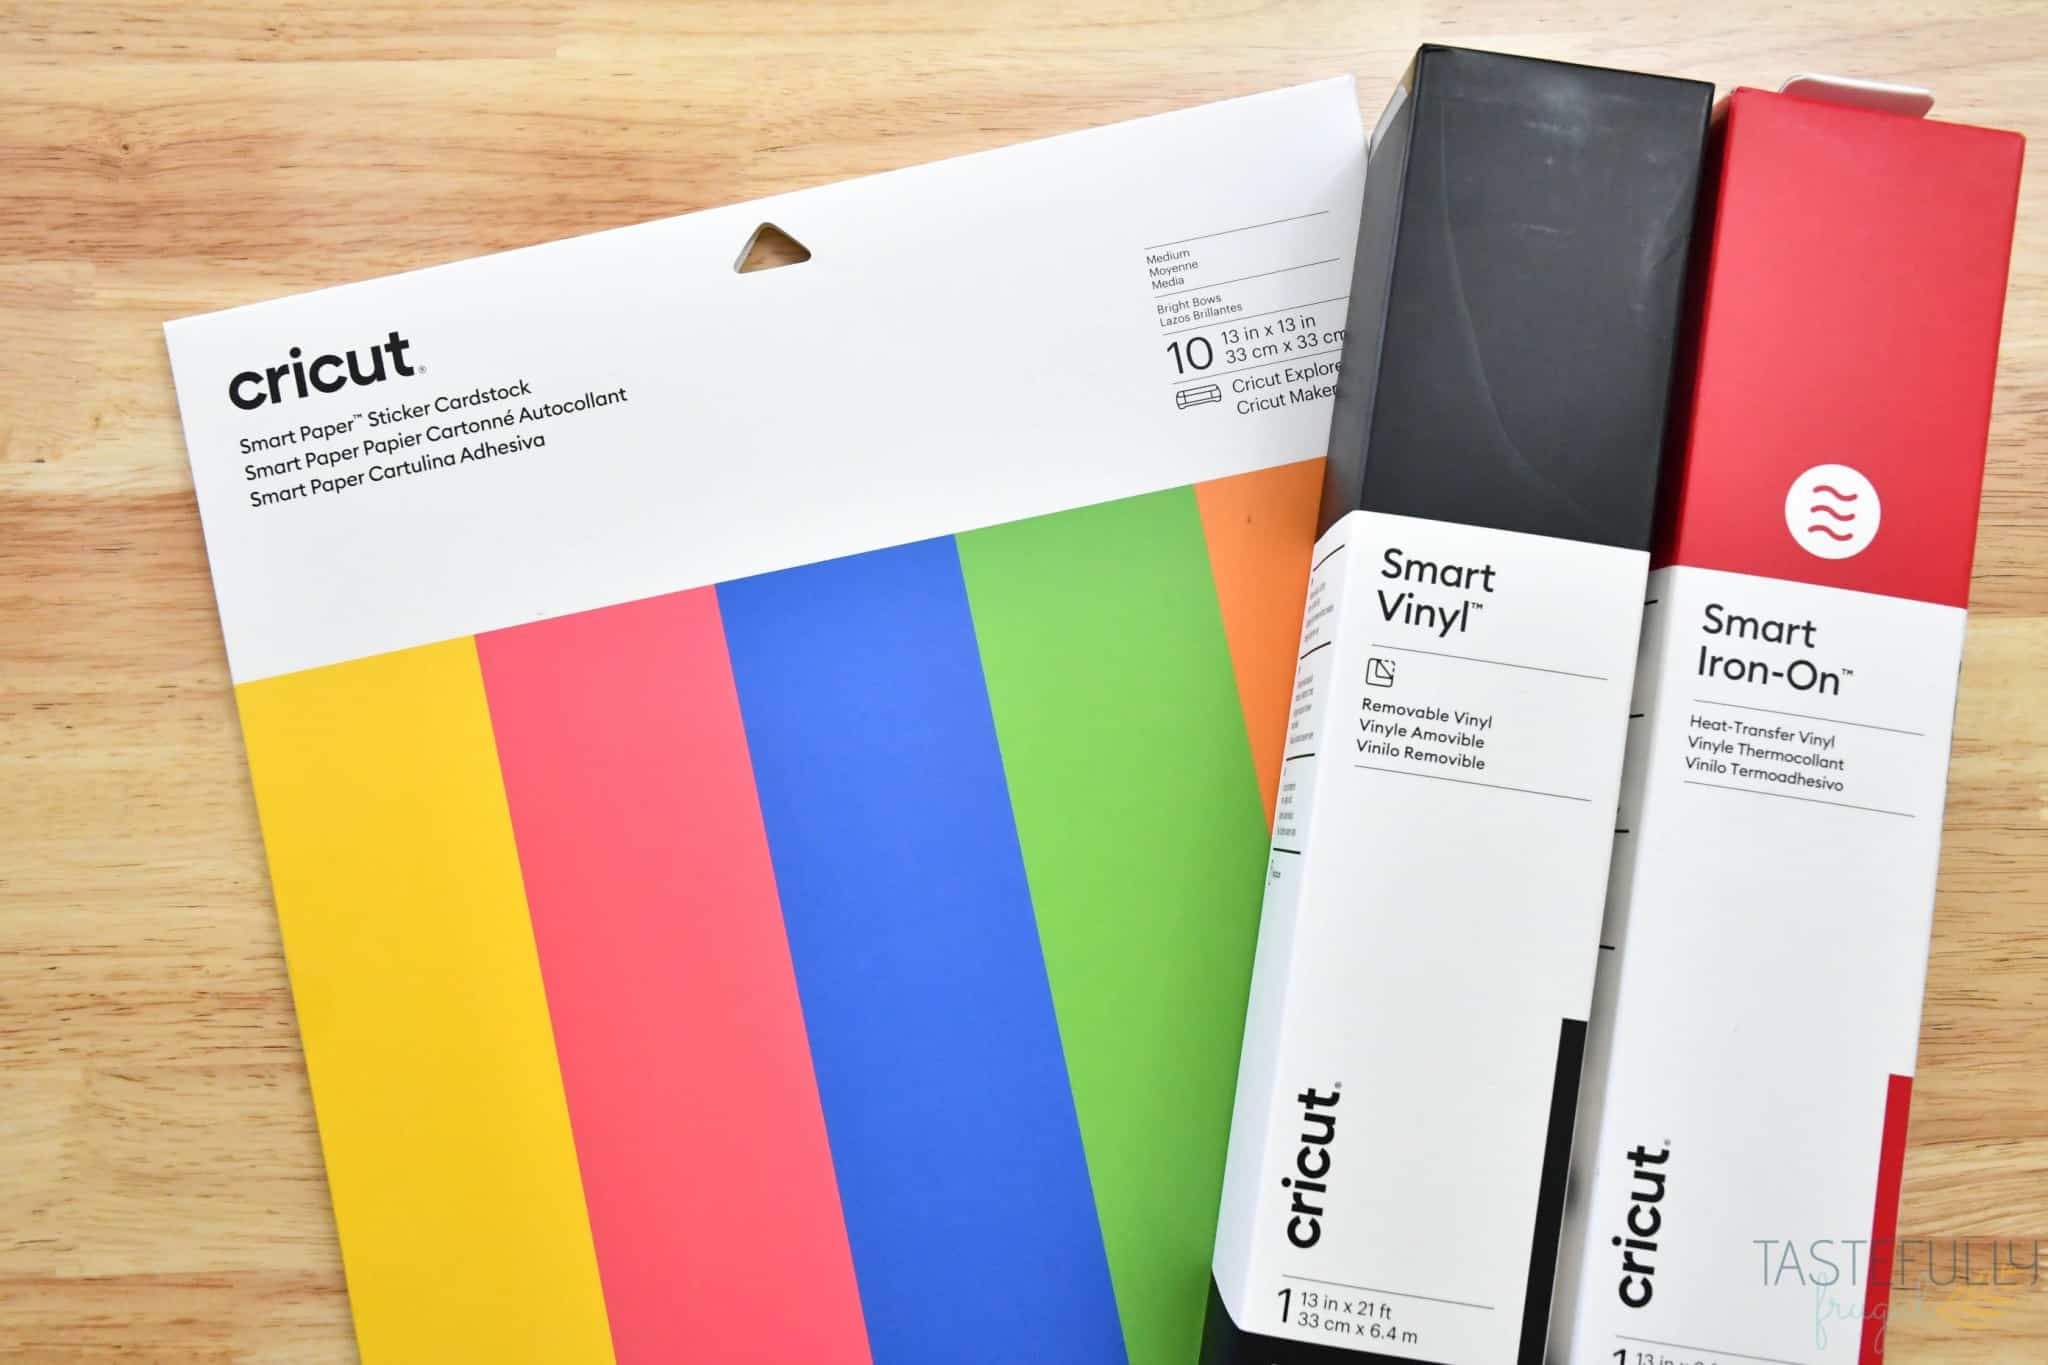
What are Smart Materials? When Cricut Joy was launched last year, Cricut also announced a new line of products called Smart Materials. These are materials that you can use on certain Cricut machines (Joy, Explore 3 and Maker 3) without a mat. This is a game changer when it comes to quick and easy crafting! For the Maker 3 you can get:
- Smart Vinyl (permanent and removable)
- Smart Iron-On Vinyl
- Smart Paper Sticker Cardstock
Honestly, I LOVE these materials! I know they cost a little more than their sister products that have to be cut on a mat BUT you don’t have to buy a mat to cut with them! Cutting without a mat makes it so much easier for me to craft in a hurry, or when I have little hands trying to help.
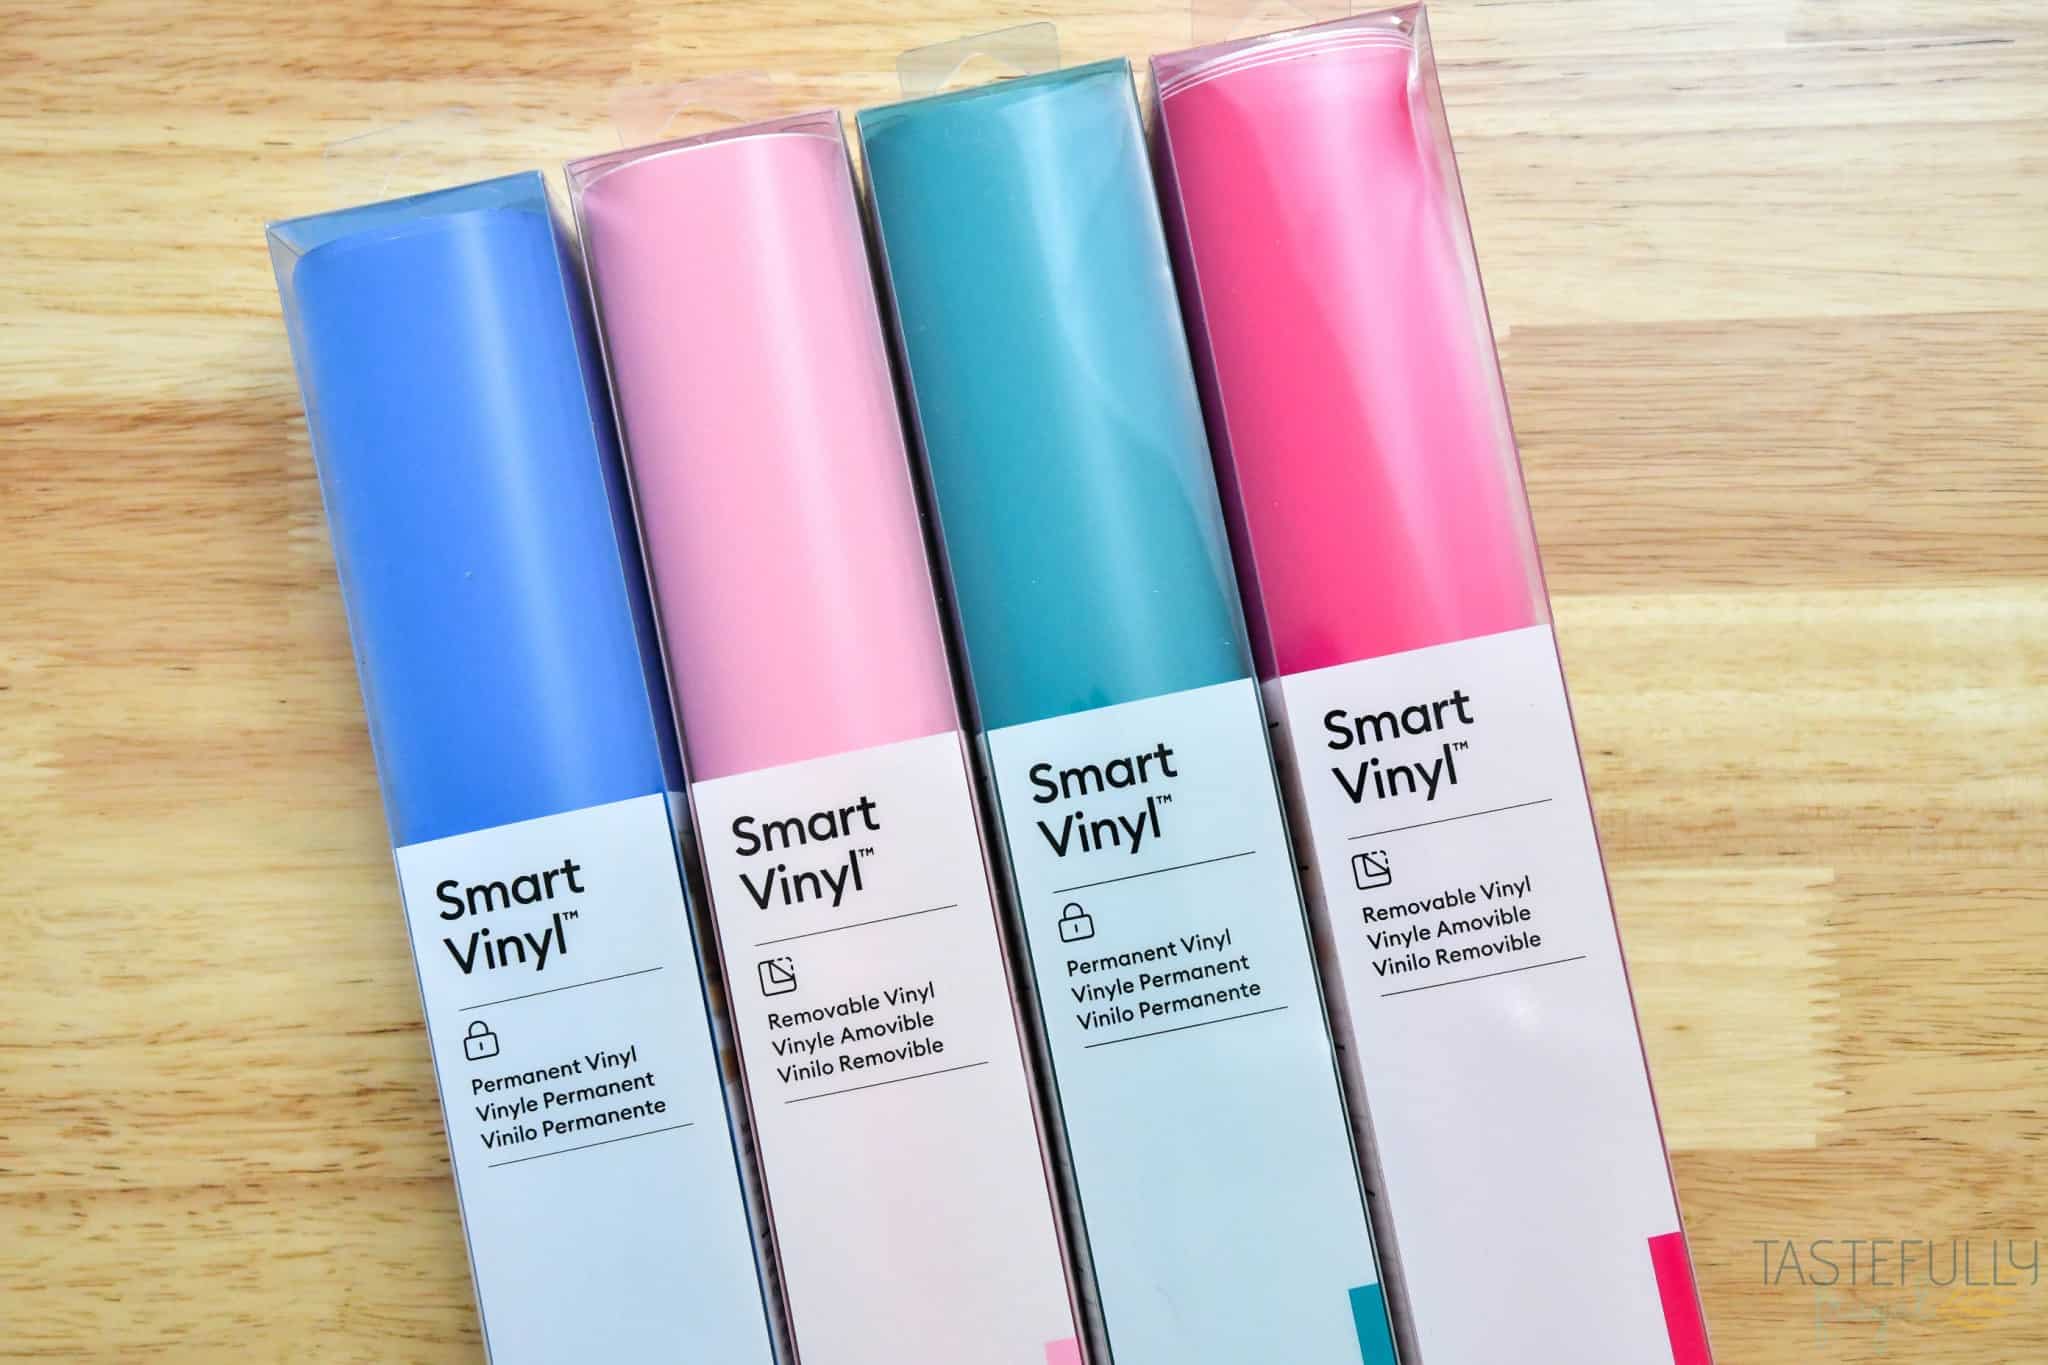
I also have been asked Is the new Smart Vinyl different than the Smart Vinyl that came out with the Cricut Joy? I don’t have any insider information but I do feel that it is a bit different. It’s just as easy to weed as the Cricut Joy Smart Vinyl but it is a lot easier to get to stick to transfer tape and to get off the backer.
You can check out all the Smart Materials available for the Maker 3 here. PS If you’re going to be ordering Cricut supplies and you’re shopping on Cricut.com, use code TF10 to save 10% and get FREE shipping on all $50+ orders. That’s on top of the 10% discount Cricut Access members get automatically! Learn more about Cricut Access here.
Tools and Accessories Available for Cricut Maker 3
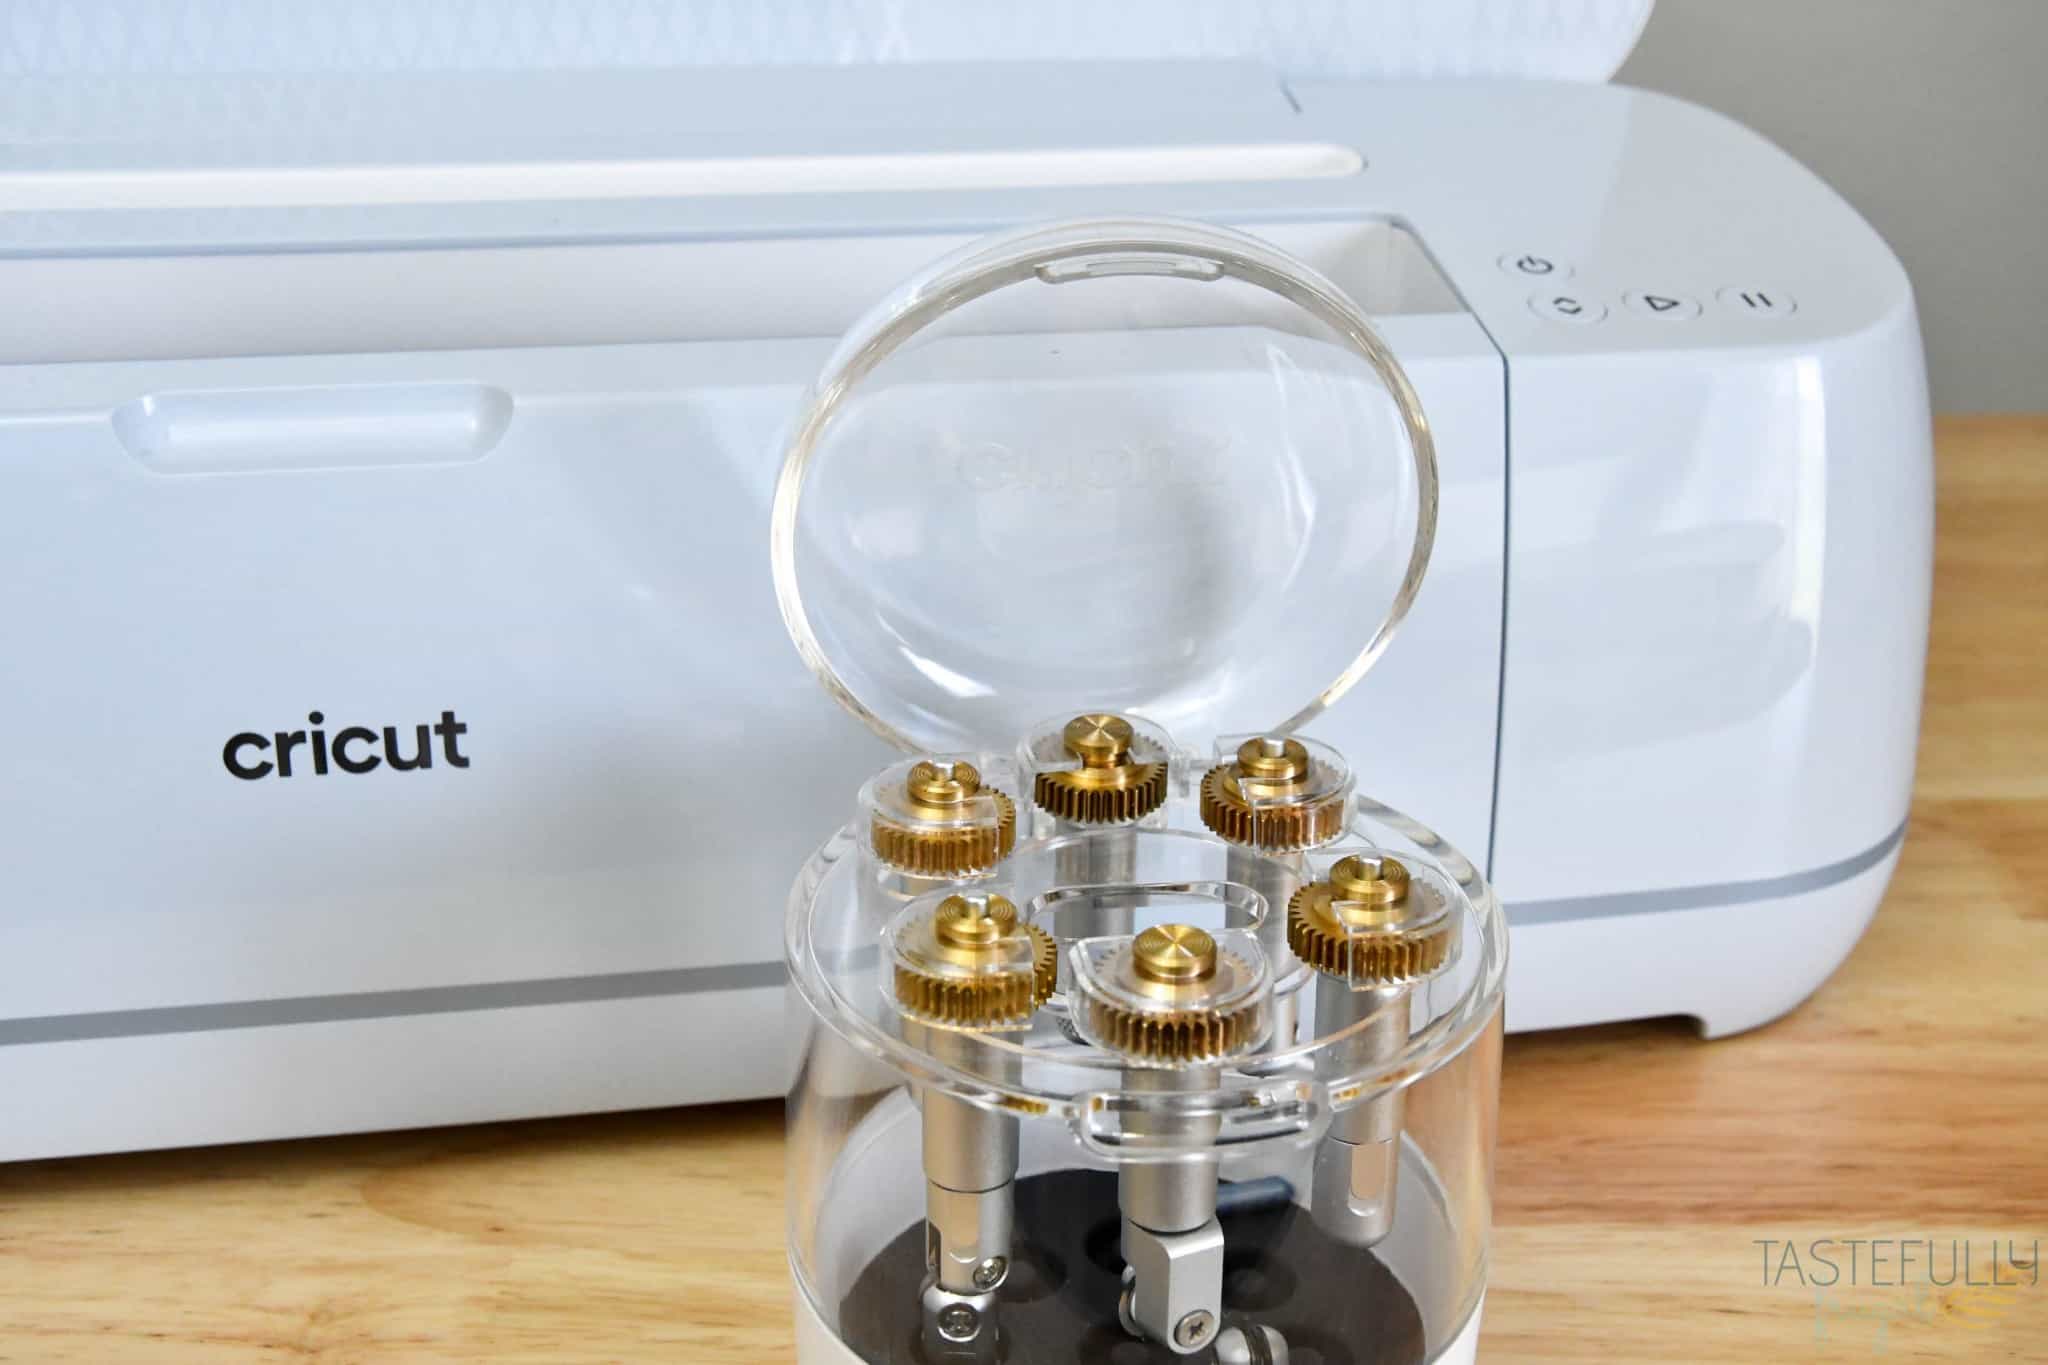
Like I mentioned earlier, all the same tools you use in the Maker work in the Maker 3. They include:
- Fine Point (comes with machine) and Deep Point Blade
- Rotary Blade (learn more about it here)
- Knife Blade (learn more about it here)
- Foil Transfer Tips (learn more about them here)
- Quickswap Tools – Scoring Wheels, Engraving Tip, Debossing Tip, Wavy Blade and Perforation Blade (this post tells you about what each tool does and how to use them)
Cricut also released some new accessories specifically for the Maker 3 and Explore 3 machines!
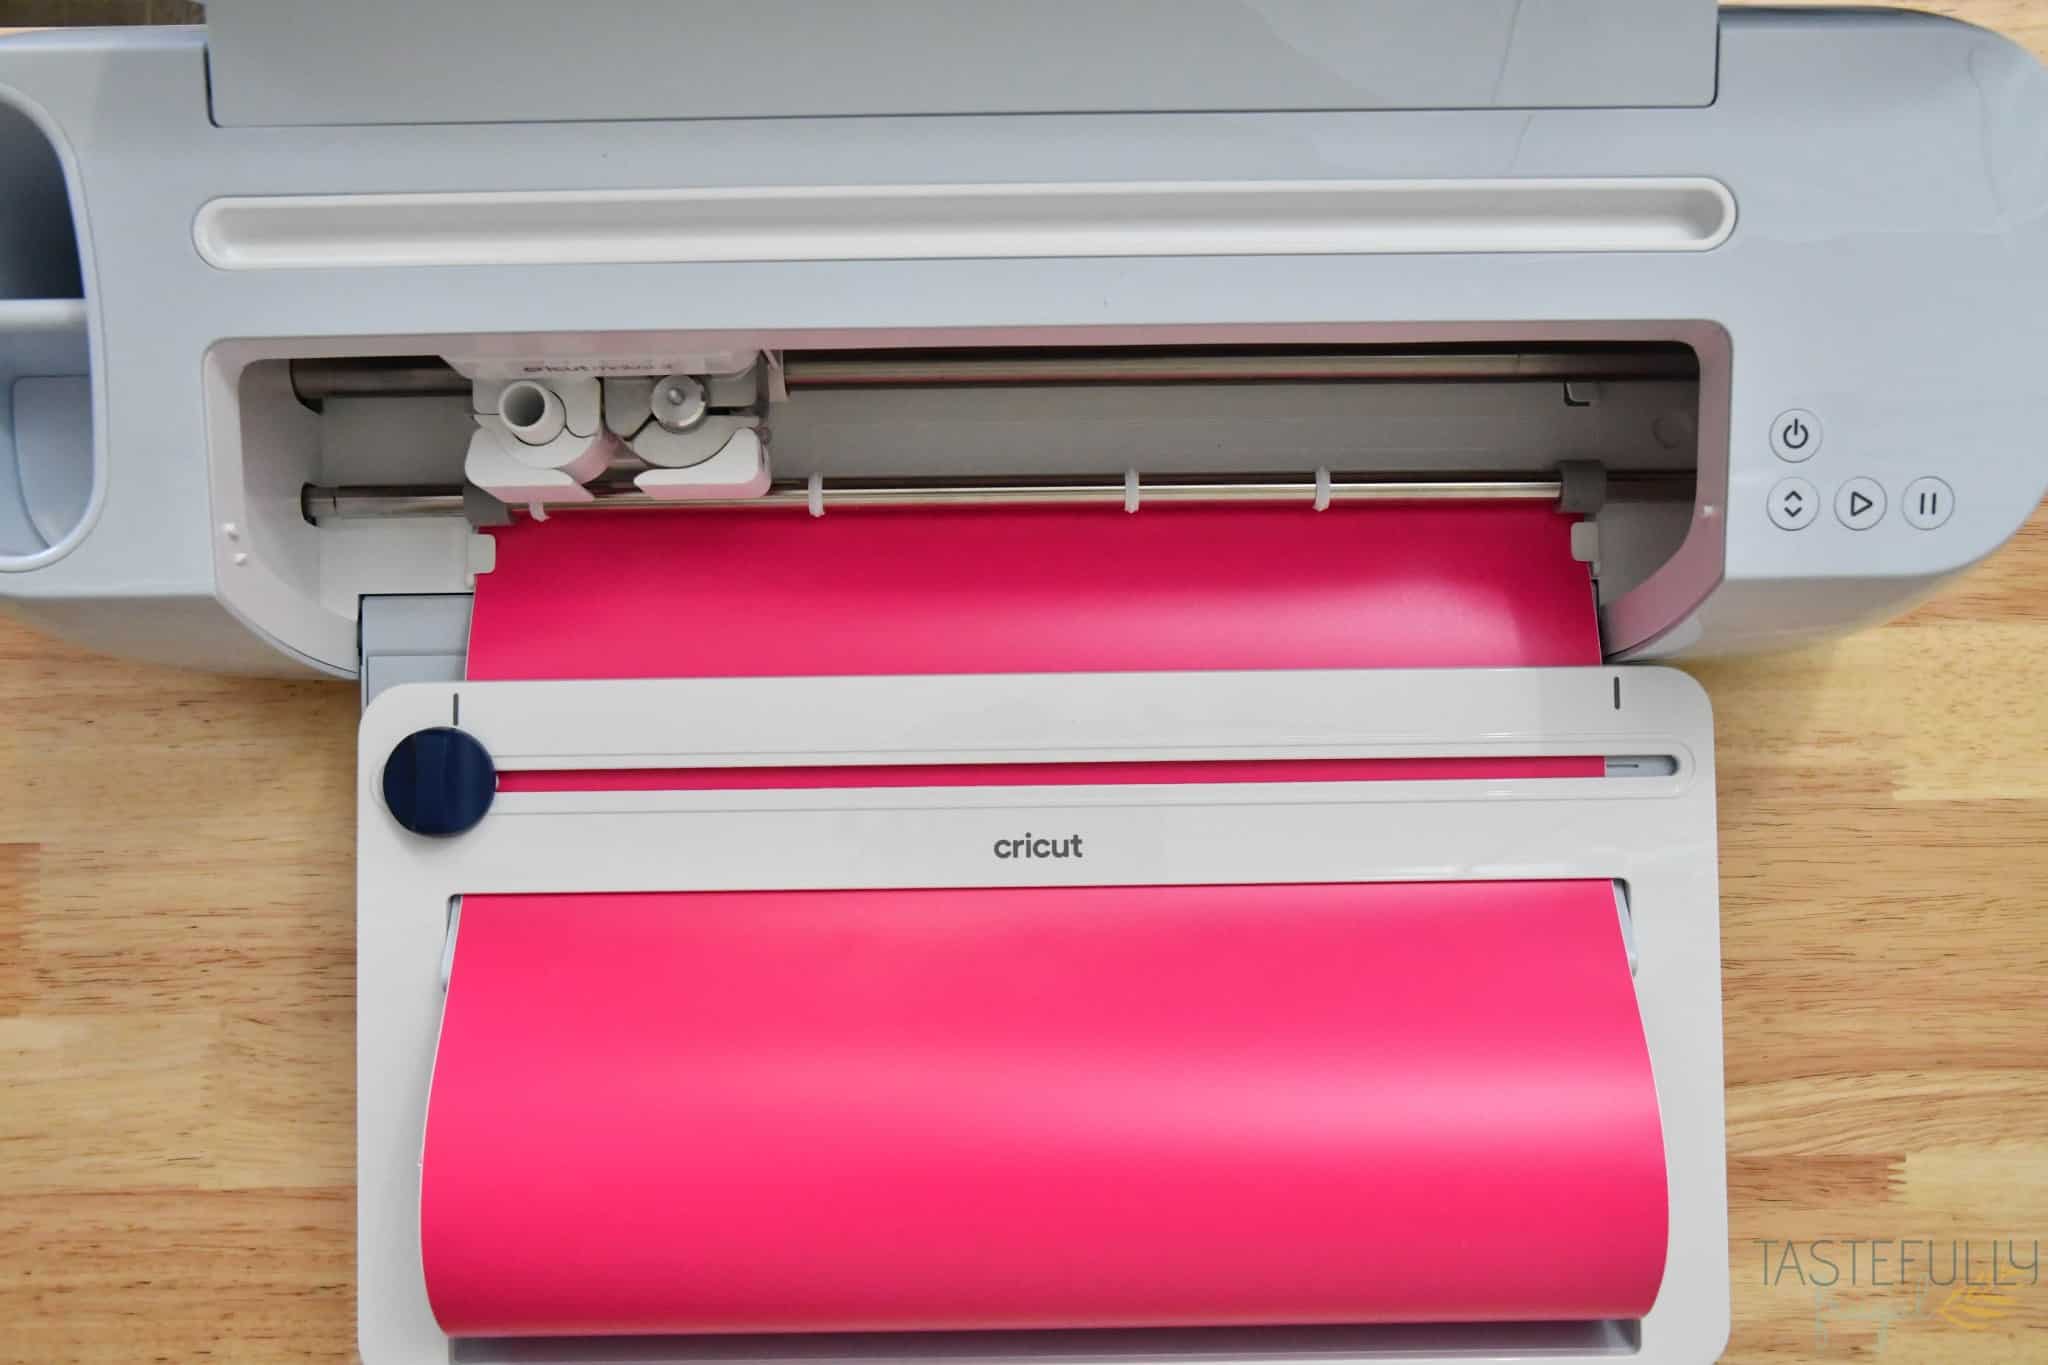
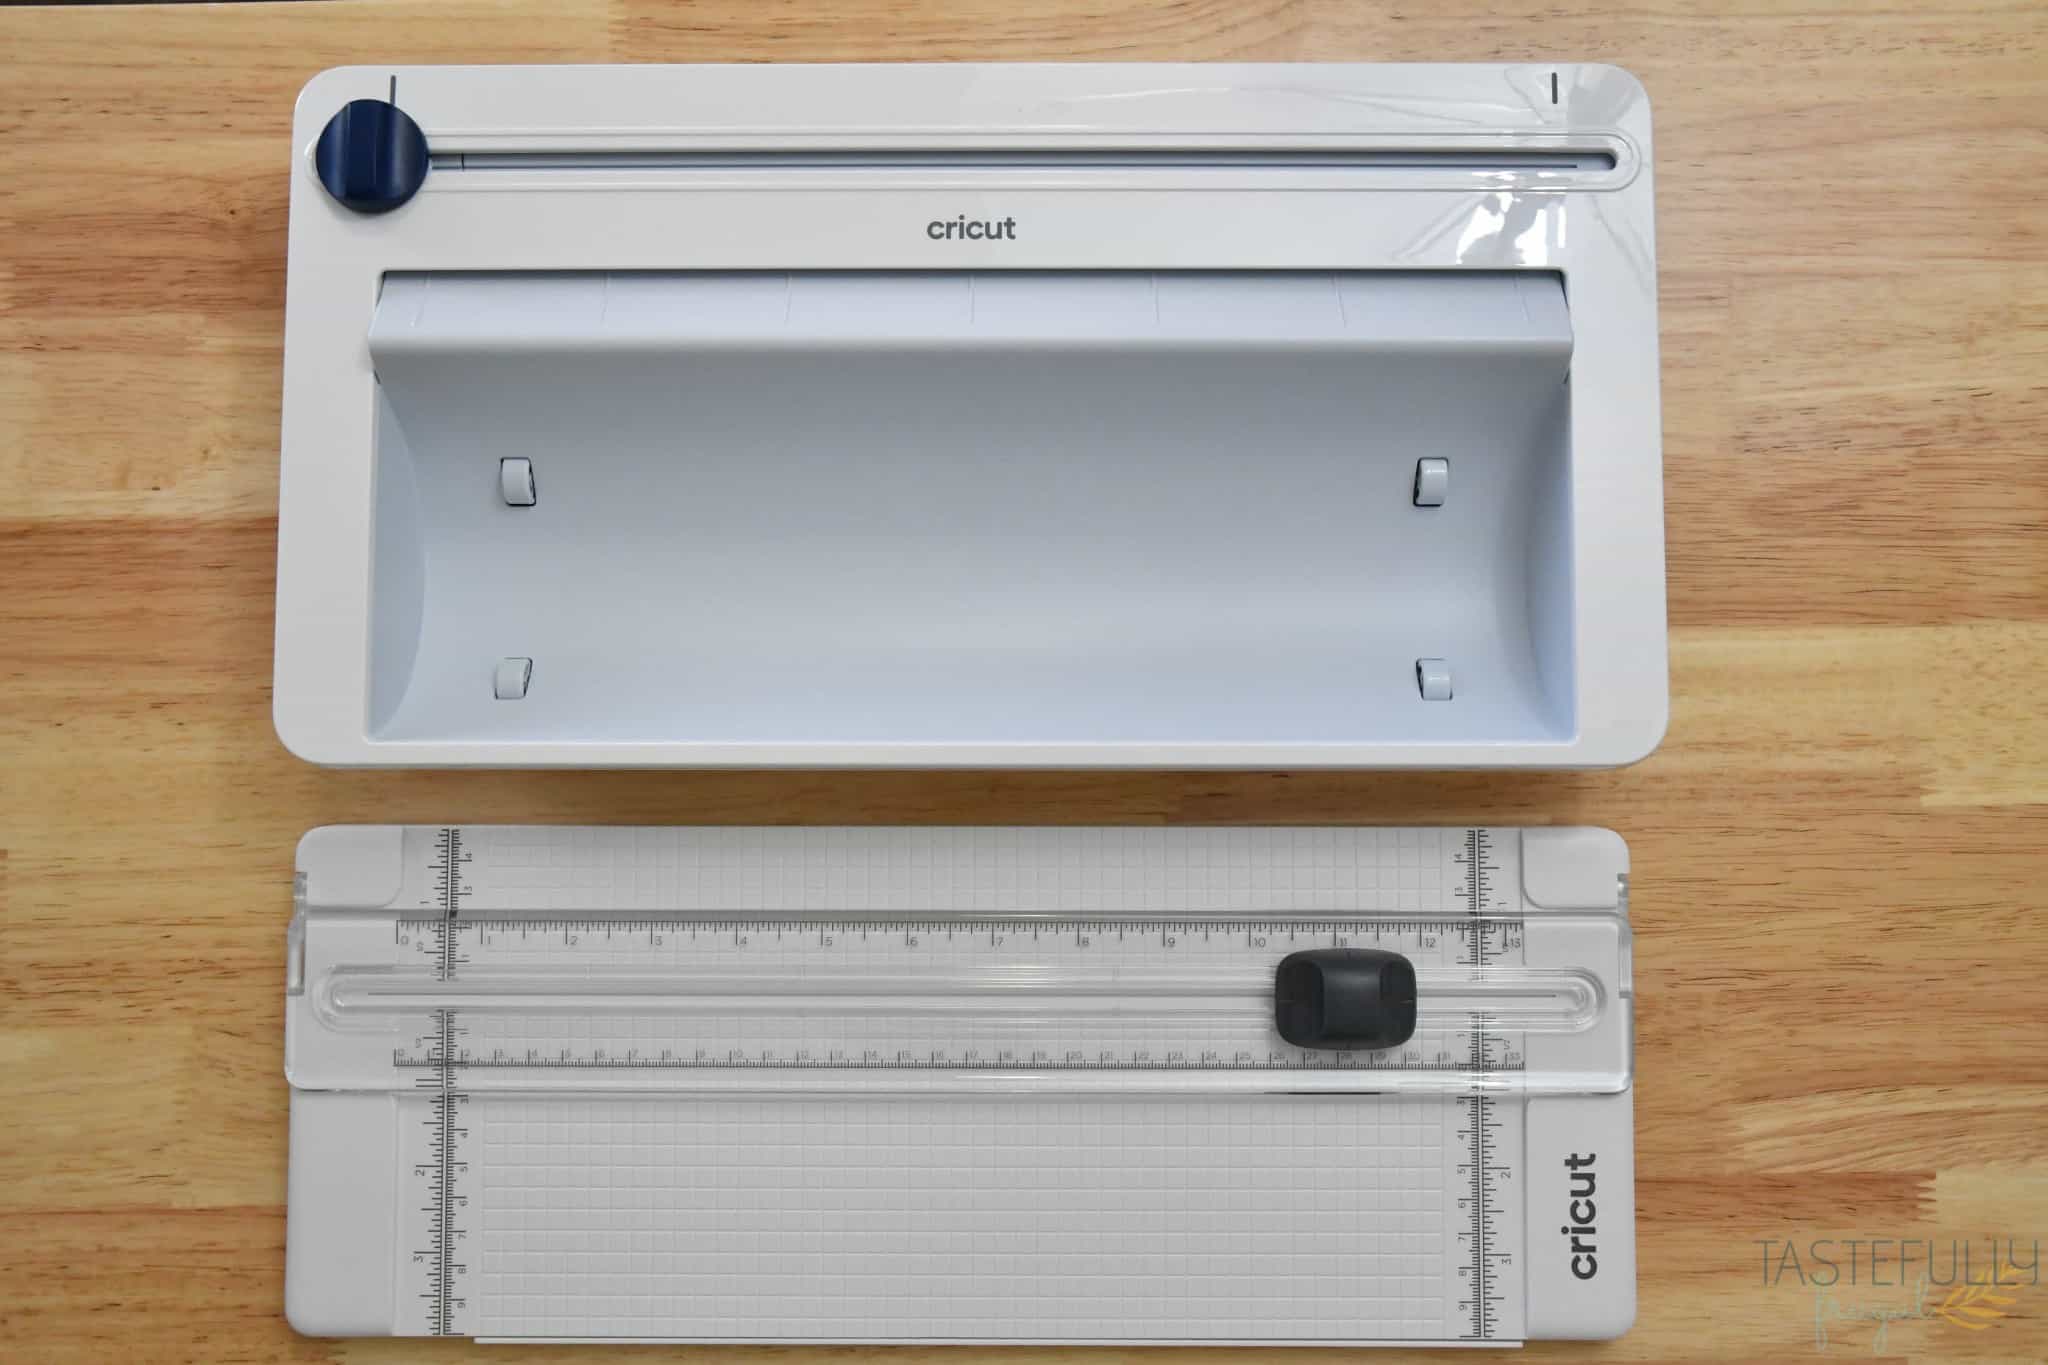
- Roll Holder – This accessory makes cutting without a mat even EASIER! All you have to do is connect it to the bottom lid of the Maker 3, put your Smart Vinyl or Smart Iron-On into the holder, feed it through the cutting slit and underneath the white clips in the Maker 3 and you’re done! It even comes with a trimmer attachment that makes cutting your Smart Materials off of the roll fast and easy!
- 13in Portable Trimmer – If you’ve been around here for awhile you know how much I LOVE using the Cricut Portable Trimmer for cutting my materials down to size. This Portable Trimmer has all the great features of the original. It’s just an inch longer to be able to cut the Smart Materials down to size too!
Project ideas
So we’ve talked all about the Maker 3 for a bit but what can you make with the Maker 3? There are a whole bunch of project ideas in Design Space that were created specifically for the Maker 3 and Explore 3. Here are a few of my favorites:


You know I love creating my own projects too! I’ll be sharing several tutorials over the next few months using the Maker 3 so be sure to subscribe to my YouTube channel and follow on Instagram or Facebook to see those when they come out! Here are a few project ideas a few of my friends did with their Maker 3 too:

Front Porch Sign from Country Chic Cottage
DIY Height Ruler from Hey, Let’s Make Stuff
Cake and Cupcake Toppers from Tried and True Blog

Custom Bolster Pillow from The Homes I Have Made
DIY Table Runner from The Kingston Home
DIY Wallpaper from Everyday Jenny
Where Can You Find Cricut Maker 3
Alright do you love the new Maker 3 as much as I do?! Are you ready to get one and try making all these fun projects for yourself! The Cricut Maker 3 is available now everywhere Cricut machines are sold. I always recommend buying directly from Cricut, especially for machines for a few reasons:
- You can save 10% with Cricut Access! When you’re spending $300+ on a machine 10% is quite a bit of money. Learn more about Cricut Access here.
- You can get FREE shipping. Check the banner at the top of the page for a free shipping code on $99+ purchases. This month it is JULYSHIP
- You can get some really great deals on bundles that come with the Cricut machine plus tools and materials to get you started crafting. My favorite Maker 3 Bundle is the Essential Materials Bundle. The Everything Bundle is great too!
- If you are ordering anything else, you can also use code TF10 on $50+ orders to get an additional 10% and free shipping on $50+ orders.
I hope this Cricut Maker 3 Review gives you a better peek inside the new Maker 3 and all the crafting possibilities it offers. Be sure to subscribe to my YouTube channel to check out all my video tutorials including projects and how to’s. For more Cricut projects and tutorials, check out these posts. For tips, tricks and immediate help, be sure to join our FREE Cricut Support Group.
The post Cricut Maker 3 Review – 1st Impressions & More appeared first on Tastefully Frugal.


