

This tutorial shows you how to make a paper box of chocolates using a Cricut and a Free SVG file. Make a fun handmade Valentine's Day gift for your Valentine. If you make a purchase using any affiliate links below, we may earn a commission.
Valentine's Day is the perfect time to tell someone how much they mean to you, and this cute gift box of chocolates will definitely do the trick.
I designed this project just for you and I am so excited to finally be sharing it with you.
You can find the free SVG file below so you can make gift boxes too!
Craft Tutorial Video:
Like videos? I have a video tutorial for you! Subscribe to my YouTube Channel so you don't miss out on any future video tutorials
More Valentine Crafts:
We have so many fun craft ideas for Valentine's Day! Like this Puzzle Heart Keychain, Candy Heart Treat Holder, and this Hear Banner with Duct Tape.
Be sure to look around the blog for more Valentine's Craft Tutorials!
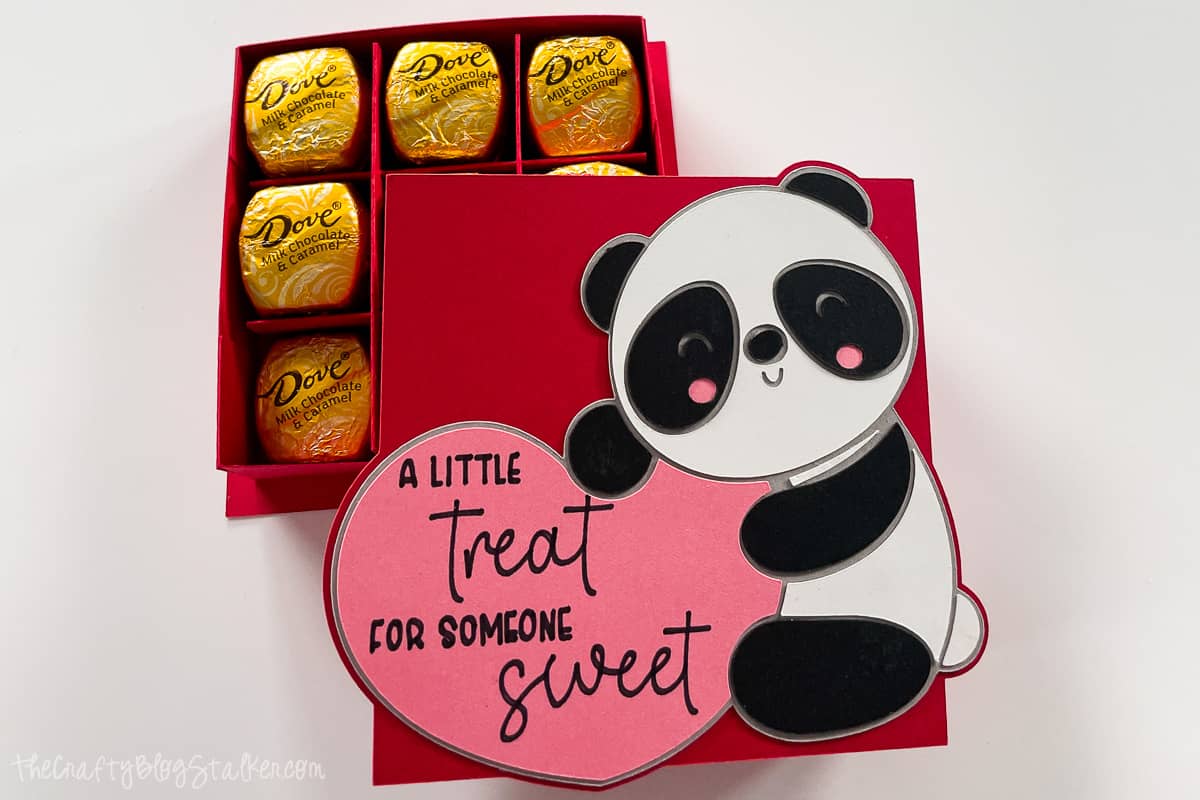
The finished size of the paper gift boxes measures 4 x 4.5 x 1.125 inches.
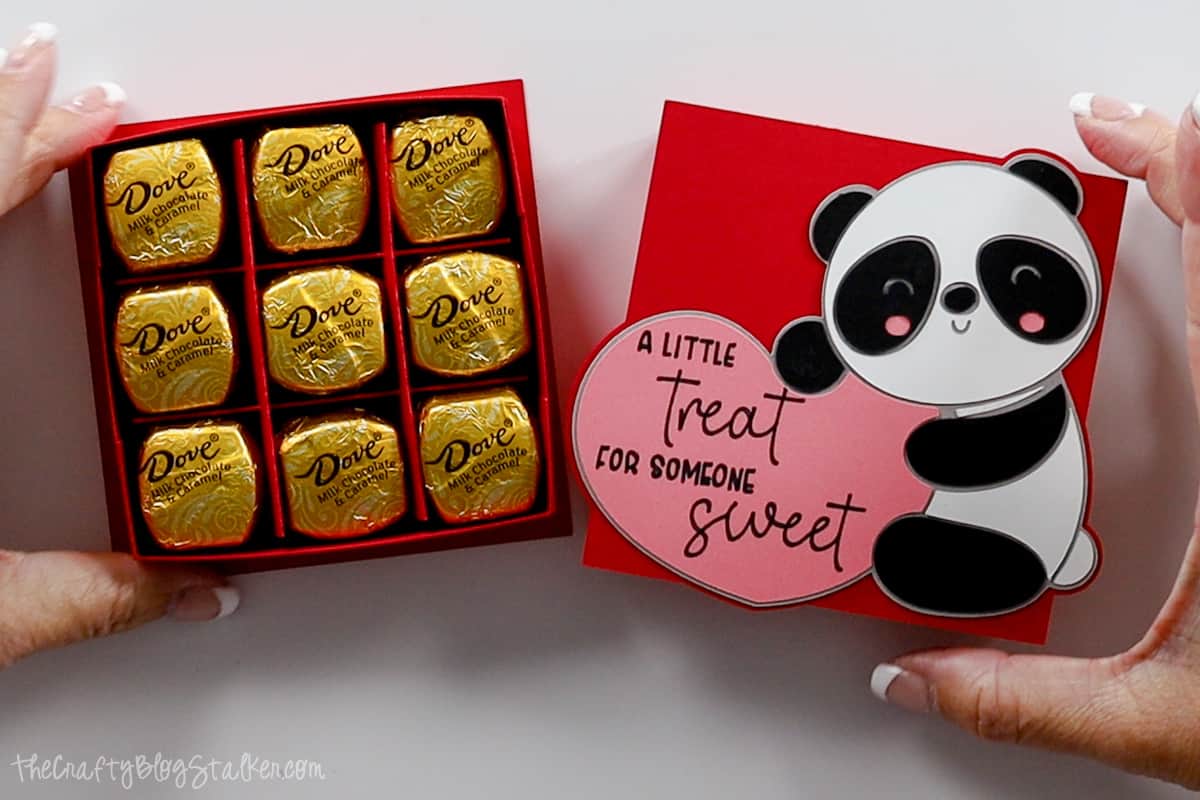
This little box of chocolates was designed around the Dove chocolates, so they really do fit perfectly. You can fit 18 chocolates in one box.
I used the Milk Chocolate and Caramel Dove Chocolates but you can use any flavor.
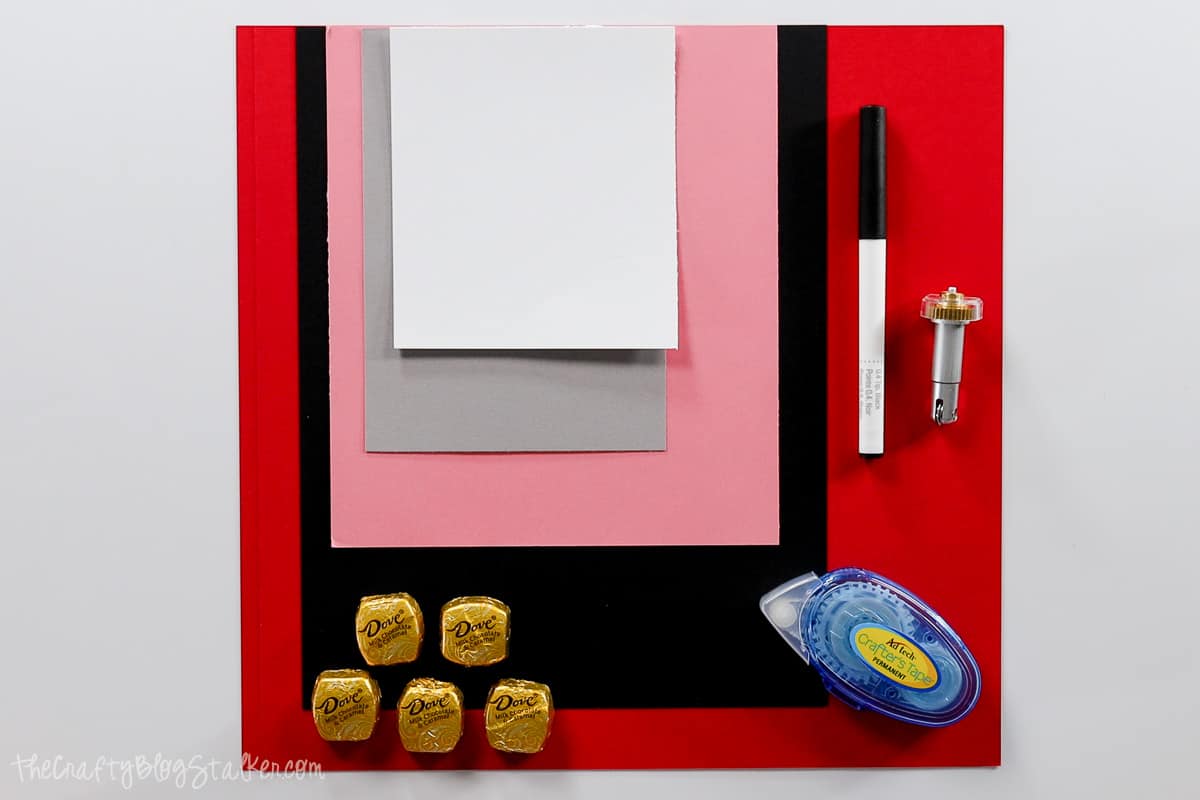
You will need 5 colors of cardstock or mid-weight paper. Lighter-weight papers won't be strong enough to hold the chocolate inside. Printer paper is too light, but feel free to use scrap cardstock or whatever you already have on hand.
Difficulty Level: Intermediate
This is one of the harder projects I have created.
I definitely recommend following along with the video tutorial above. Some things are easier to see than describe with words.
These colorful paper boxes are easy origami, but the paper piecing takes some patience.
The best way to make this chocolate box is to follow these step-by-step instructions, and you will have a nice gift to give.
Valentine Chocolate Box Free SVG:
To begin, grab the Valentine Chocolate Box SVG Design.
Cricut Design Space:
Upload the SVG file into your cutting software, I use Cricut Design Space.
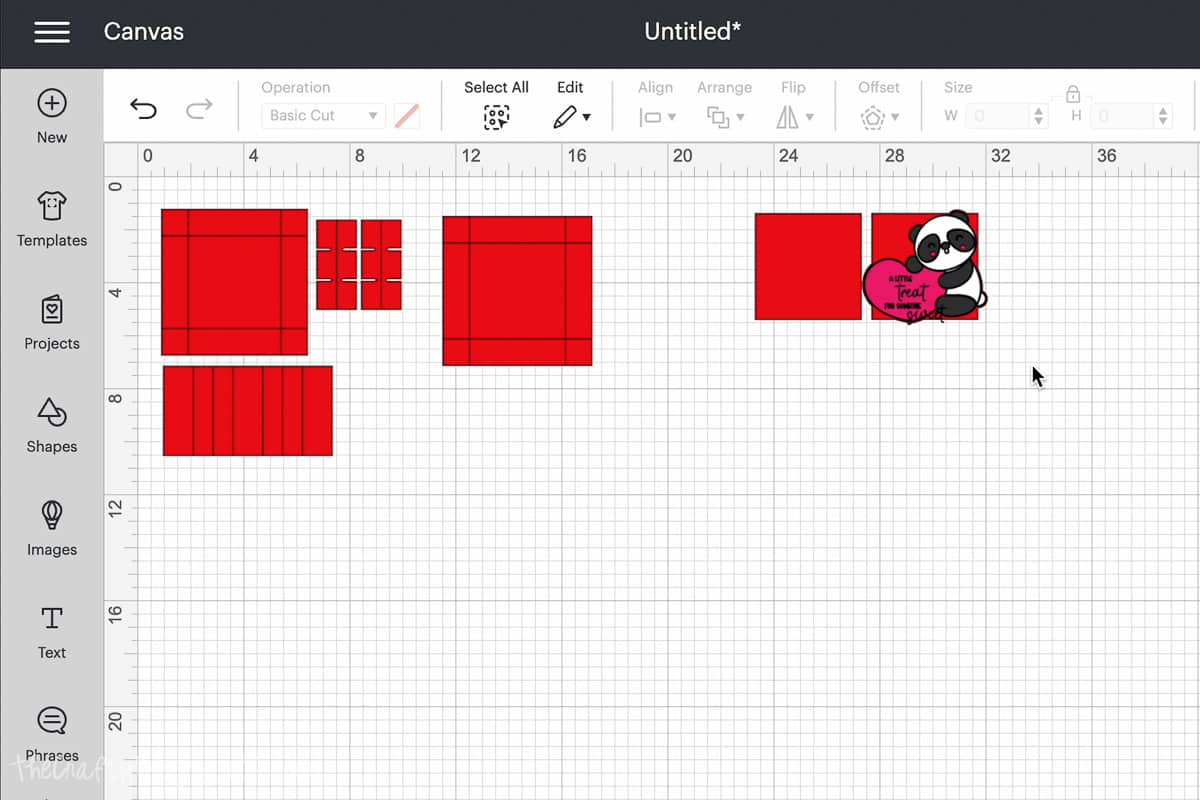
The cutting file is sized to fit the Dove chocolates perfectly, so there is no need to make it a different size.
Before we cut, there are some adjustments we need to make to the file.
In the layers panel, highlight the entire design and select "Ungroup".
Open your layers panel in Cricut Design Space, and we are going to start at the top of the list and move down. It is possible that your layers are in a different order and that's ok.
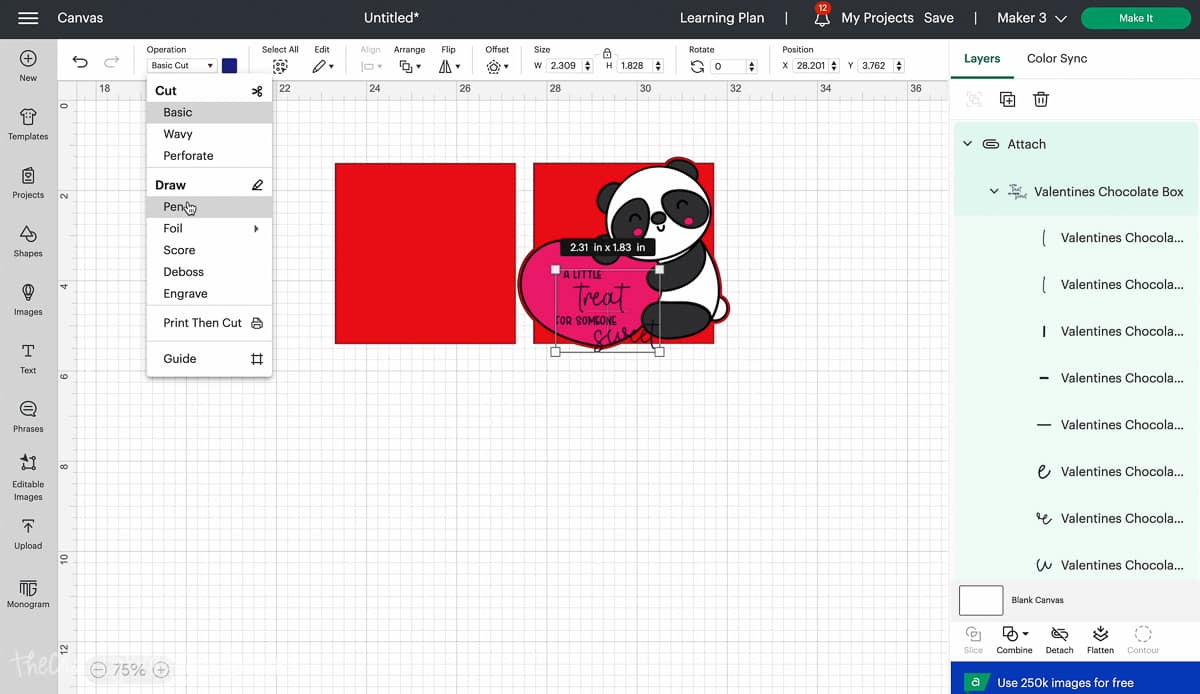
The text is first. Highlight all of the text and Attach, and under Operation change from Cut to Pen.
Center the text over the pink heart.
Make sure both the text and the heart are selected and Attach.
In the layers panel, there are two line layers above the red square layer. Highlight the line layer directly on top of the red box and change the operation to score.
You can see in the picture below how it changes those solid lines to dash lines. The dash lines show the score line.
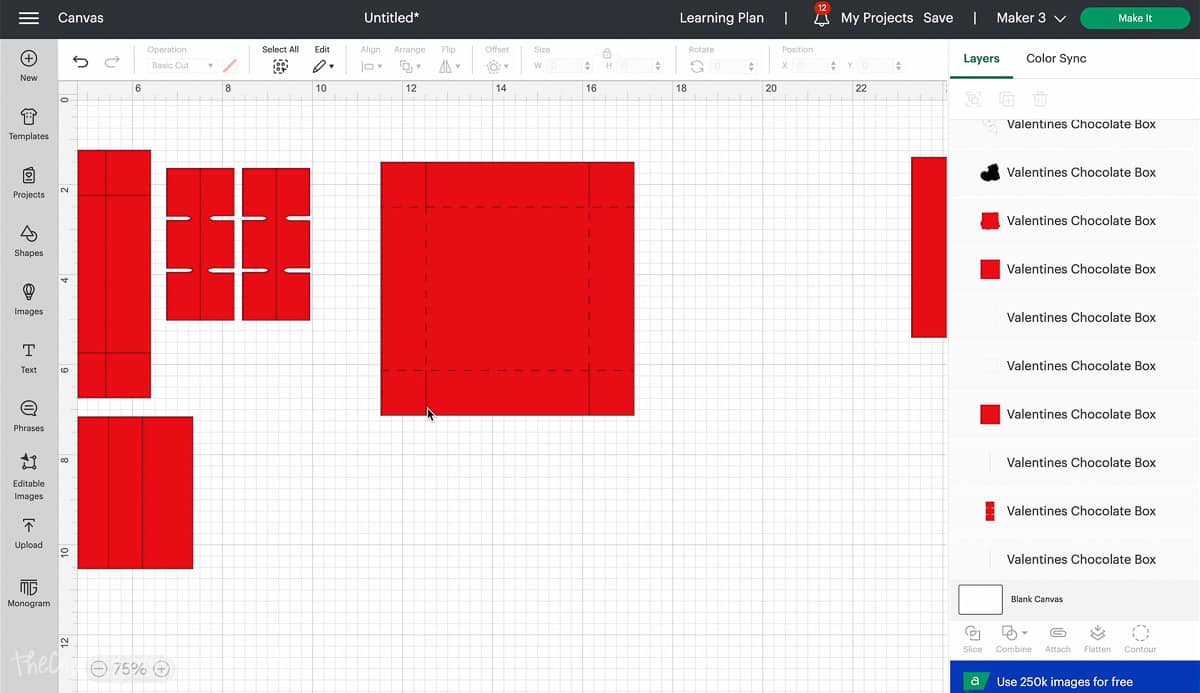
We want to keep solid lines in the corner because we need those slits to cut so we can assemble the box.
Highlight the square and both line layers and Attach.
There are three more rectangle shapes. Change the lines to Score and Attach them to the shape the line is on top of.
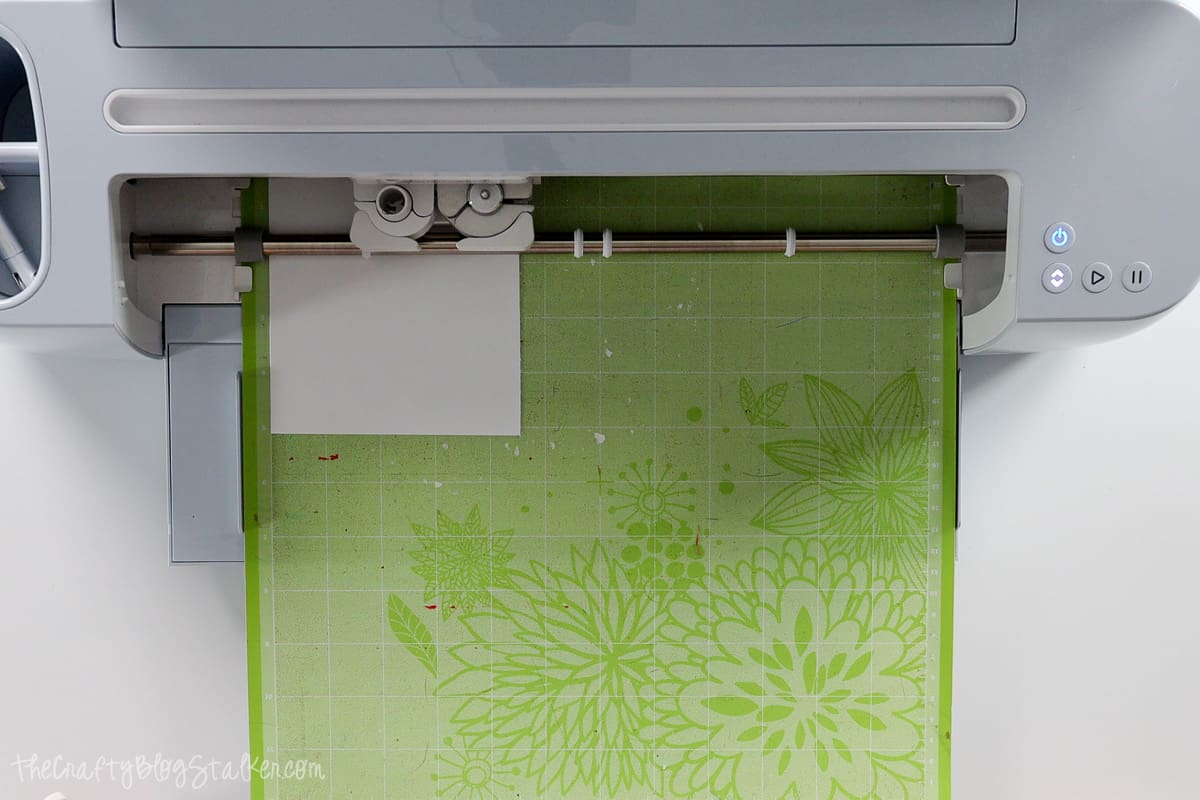
Now we are ready to Make It and send it to the Cricut. Follow the prompts in Cricut Designs Space to know what tool and what color of cardstock to load and when.
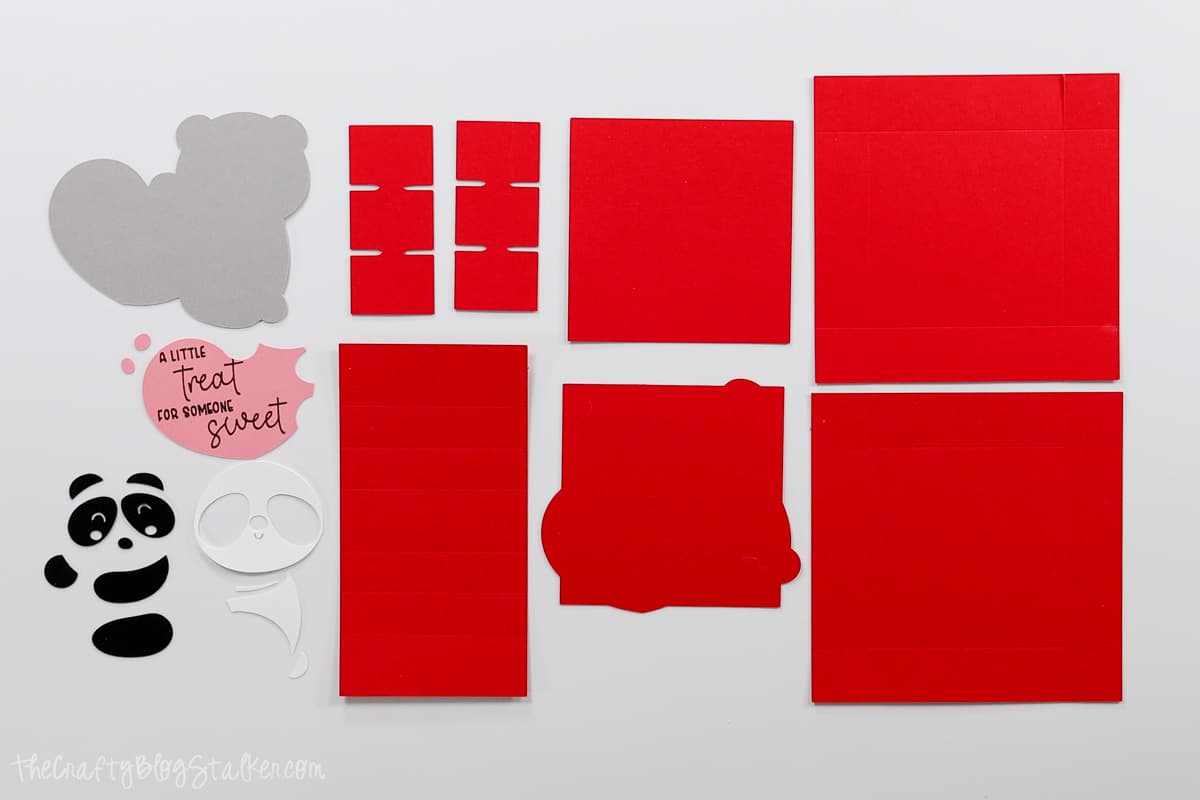
Here are all of the pieces that the Cricut cut out.
Layering the Panda Pieces:
We are going to start with the panda pieces.
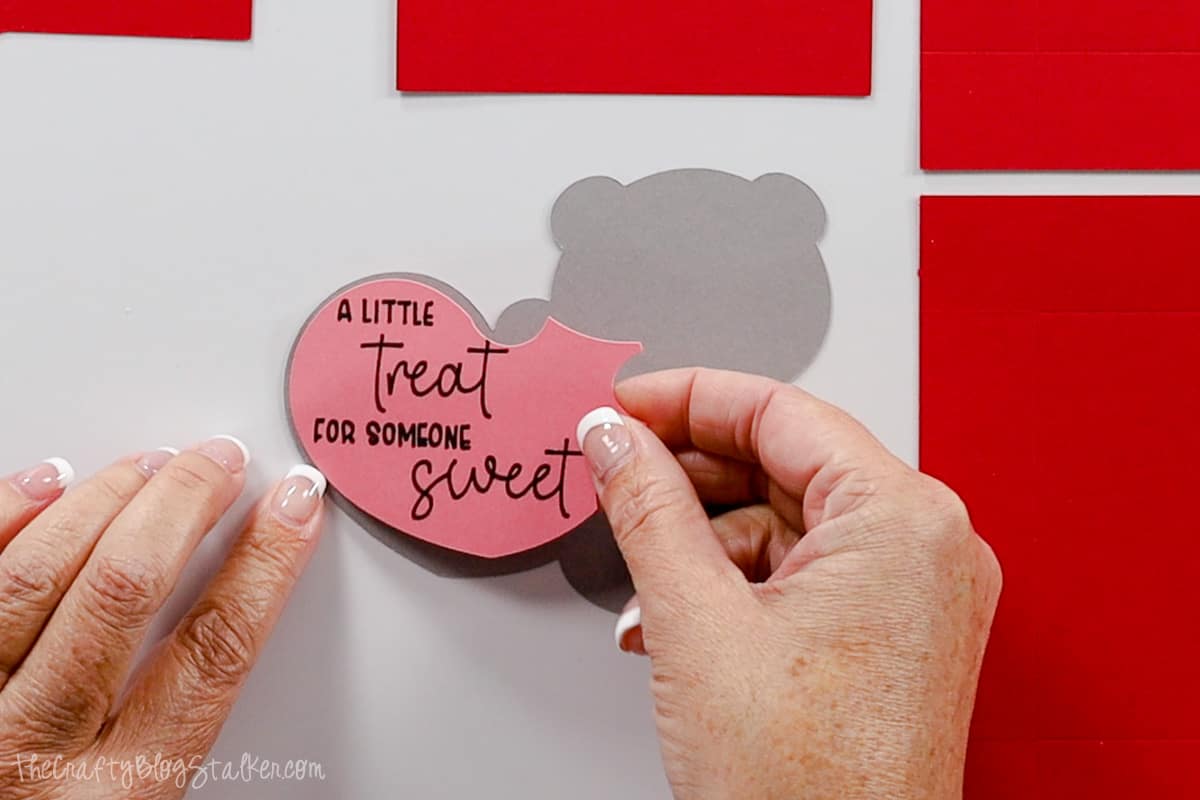
Apply adhesive to the back of the heart and place it on top of the panda background piece.
A little of the background will show around the edges of all of the pieces.
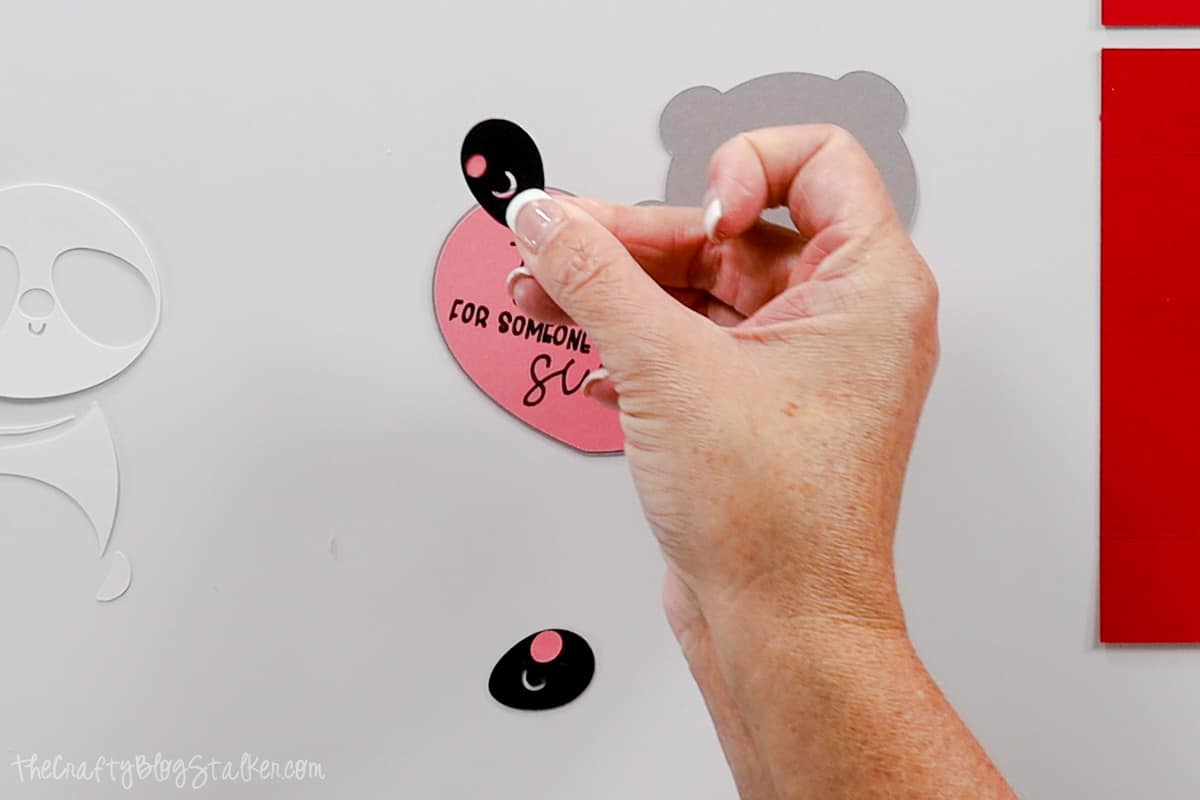
Lay the cheeks in place so you know which side is the front. Then apply glue to the back of the cheek and place the small pink shape onto the back so it covers the round hole.
When the cheek is laying right side up you should see a pink cheek poking through.
We are going to glue all of the white pieces into place first.
Apply glue to the back of the face and press it into place.
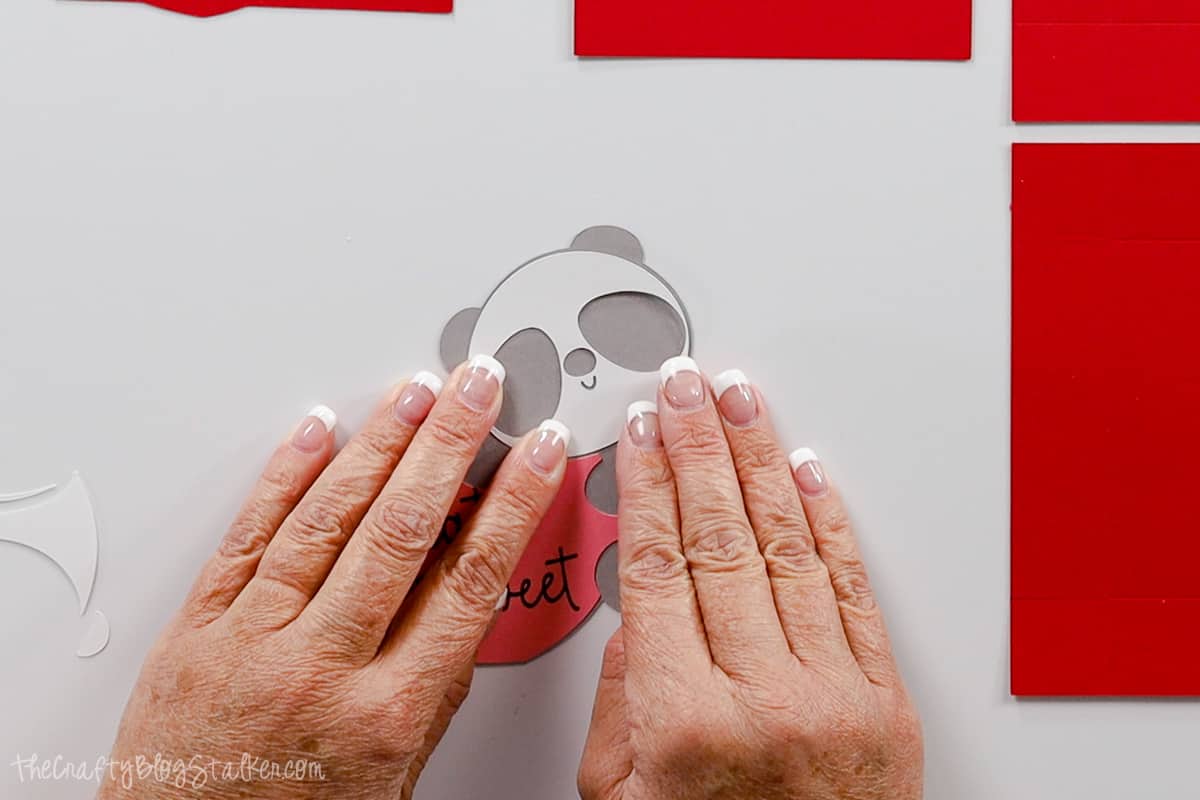
Moving down from the head, glue the small neck strip in place.
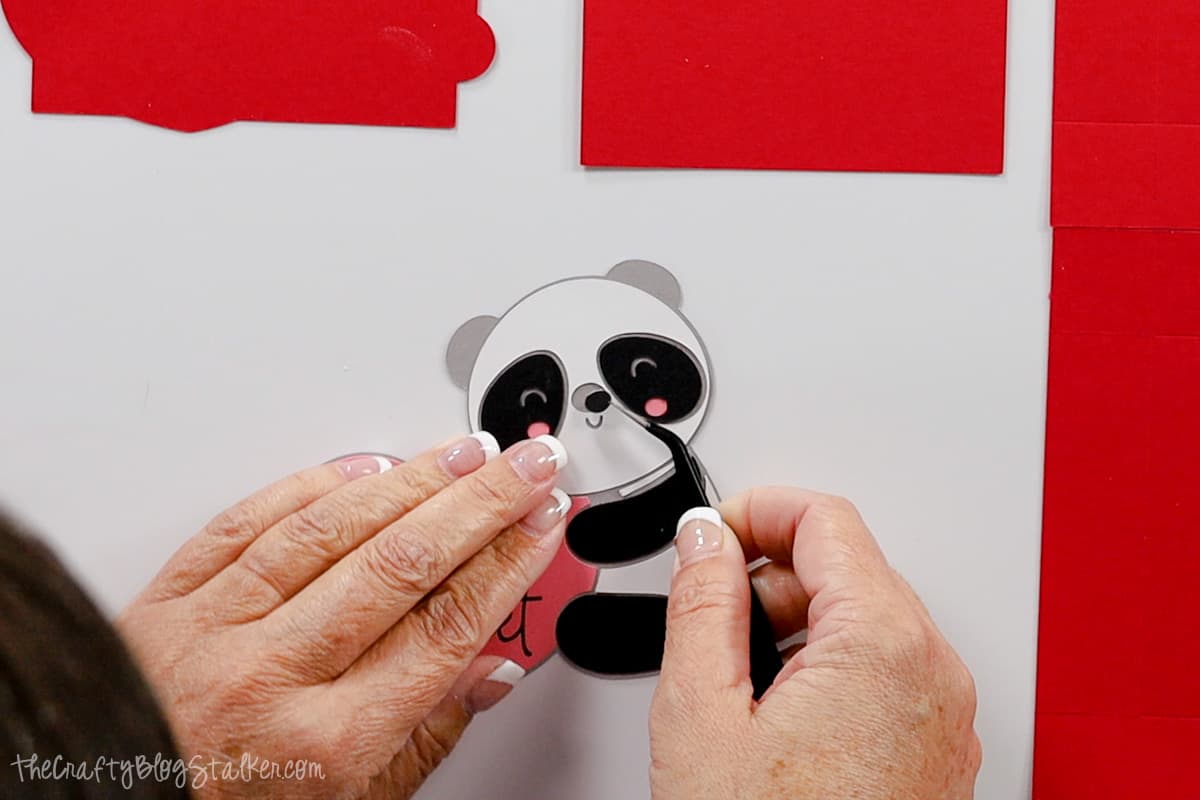
Place the panda's arm and leg but do not glue them yet. We are using them to space our white pieces.
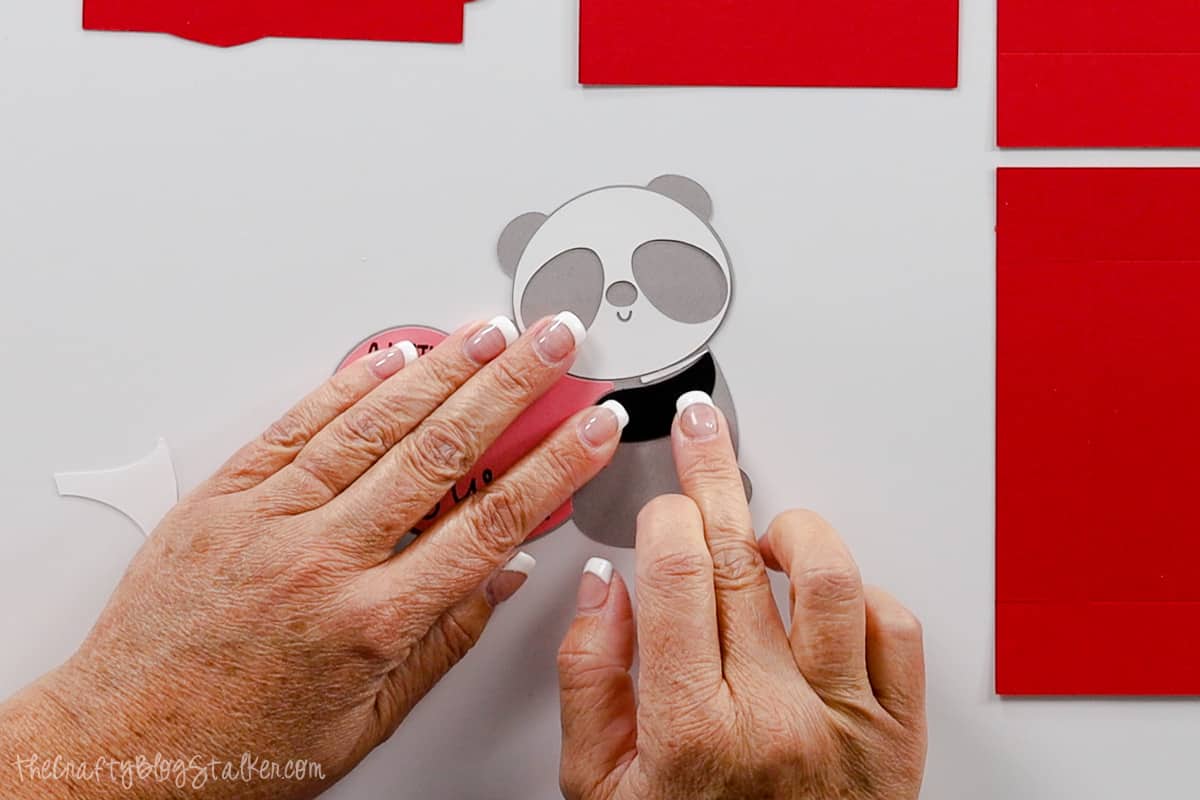
Then adhere the cheeks, nose, and ears.
I really found using a pair of tweezers was super helpful to place those little pieces.
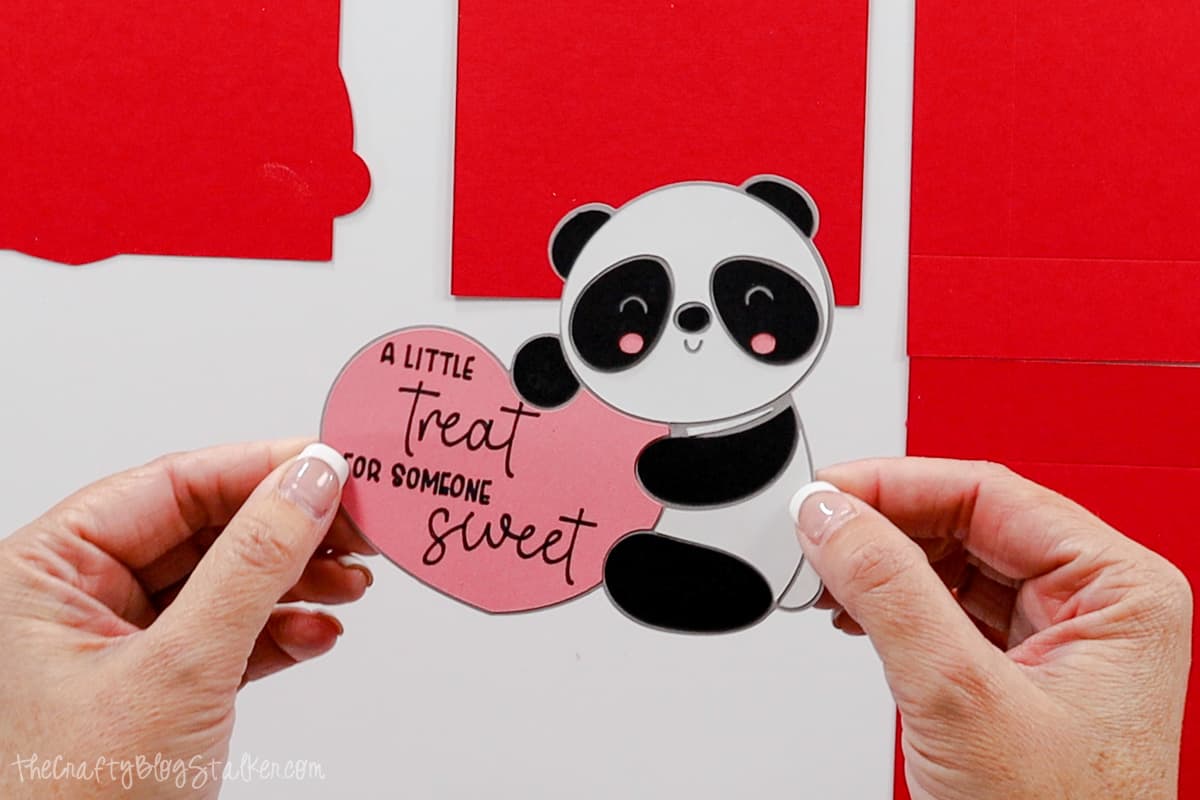
Our little panda may have been a pain but look at how cute he is all assembled!
Assembling the Box:
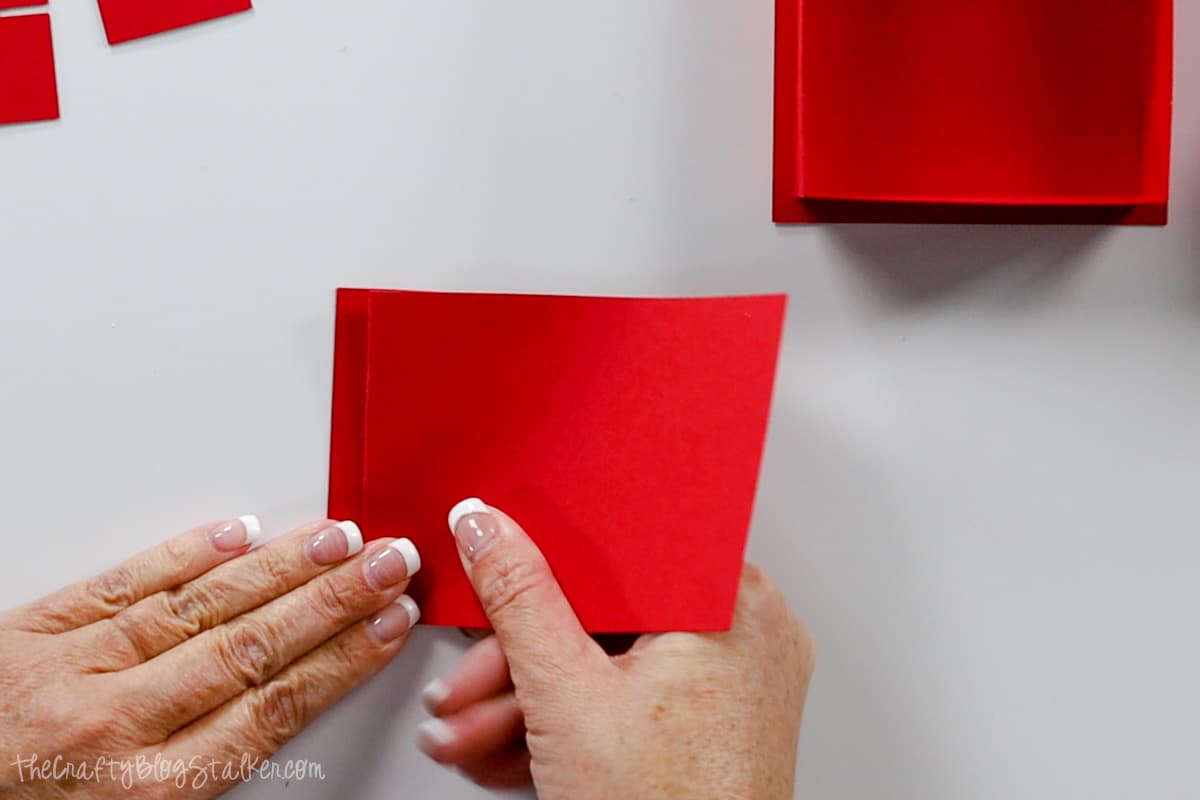
You will want to take note of the two squares. One is slightly larger than the other. The bigger piece of paper is for the top of the box, and the smaller one is for the base of the box.
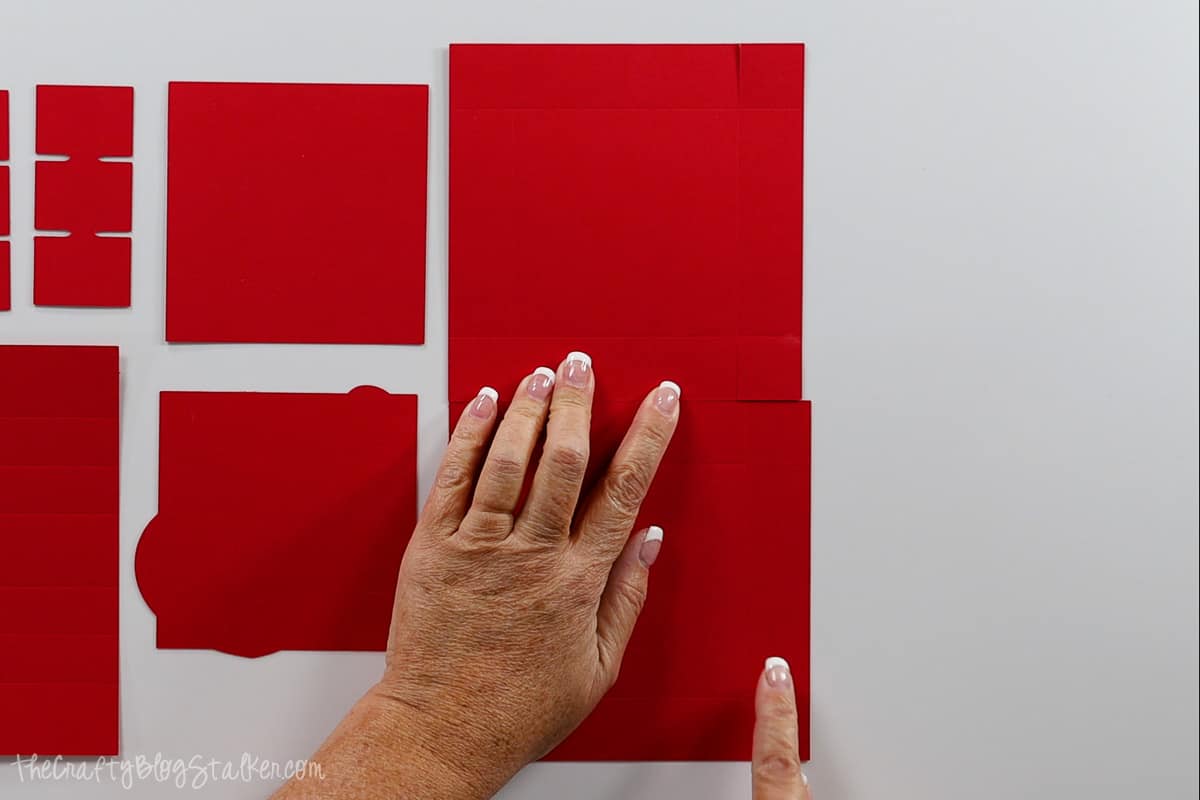
Fold the squares along the creases.
Those little tabs I have my fingers on in the picture below are where you apply the adhesive.
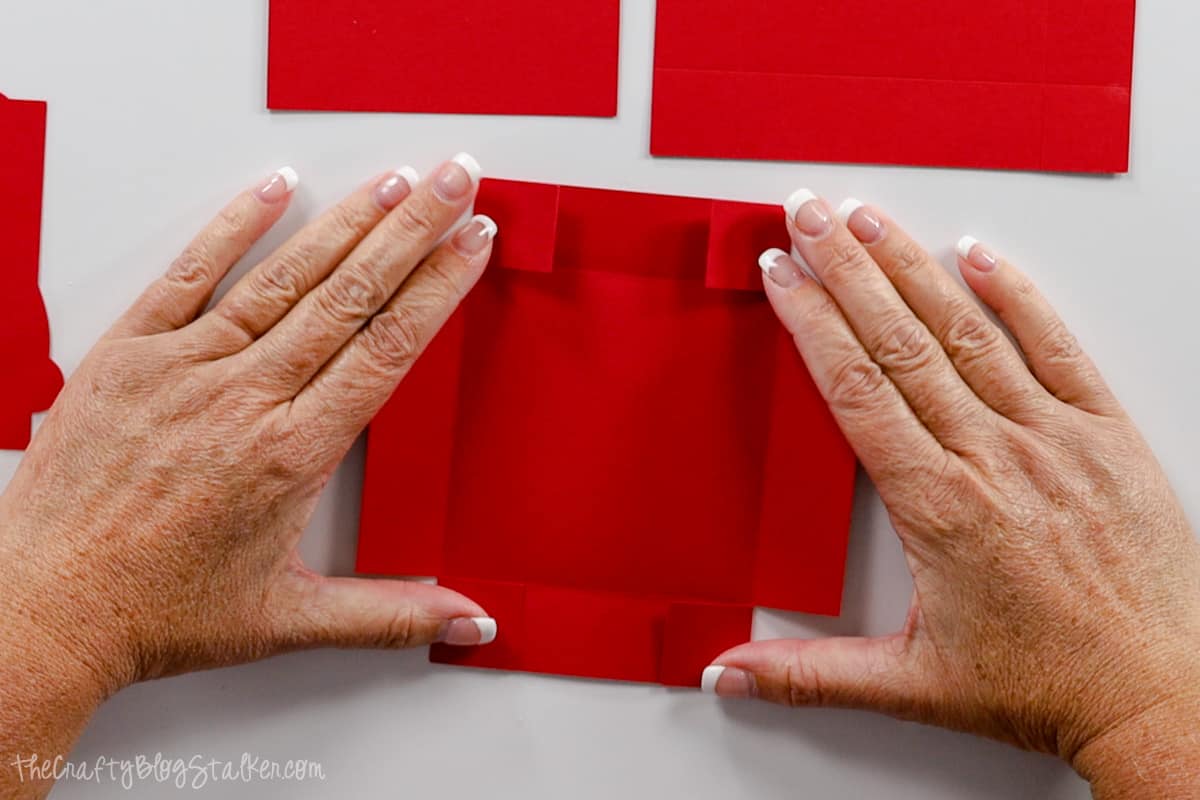
Then tuck those paper tabs into the side to create the box.
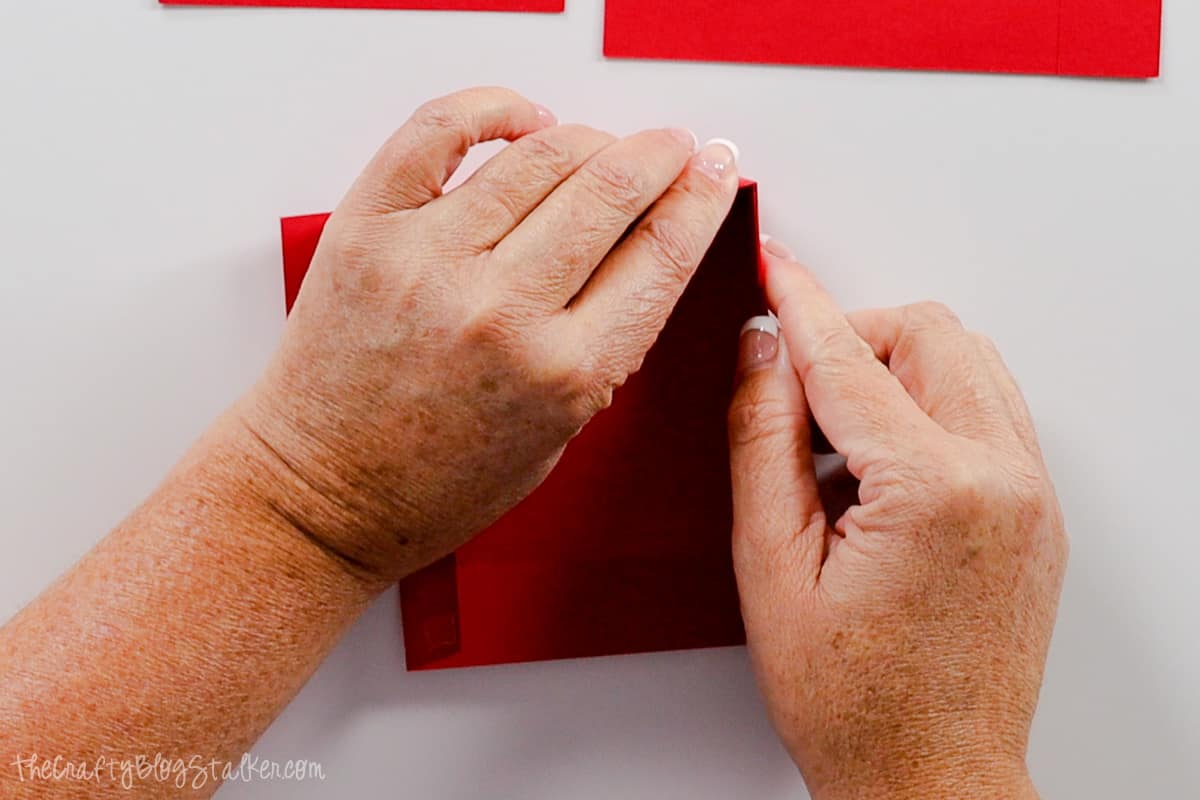
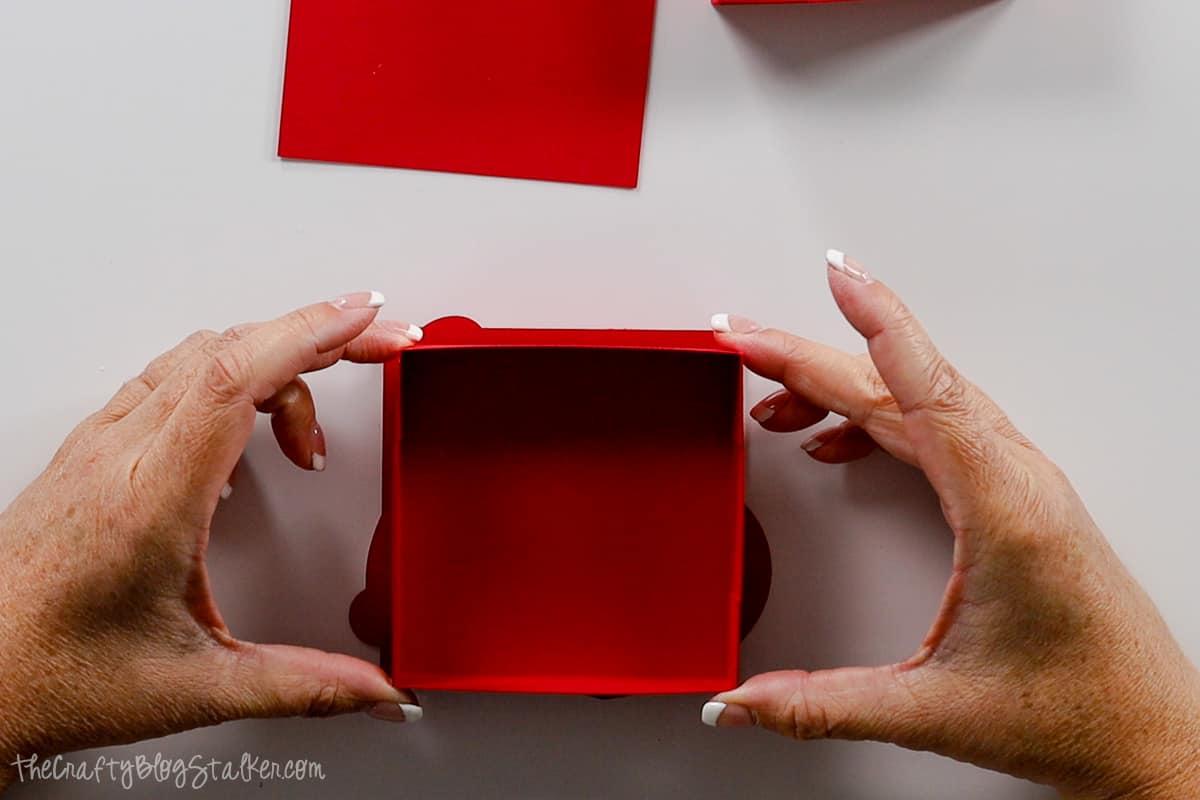
Attach all four corners so you have half of a box.
Repeat with the second square for the opposite side of the box.
Apply glue to the back of the panda and place him on top of the shaped square piece.
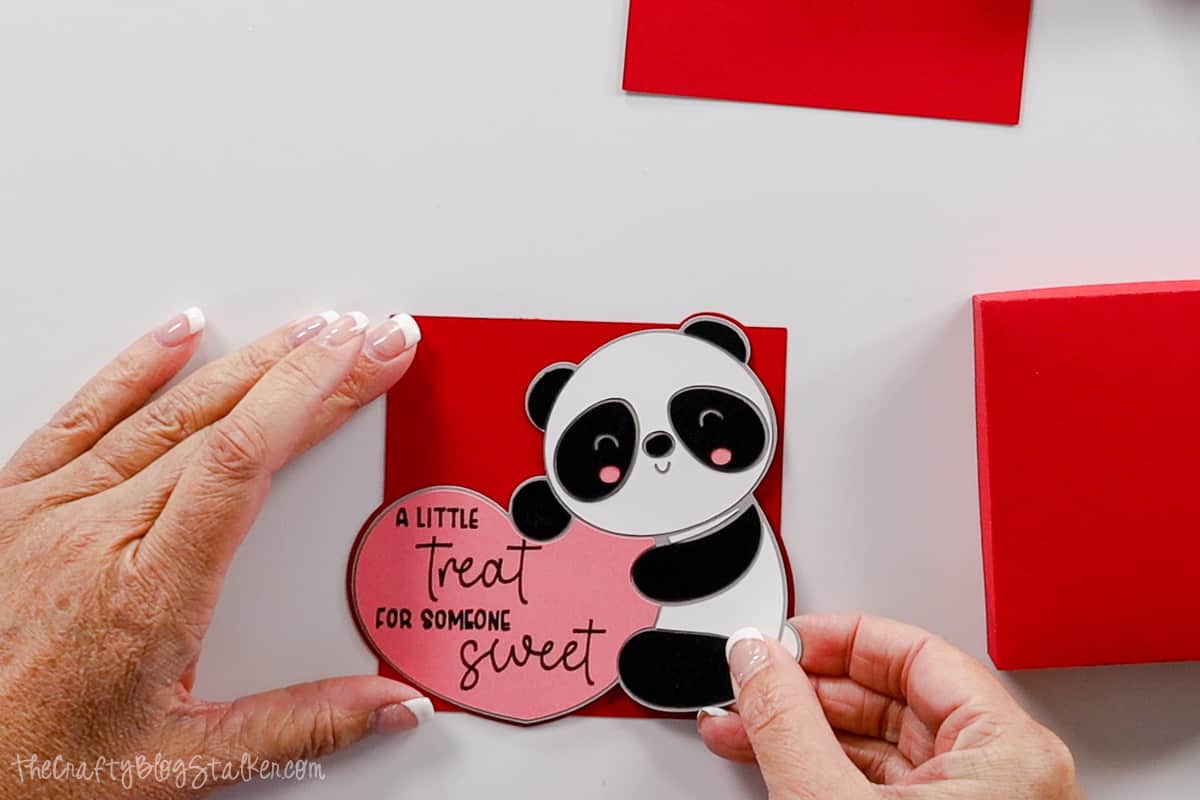
Flip that piece over and apply adhesive only where the box top will be.
Make sure that you are holding the top part of the box. Place it in the center of the square to make the lid of the box.
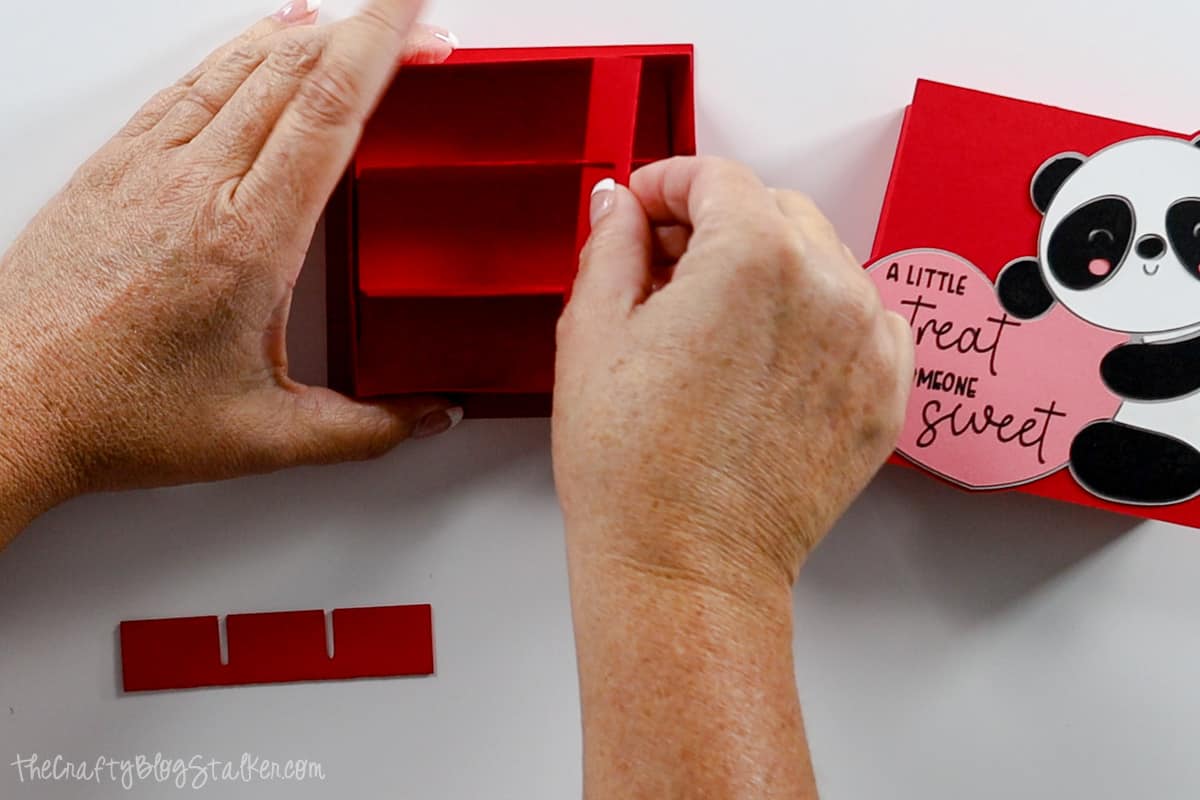
Fold paper along the fold lines of the rectangle piece. You will want to have two peaks.
Place the folded piece inside of the box.
Fold the dividers along the score lines and apply glue in the center to keep them folded. Place the divider pieces in the box bottom so you have 9 perfect squares in the middle of the box.
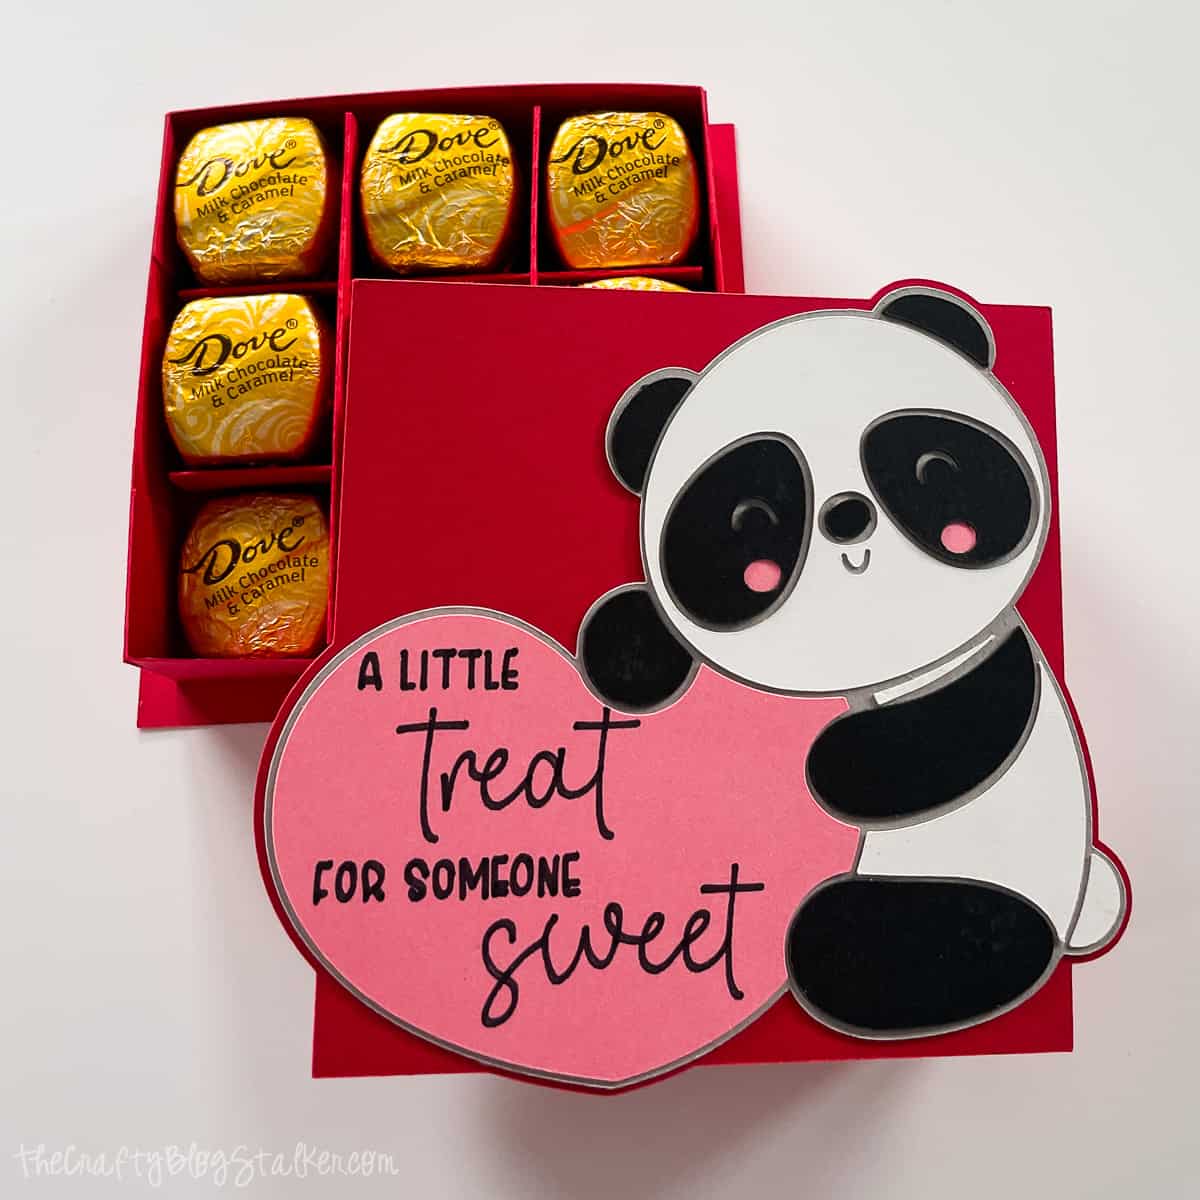
Fill the paper box up with the Dove Chocolates and your candy box is ready to gift. No wrapping paper is needed because the finished box is already so cute!
This isn't just for Valentine's. This would also be a thoughtful Mother's Day gift, or a Just Because I Care gift.
It is so stinking cute!
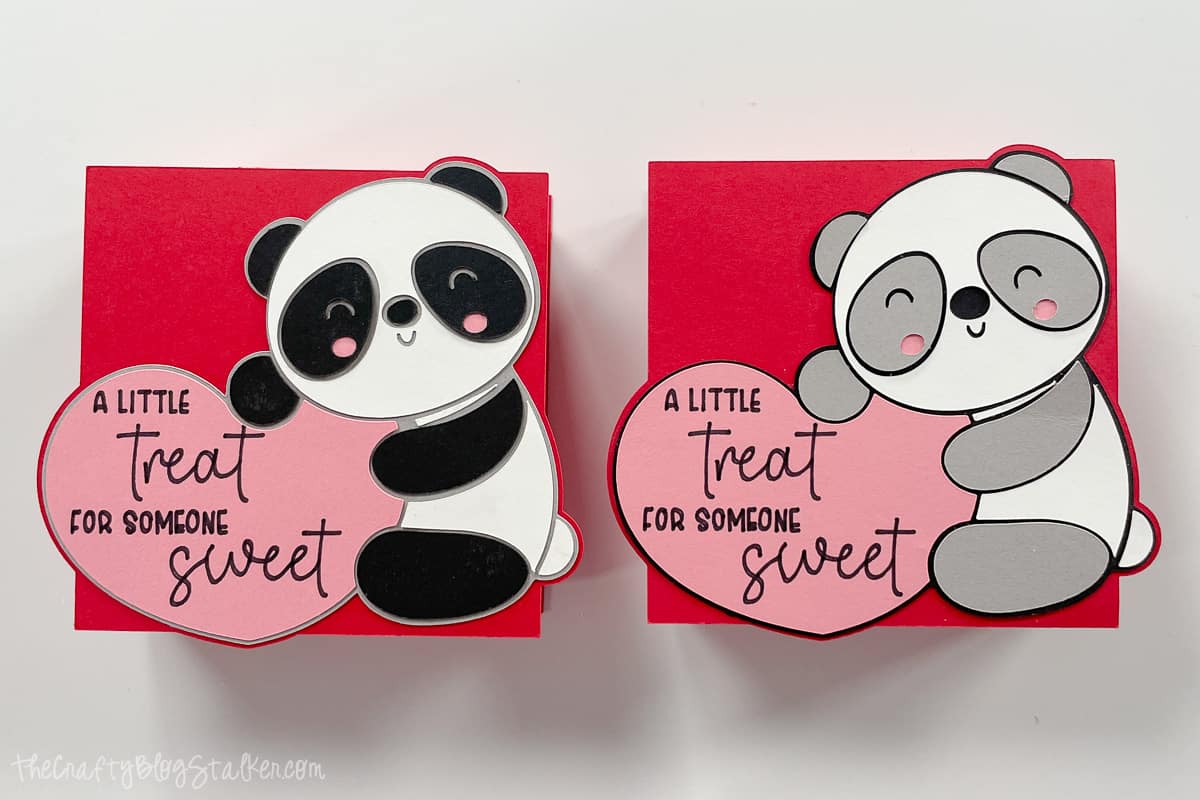
I also made a gray panda version and I can't decide which DIY paper boxes I like better?
I just love DIY projects! They are a fun way to give small gifts.
What other small items could you put inside? I'd love to know your thoughts!
Our Crafting Essentials List:
- The Cricut Cutting Machine is easily our favorite crafting tool. We use it in so many of our tutorials!
- These MakerX Crafting Tools are perfect for keeping in the craft room, and are always ready when you need them!
- This Fiskars Paper Trimmer is easy to use and cuts nicely without frayed edges.
- These Scotch Precision Scissors cut like a dream and you get multiple pairs in a pack!
Follow The Crafty Blog Stalker

The post How to Make a Paper Box for Chocolates on Valentine's Day appeared first on The Crafty Blog Stalker.