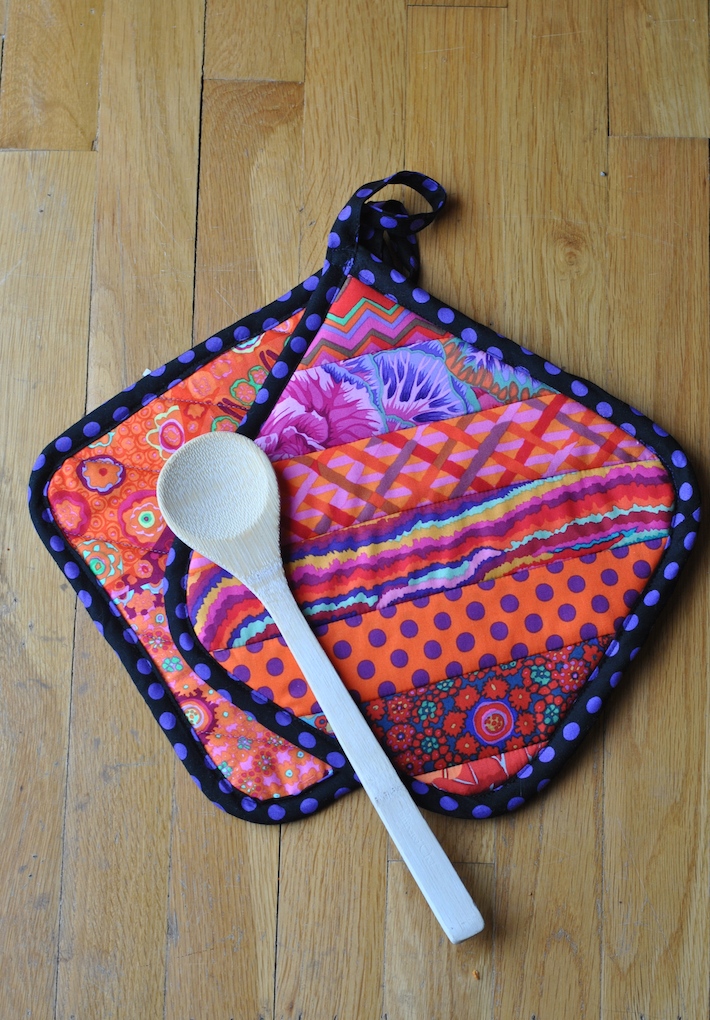
I decided what I did need was some new potholders in my life, and I needed them now. But fear not, my dear friends, today is the day we’ll bring the spotlight on these essential kitchen tools that you can make from scratch at home without spending a lot of money or time. Even better if you have kids, teaching them how to make DIY potholders from scratch can help exercise their creativity while also helping out around the house. This potholder pattern requires only simple stitching and sewing techniques, so it is a good project for beginners who want to sew through multiple layers of fabric.
What kind of batting do you use for potholders?
Potholders should be made with a sturdy lining and anchored by quilting or tying them. The type of batting you use will affect the finished product, so choosing one that works well for your intended design is essential. The insulated fabric prevents heat from escaping through the material so you can safely hold it with your hands. Potholders generally have thick layers of insulation sandwiched between two layers of fabric sewn into a pouch that encases your hand like a pocket. I recommend Insul-Bright batting because it works well with cotton fabrics, and it’s easy to sew together. Some people use quilting cotton, fleece, polar fleece, or other insulating materials for their potholders. You will need to ensure that whatever type of batting you decide to use will be insulated enough to protect your hands while holding hot pans.
What materials do I need to make a potholder?
Double the list below if you plan on making a pair.
- Front fabric: 6 fabric strips 2 1/2″ wide and 14″ long
- Backing fabric: (1) 10 1/2″ square
- Binding fabric: bias cut fabric strips to make 1-2/3 yards of 2 1/2″-wide double-fold quilt binding
- Insulated batting: (1) 10 1/2″ square Insul-Bright batting
- Quilt batting scraps: (2) 10 1/2″ squares
- Rotary cutter (Olfa 60 mm rotary cutter) and drinking glass to round corners

Step 1
Stack your pot holder materials like this: Backing fabric, right side down. On top of that, place a 10 1/2″ batting square, then insulated batting, then another layer of batting. Spray baste these together or pin them in a few places if you prefer.

Step 2
Place one of your fabric strips right side up on the batting, going from corner to corner. Place another strip on top of that, right side down. Stitch a straight line 1/4″ from one long edge of the strips, sewing through the entire stack. Hold these in place while you run over to your sewing machine.

Step 3
Press that top fabric strip over to the side, so both strips are facing right side up. Take another strip and place it right side down on top of the last strip you sewed. Stitch 1/4″ from the edge, and fold this strip open. Repeat this process until you’ve covered the entire front of your pot holder in strips. You’ll be working from both the right and the left of the center strip you started with.

Step 4
Your potholder should look something like this. Now take your ruler and trim it to 10″ square.

Step 5
Take a drinking glass, Mason jar lid, or other round object and round off 3 corners using your rotary cutter.

I hope you enjoyed this quilt-as-you-go pot holder tutorial, and if you require some new, cute fabric, check out Craftsy’s sewing kits! They come with fabric and pattern… so convenient!
The post How to Make a Potholder? A Simple Step-by-Step Tutorial appeared first on Art & Craft, DIY ideas and Tutorials - Craftbuds.


