

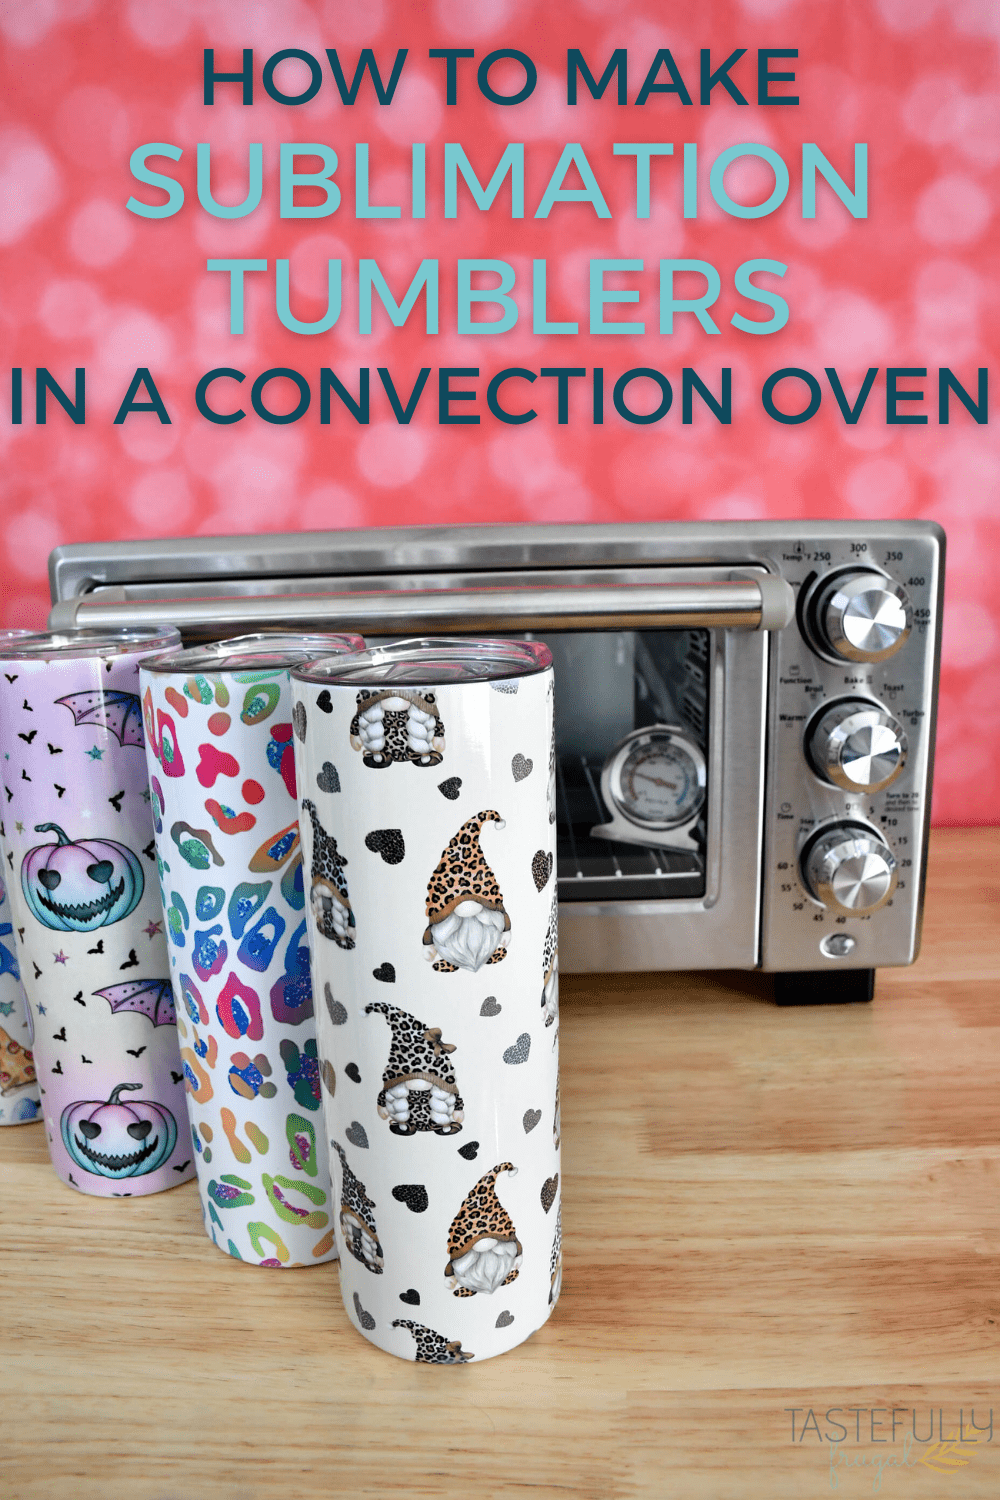
Learn what you need and tips on how to make sublimation tumblers in your convection oven in less than 10 minutes!
When I first converted my Epson printer for sublimation (you can watch the video and learn how to convert an EcoTank printer here) the project I was most excited about making were sublimation tumblers! I have a soda drinking problem (I’m not addicted, I’m committed amiright?!) and being able to customize tumblers for the seasons, holidays, or just because makes me feel a little bit better about drinking more than one soda a day!
The learning curve was a little longer than I expected for making the full wrap tumblers but that’s OK. I learned a lot and I’ll be sharing not only how to do the full wrap sublimation tumblers in this post but also what NOT to do and how to avoid making the mistakes I made. Let’s jump right in!
If you’ve been making sublimation tumblers in a convection oven without success, check out the section at the end of this post for common mistakes and how to fix them.
Supplies To Make Sublimation Tumblers in a Convection Oven
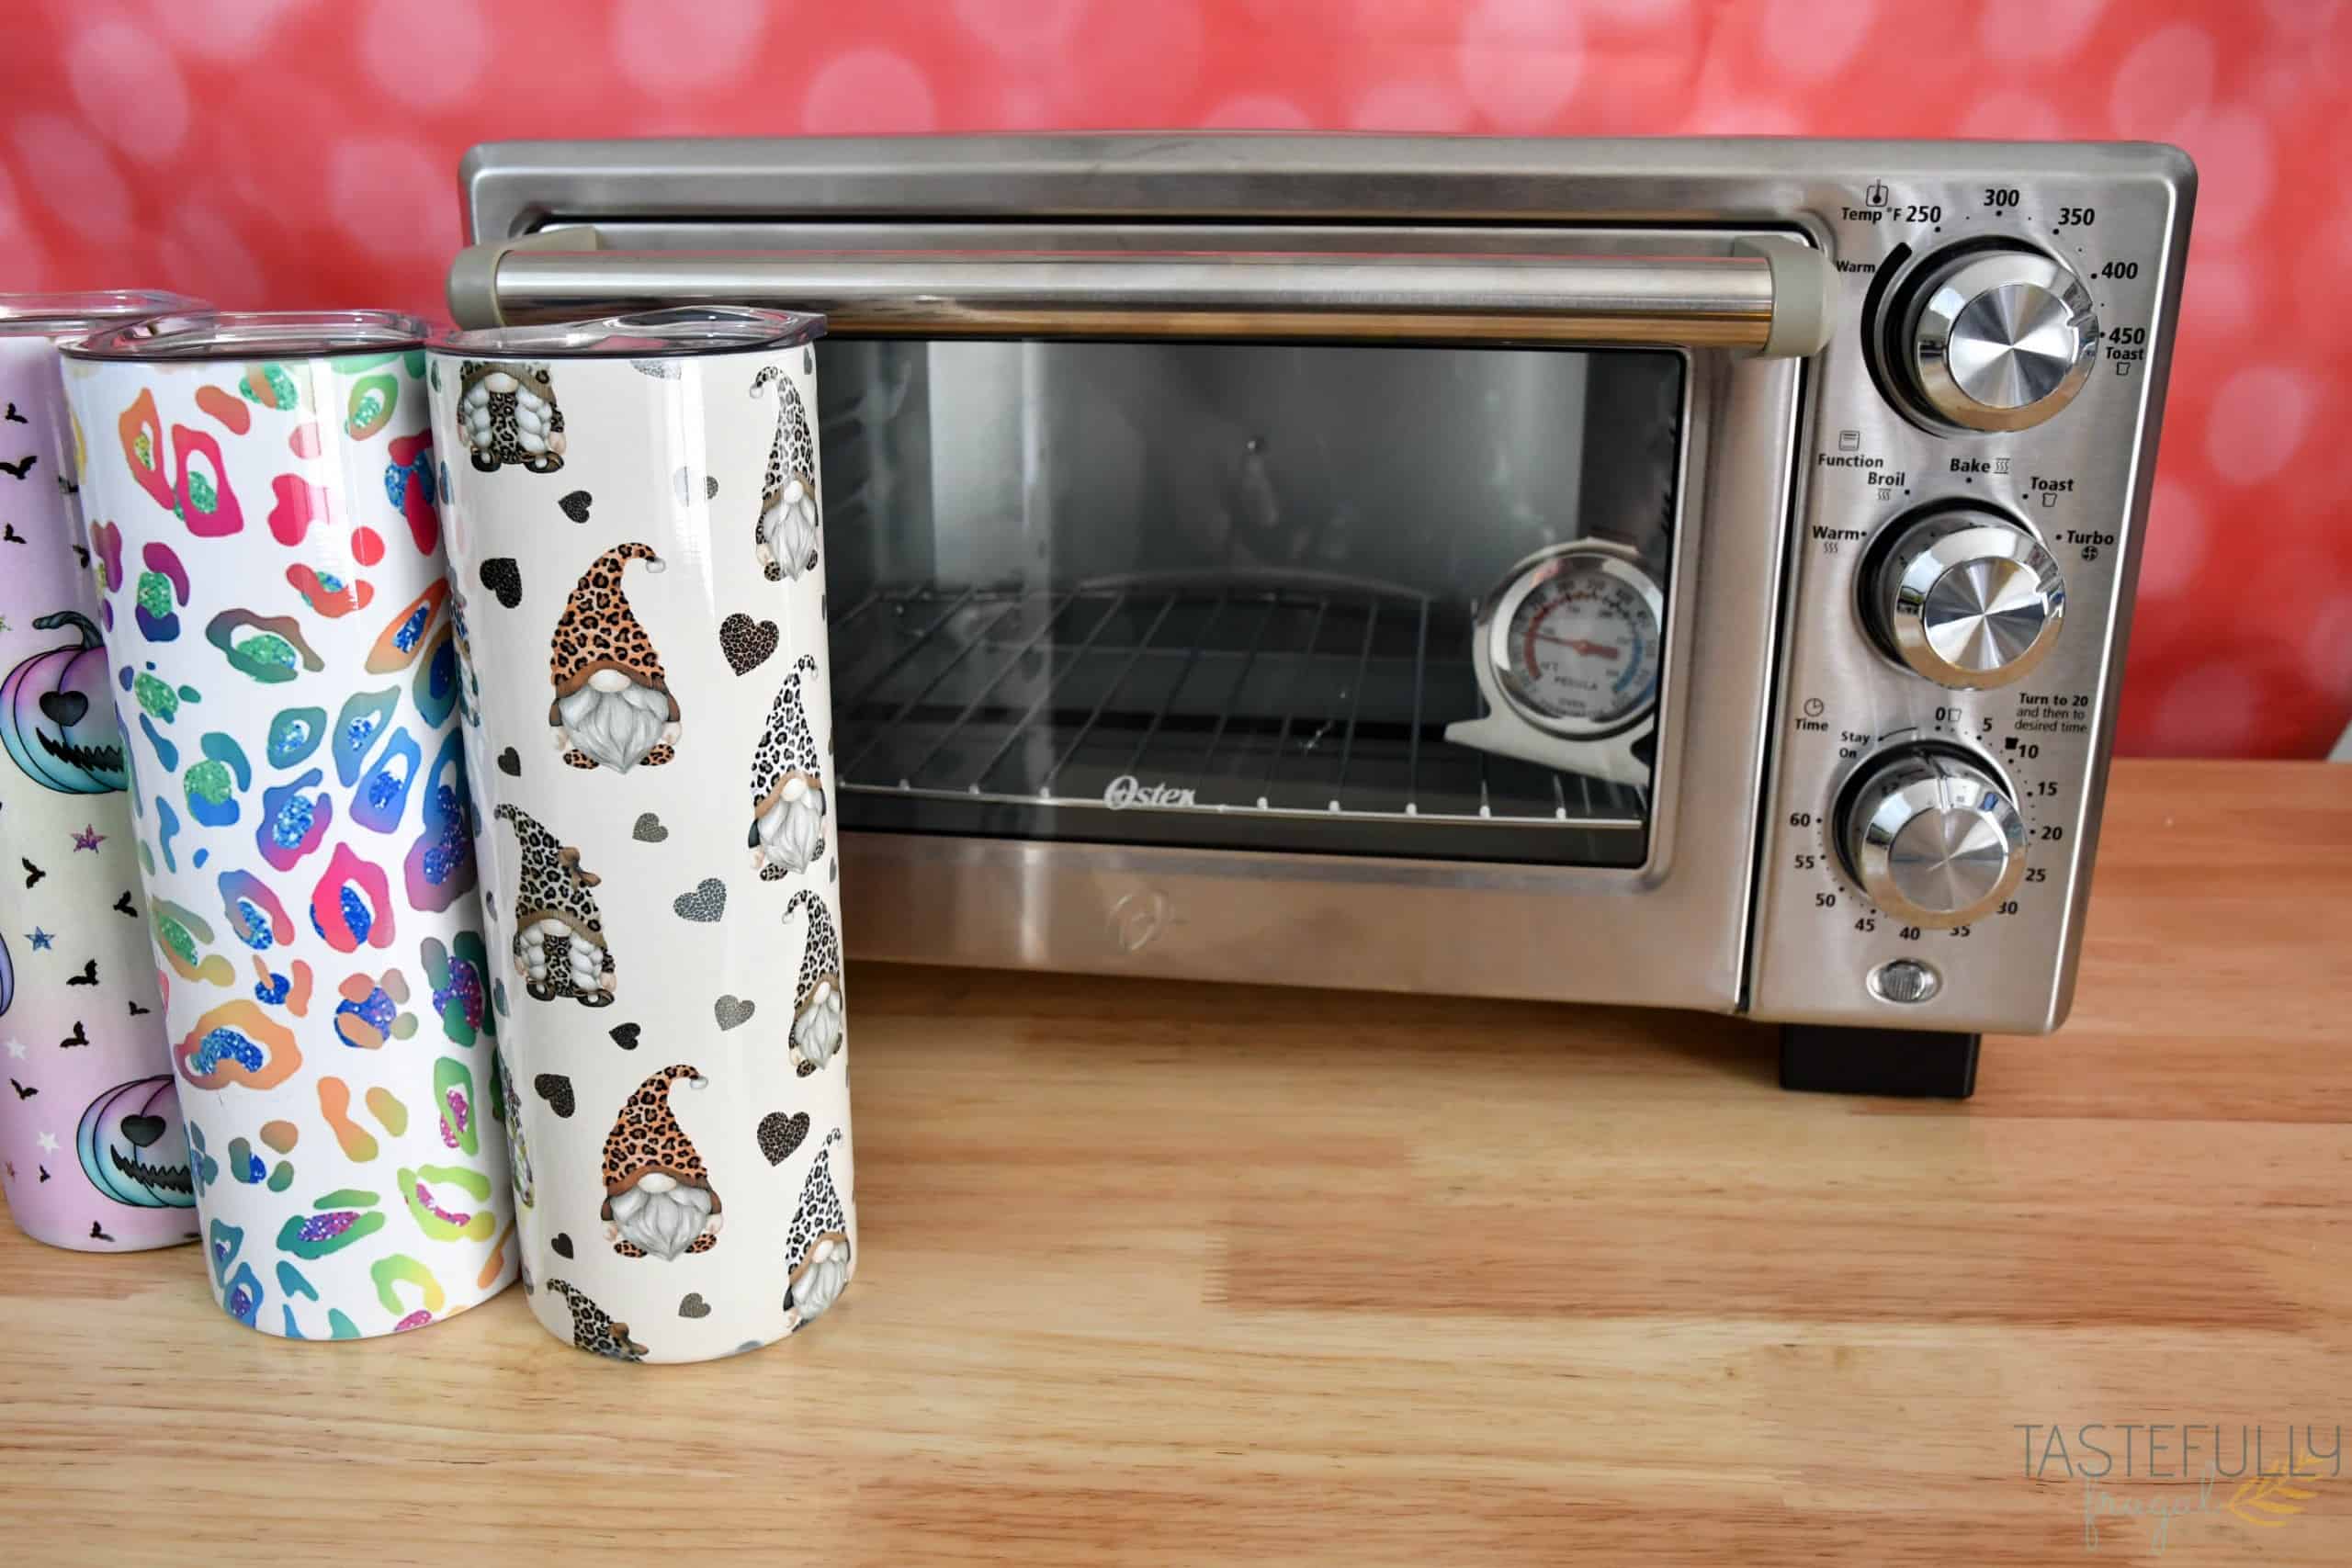
The first thing you’ll need is a convection oven. This is the convection oven I have been using and it works great! When I bought it at Walmart it was only $48, but the prices have since gone up. I have asked a few friends and here are some other convection ovens they have used and recommend.
Since sharing on Instagram the process of making sublimation tumblers in my convection oven, I’ve gotten several questions about the oven itself. Here are some of the answers to the most commonly asked questions I get asked:
- Can I use a toaster oven? Yes, as long as it has temperature settings up to 400F.
- Can I use the convection oven I already have? Yes, but once you make the tumblers in it you will not be able to use it to cook food in again.
- Why can’t I cook with the same convection oven I use for sublimation? The way that sublimation works is by turning the ink into a gas and pressing it on to surface at very high temperatures. These gases are harmful if they are ingested. If you use the same oven you cook with to do sublimation you run the risk of getting those gases into the foods you are preparing.
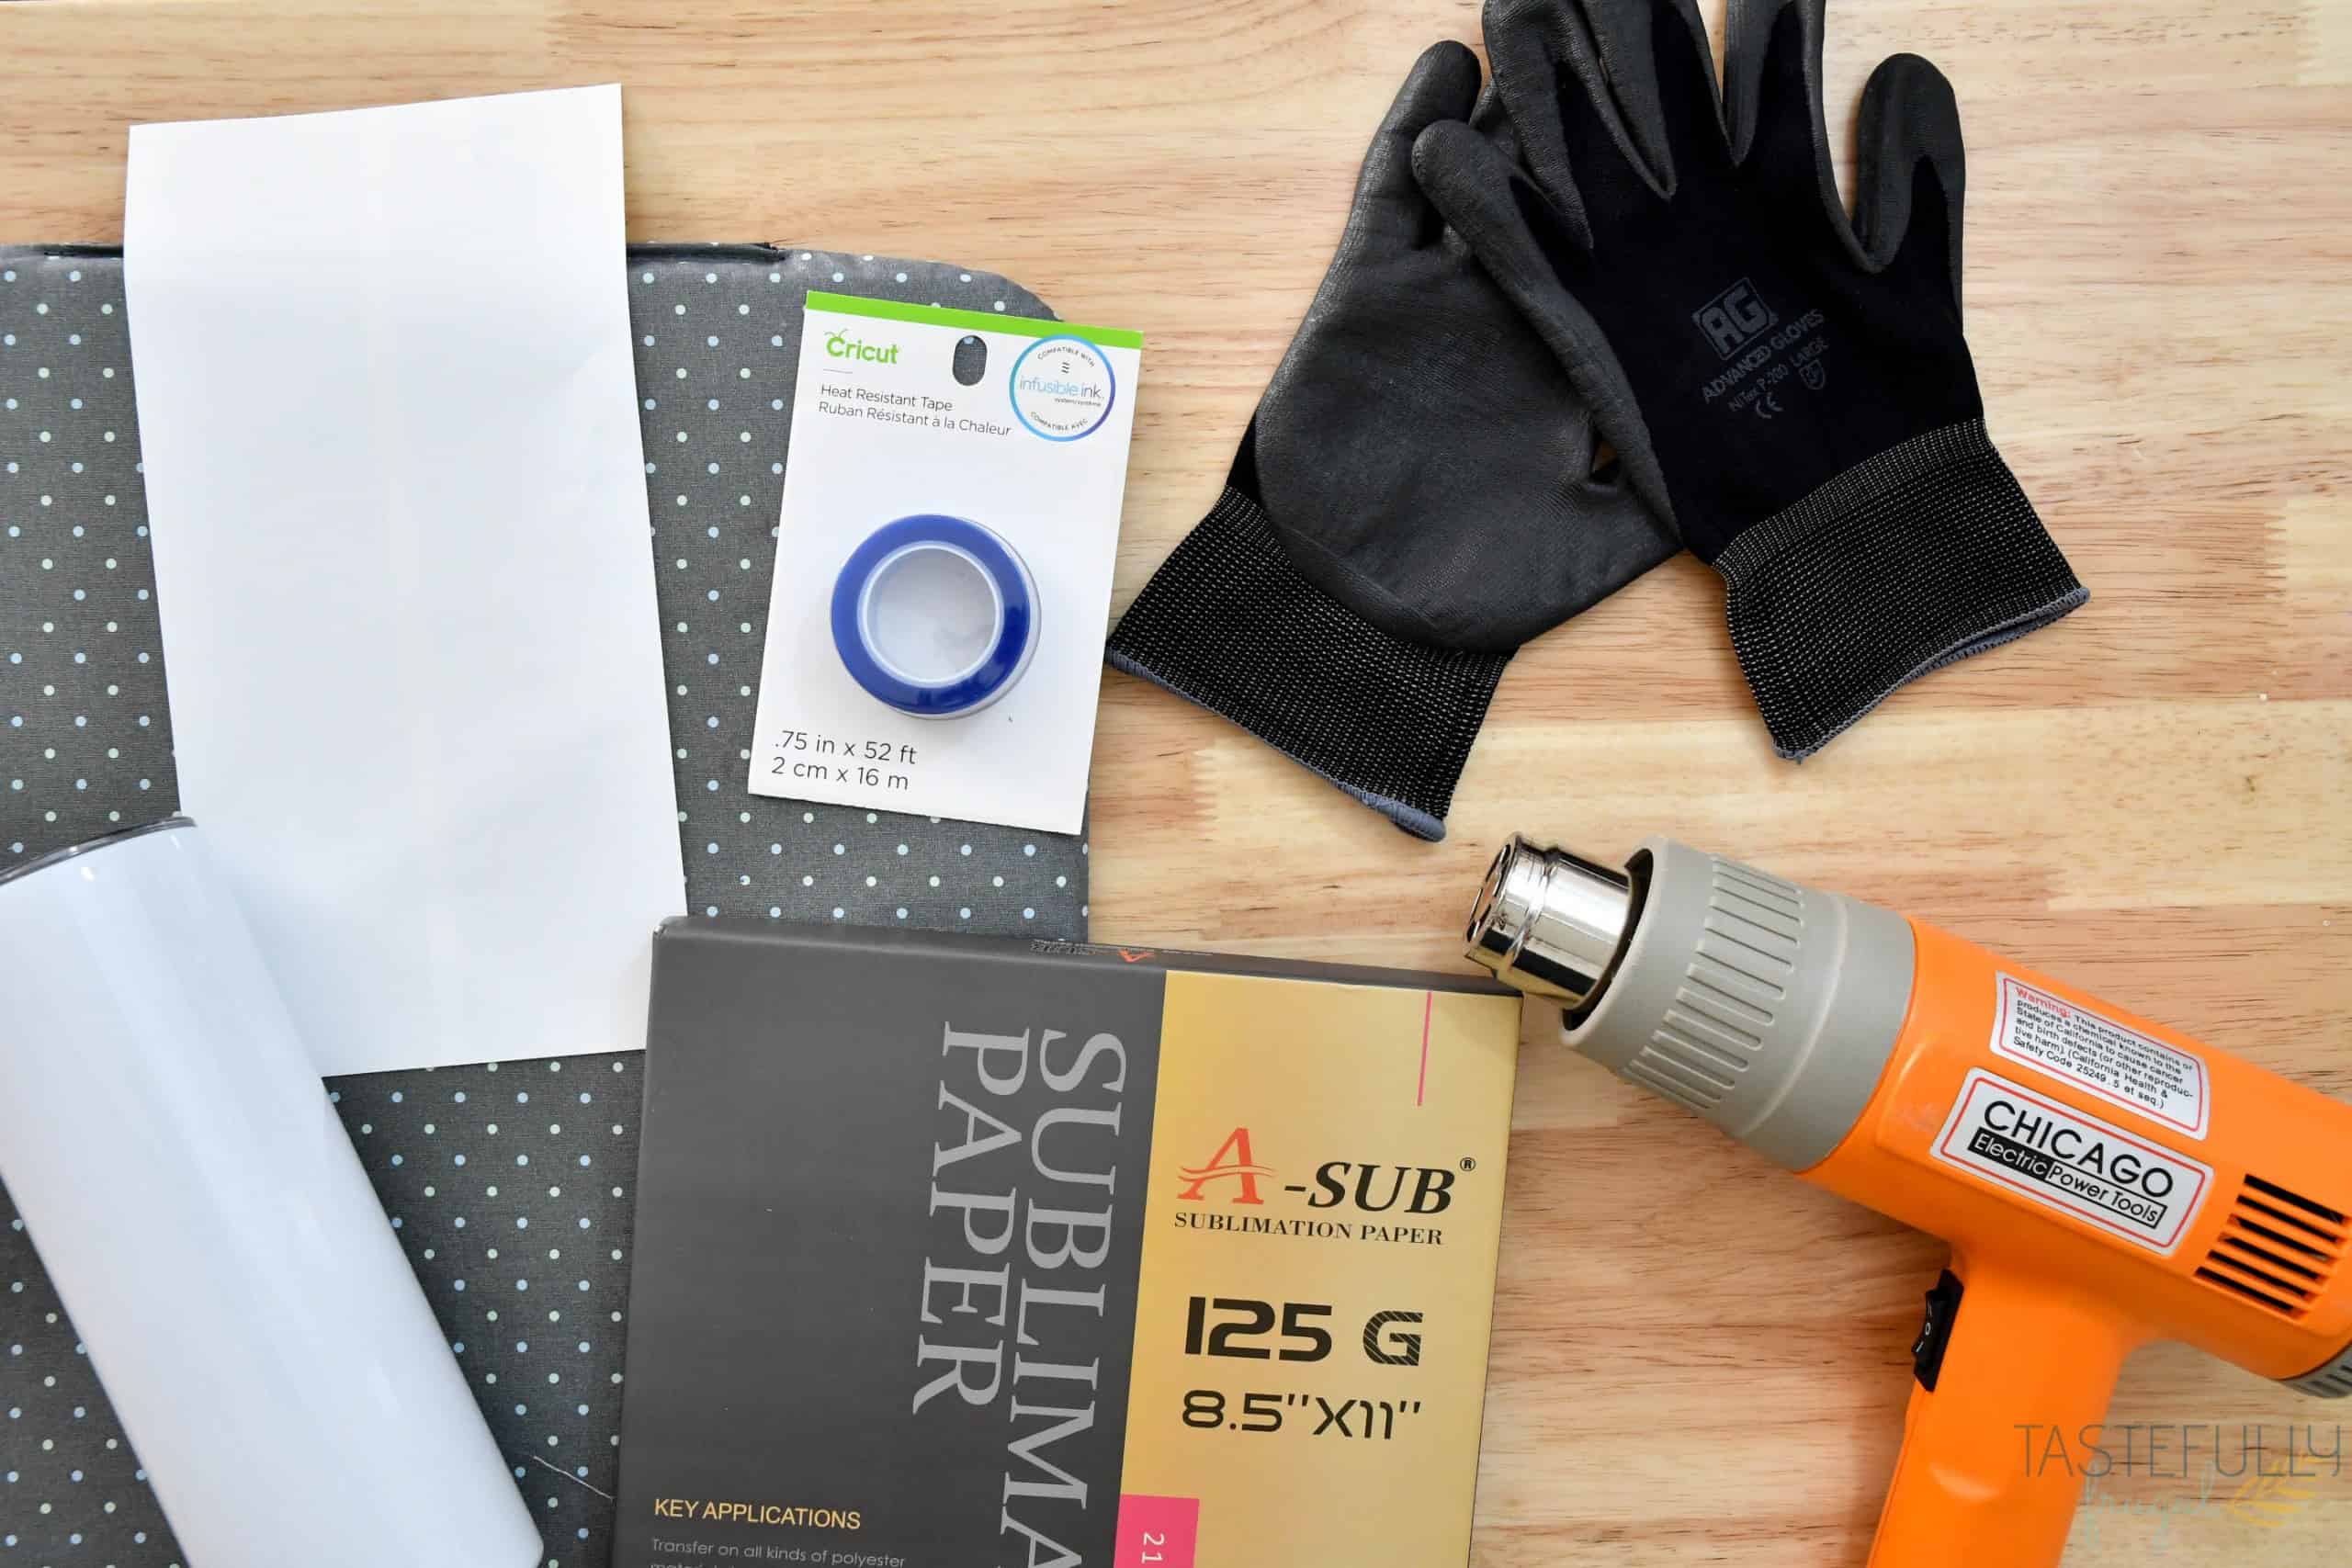
Other Supplies Needed
Here are the other supplies you’ll need to make sublimation tumblers in a convection oven. If you like to shop on Amazon, I created a list of all the supplies you’ll need in my Amazon store.
- Sublimation Tumblers – I have gotten mine from 143Vinyl, Amazon and Diy4Dayze. You can use code TF5 on 143Vinyl to save 5%. For this tutorial we are using 20oz Skinny Tumblers
- Sublimation Printer – I have the Epson EcoTank 2720 and converted it for sublimation. You can learn how to do this in this post.
- Sublimation Paper – I have used the ASub brand and StarCraft brand and both work great. Use code TF5 to save on the StarCraft brand at 143Vinyl.
- Heat Resistant Tape – To tape your sublimation paper to the tumbler.
- Paper Trimmer – To trim design down to size if needed.
- Shrink Wrap – Use this to give the added pressure and heat needed for the sublimation ink to press into the tumbler.
- Heat Gun – To shrink the shrink wrap onto the tumbler.
- Oven Thermometer – To get an accurate temperature reading in the oven.
- Heat Mat – I use my EasyPress mat. You can also use a hot pad. This is what you’ll put the tumbler on after it comes out of the oven while it cools.
- Heat Resistant Gloves – To protect your hands when removing the tumbler from the oven.
- Printer Paper – To put on the wire rack to prevent the shrink wrap from sticking.
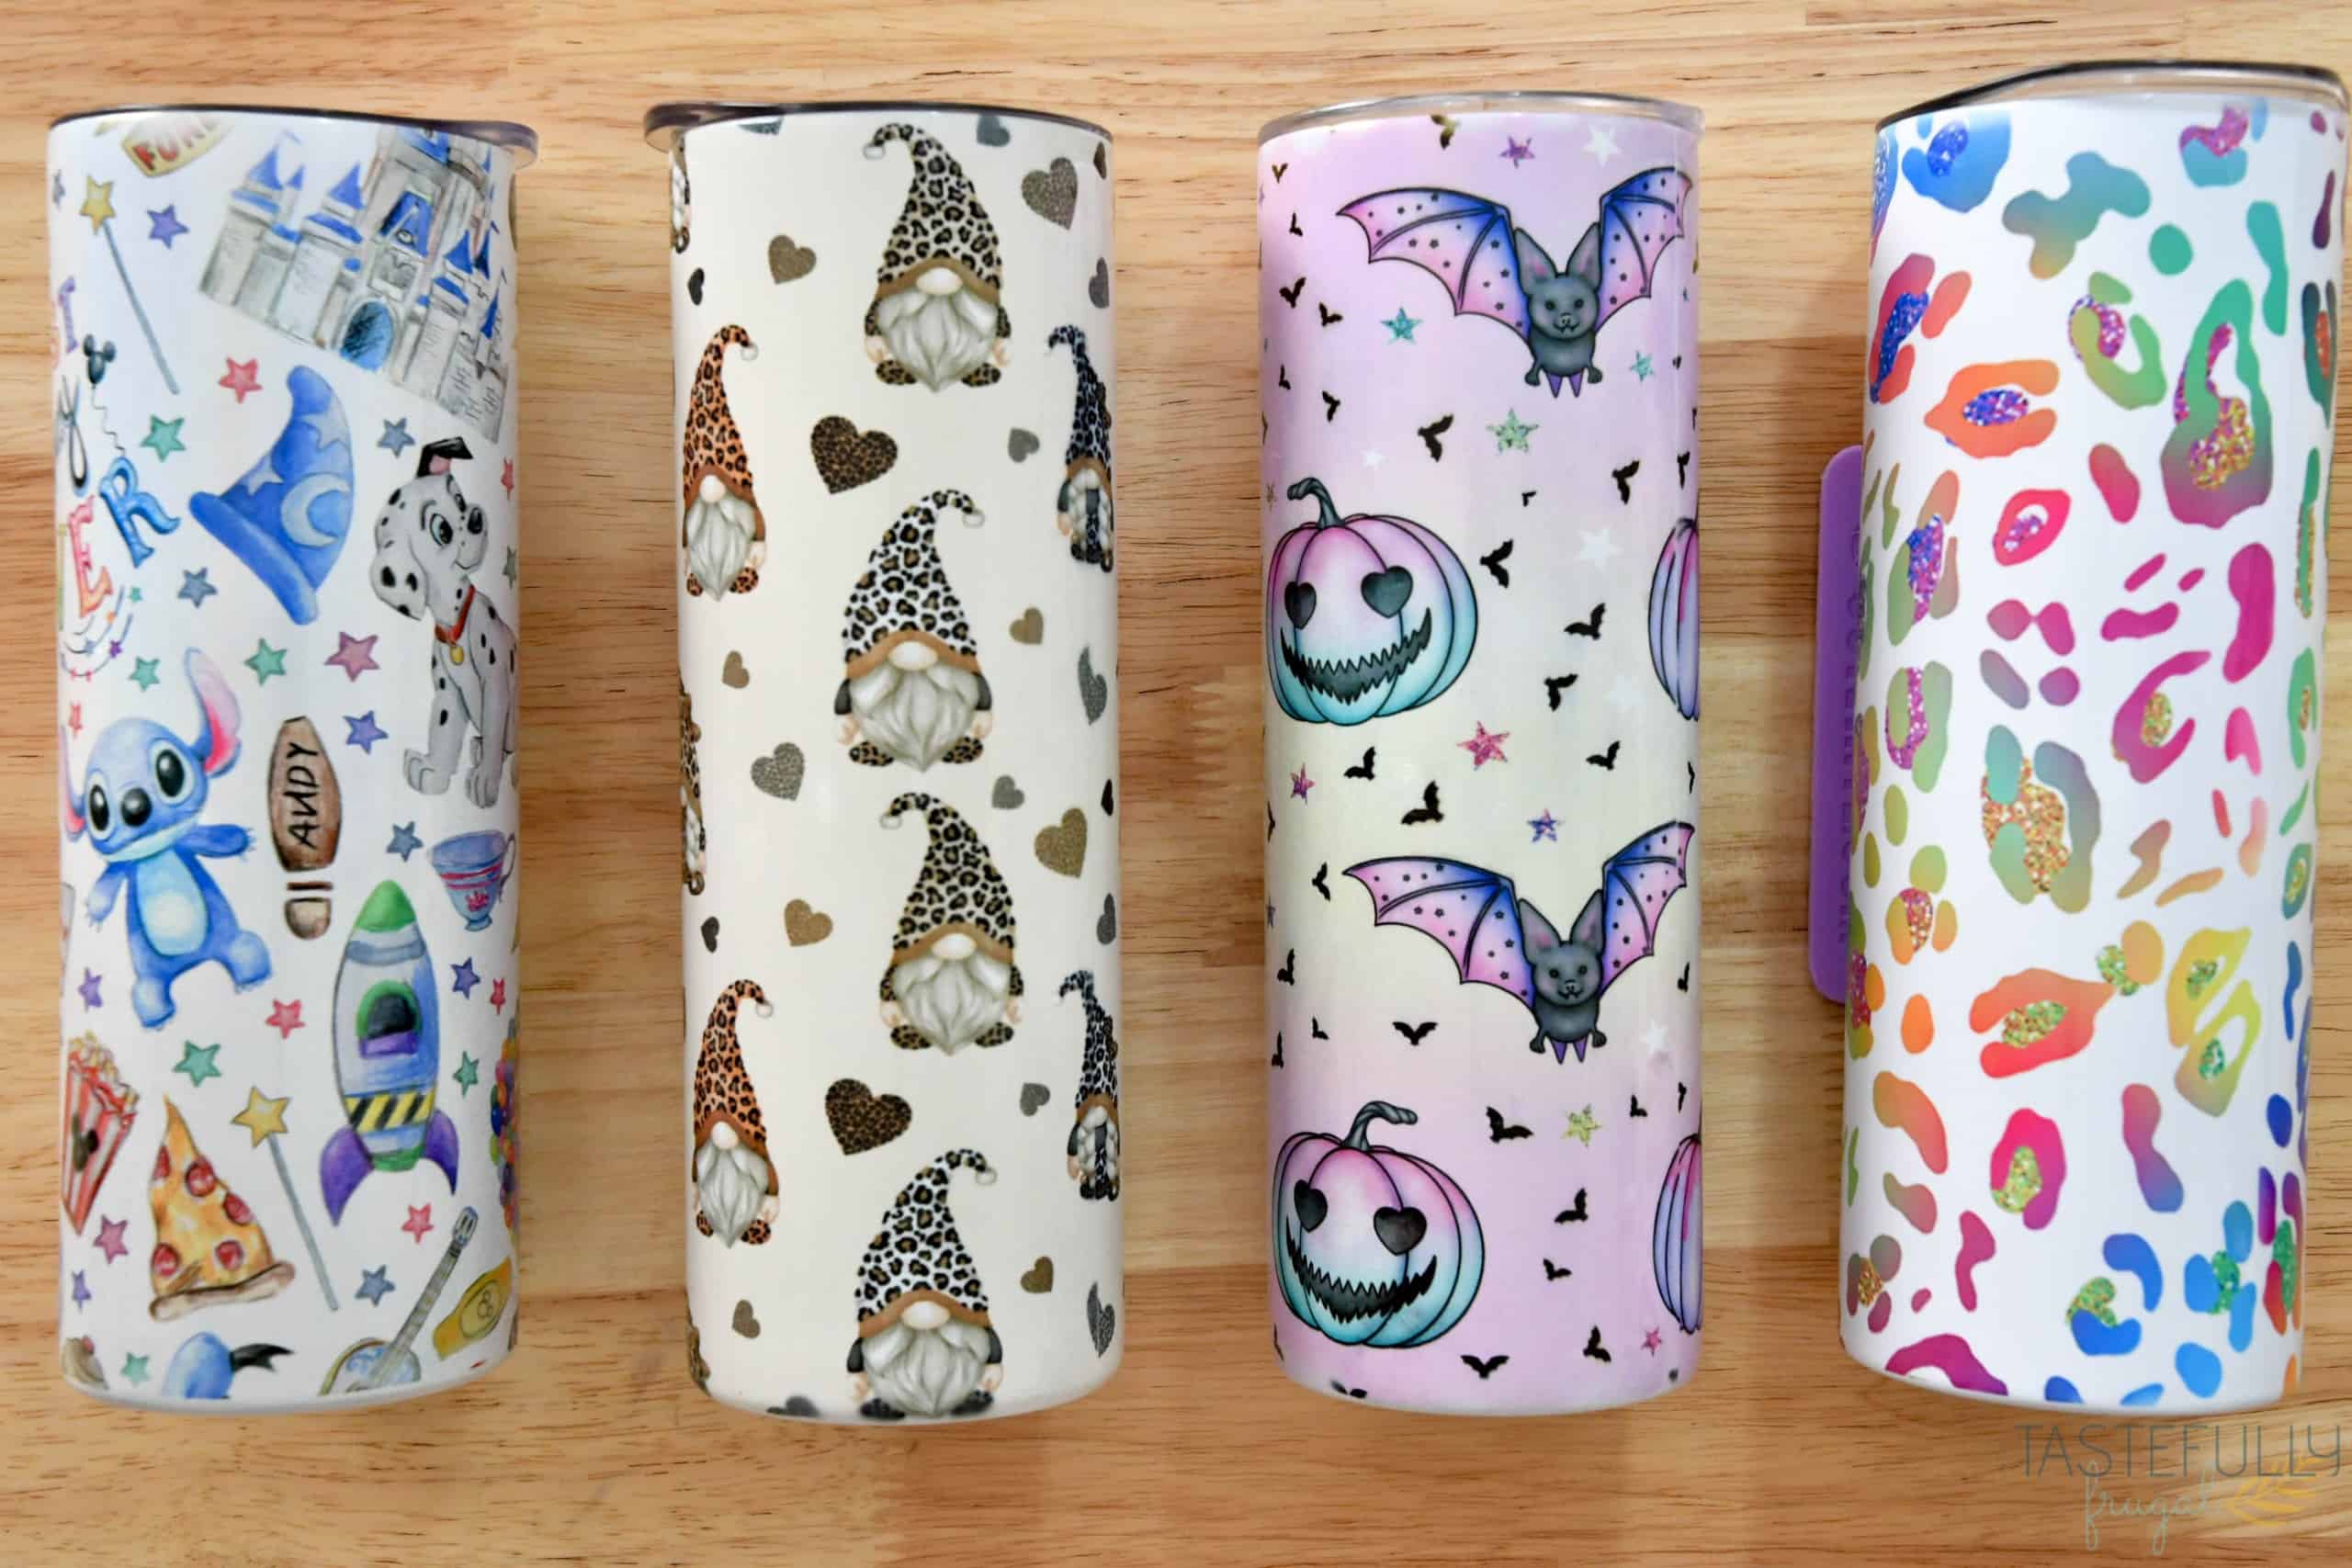
What Designs Work Best For Sublimation Tumblers
You can print any PNG file for sublimation. Some of my favorite places to get sublimation designs are:
If you are wanting to make a full wrap design, like I show you how to do below, make sure you are getting a seamless pattern that is 300DPI.
What Size Do I Need To Print Patterns To Make A Full Wrap
I’ve experimented with a few different sizes and I’ve found that 9.3″x8.25″ work best. Sometimes I still have to trim off 1/4″ or so but it’s better for your design to be too big than too small.
NOTE – This is for straight wall tumblers. Some tumblers, especially the glitter sublimation tumblers, are tapered. That means that the top is wider than the bottom. For tapered designs I suggest using a template, like this one, and then slicing your design into the template.
What Program Should I Use to Print My Sublimation Designs?
There are several different options when it comes to printing your sublimation designs. I personally use PhotoShop because I find it easier to design and make changes in. However if you’re not familiar with PhotoShop, or are looking for a free option, check out these other programs:
- Canva
- Inkscape
- Google Photos (download your PNG correctly sized and save to your Google Drive. You can print directly from the drive)
Make sure when you are printing your sublimation designs that you have your printer settings set for sublimation. If you haven’t already set up a preference for sublimation, check out this post to learn how.
How To Make Sublimation Tumblers in Convection Oven
Before we start, when you sublimate tumblers they do release a gas and does have a smell too. Make sure to make your tumblers in a well ventilated room with either an open window, a fan or both.
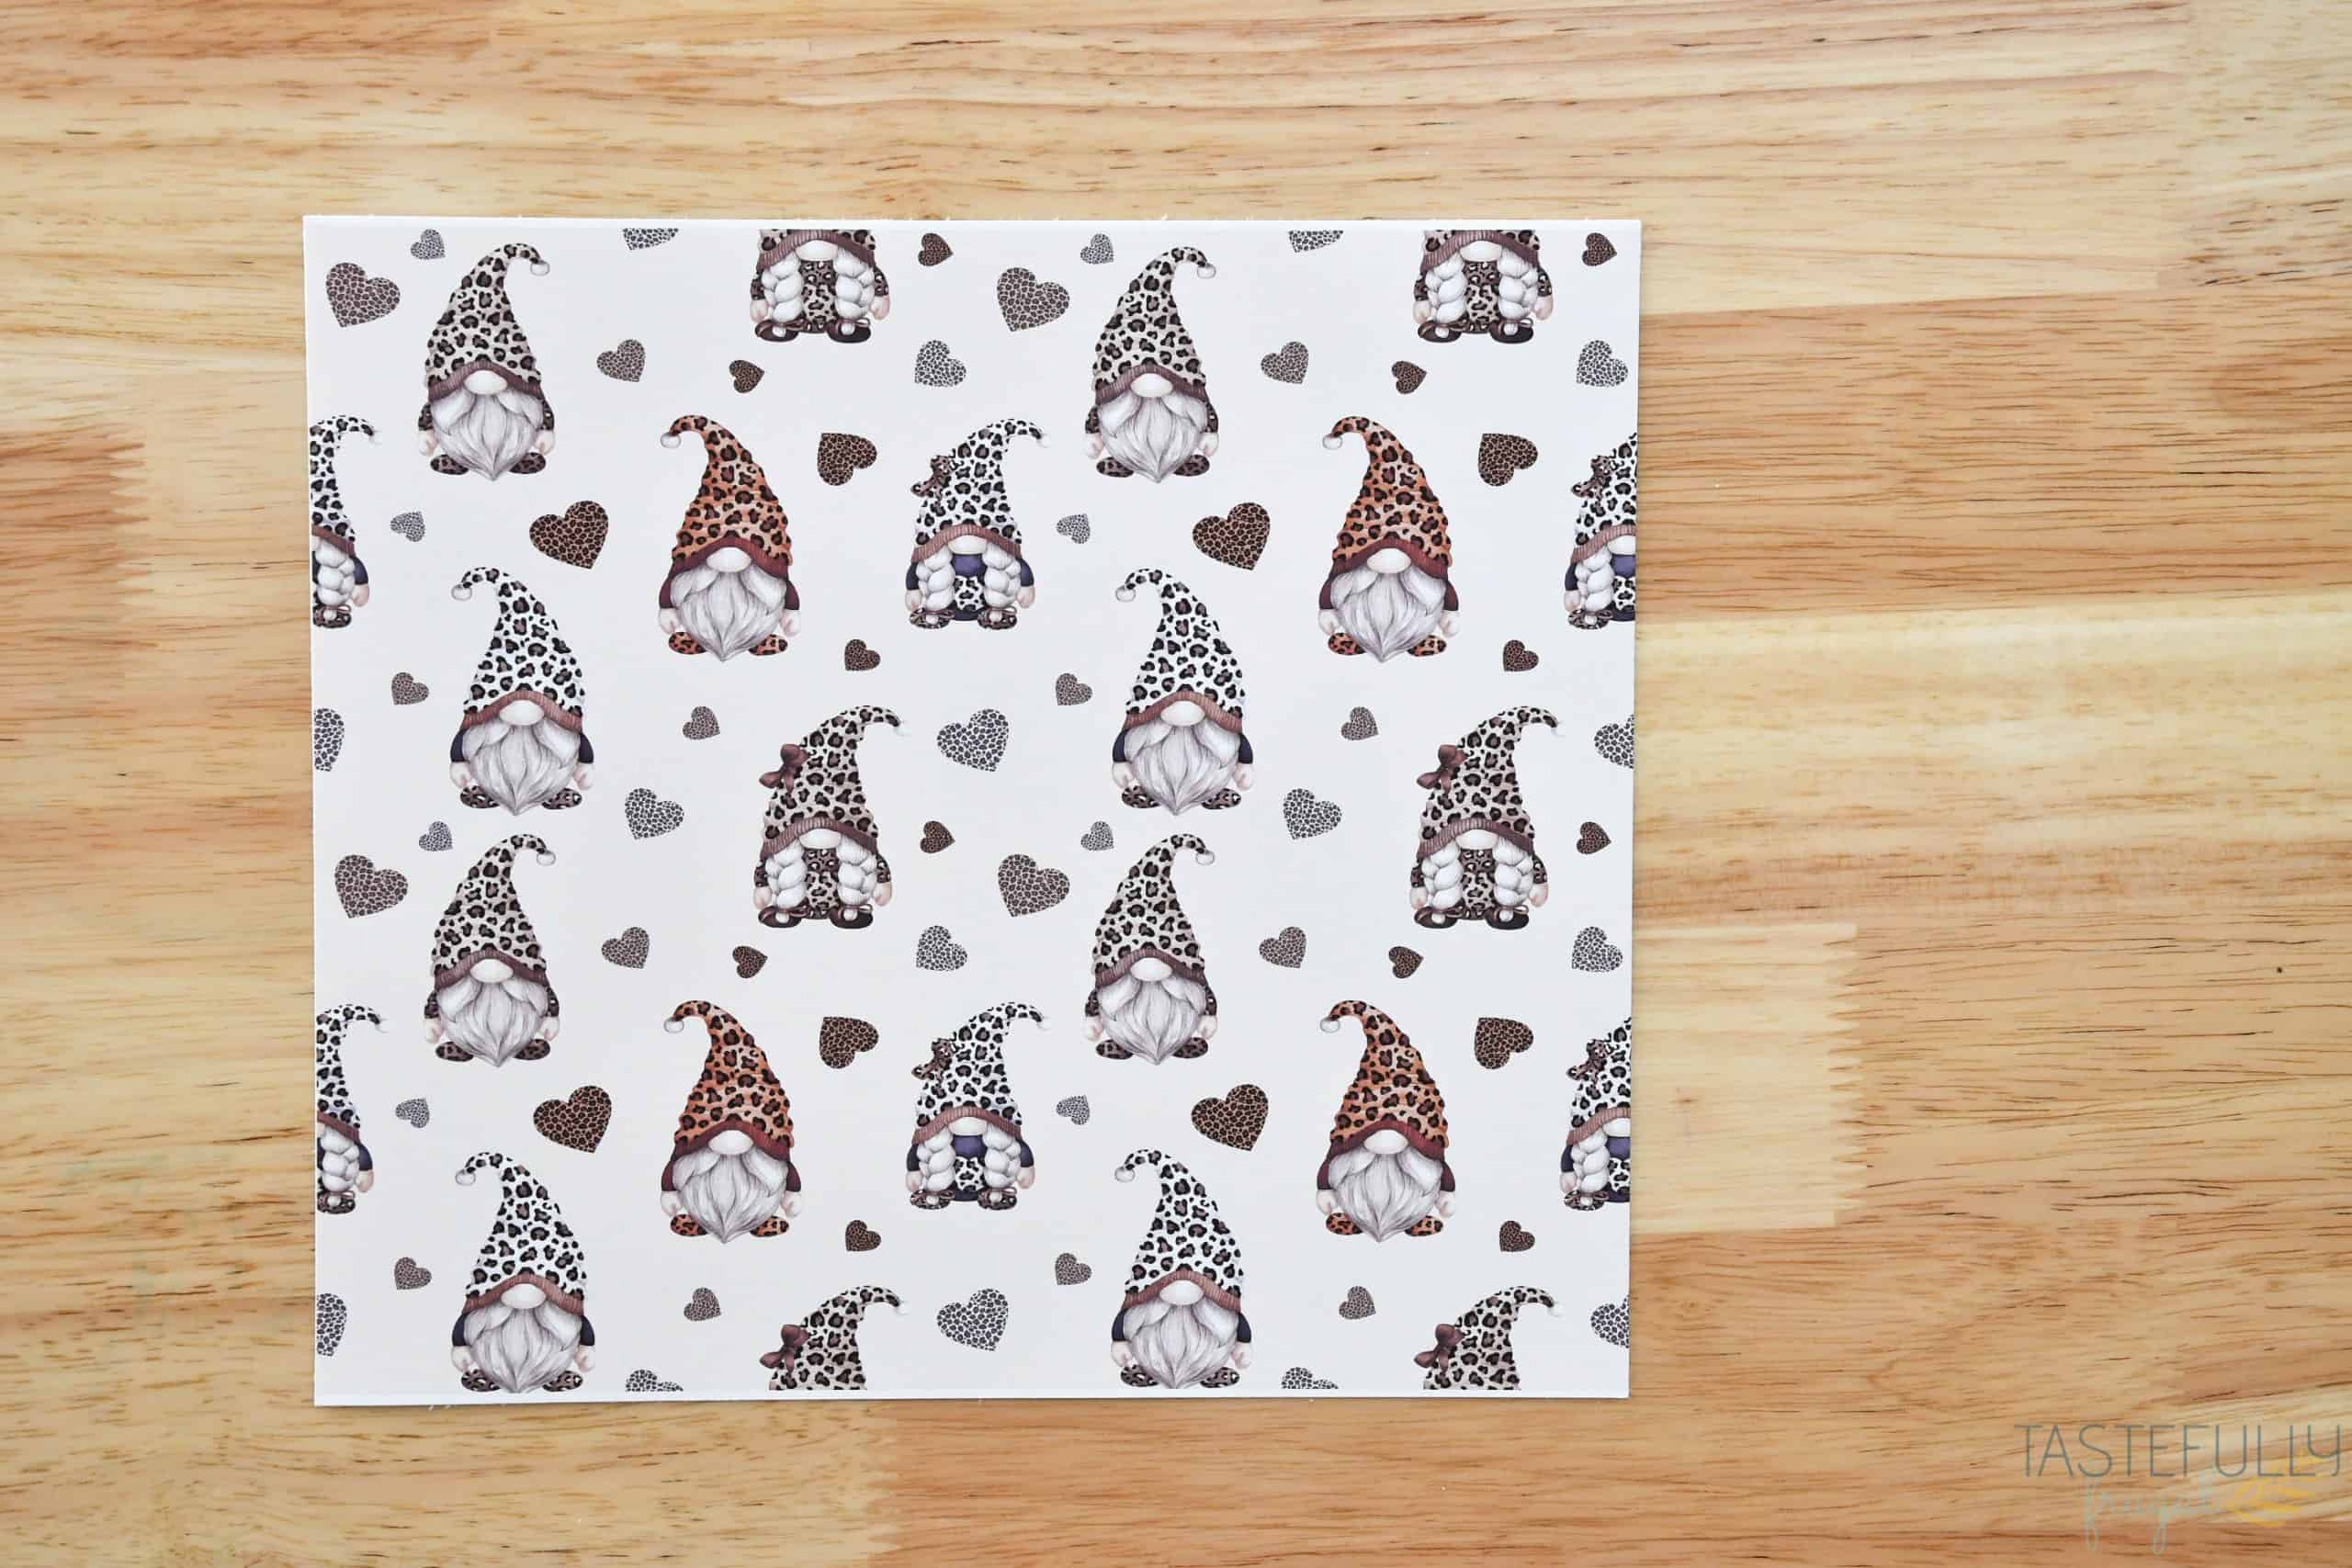
You’ve gathered your supplies, picked your design, now it’s time to make our tumbler! If you haven’t already print your design at 9.3″x8.25″. Make sure you are printing on the highest quality setting, turn off high speed printing, mirror your design and set your colors manually to Adobe RGB 2.2. If you have already set up your printer preferences for sublimation, just print on the sublimation settings.
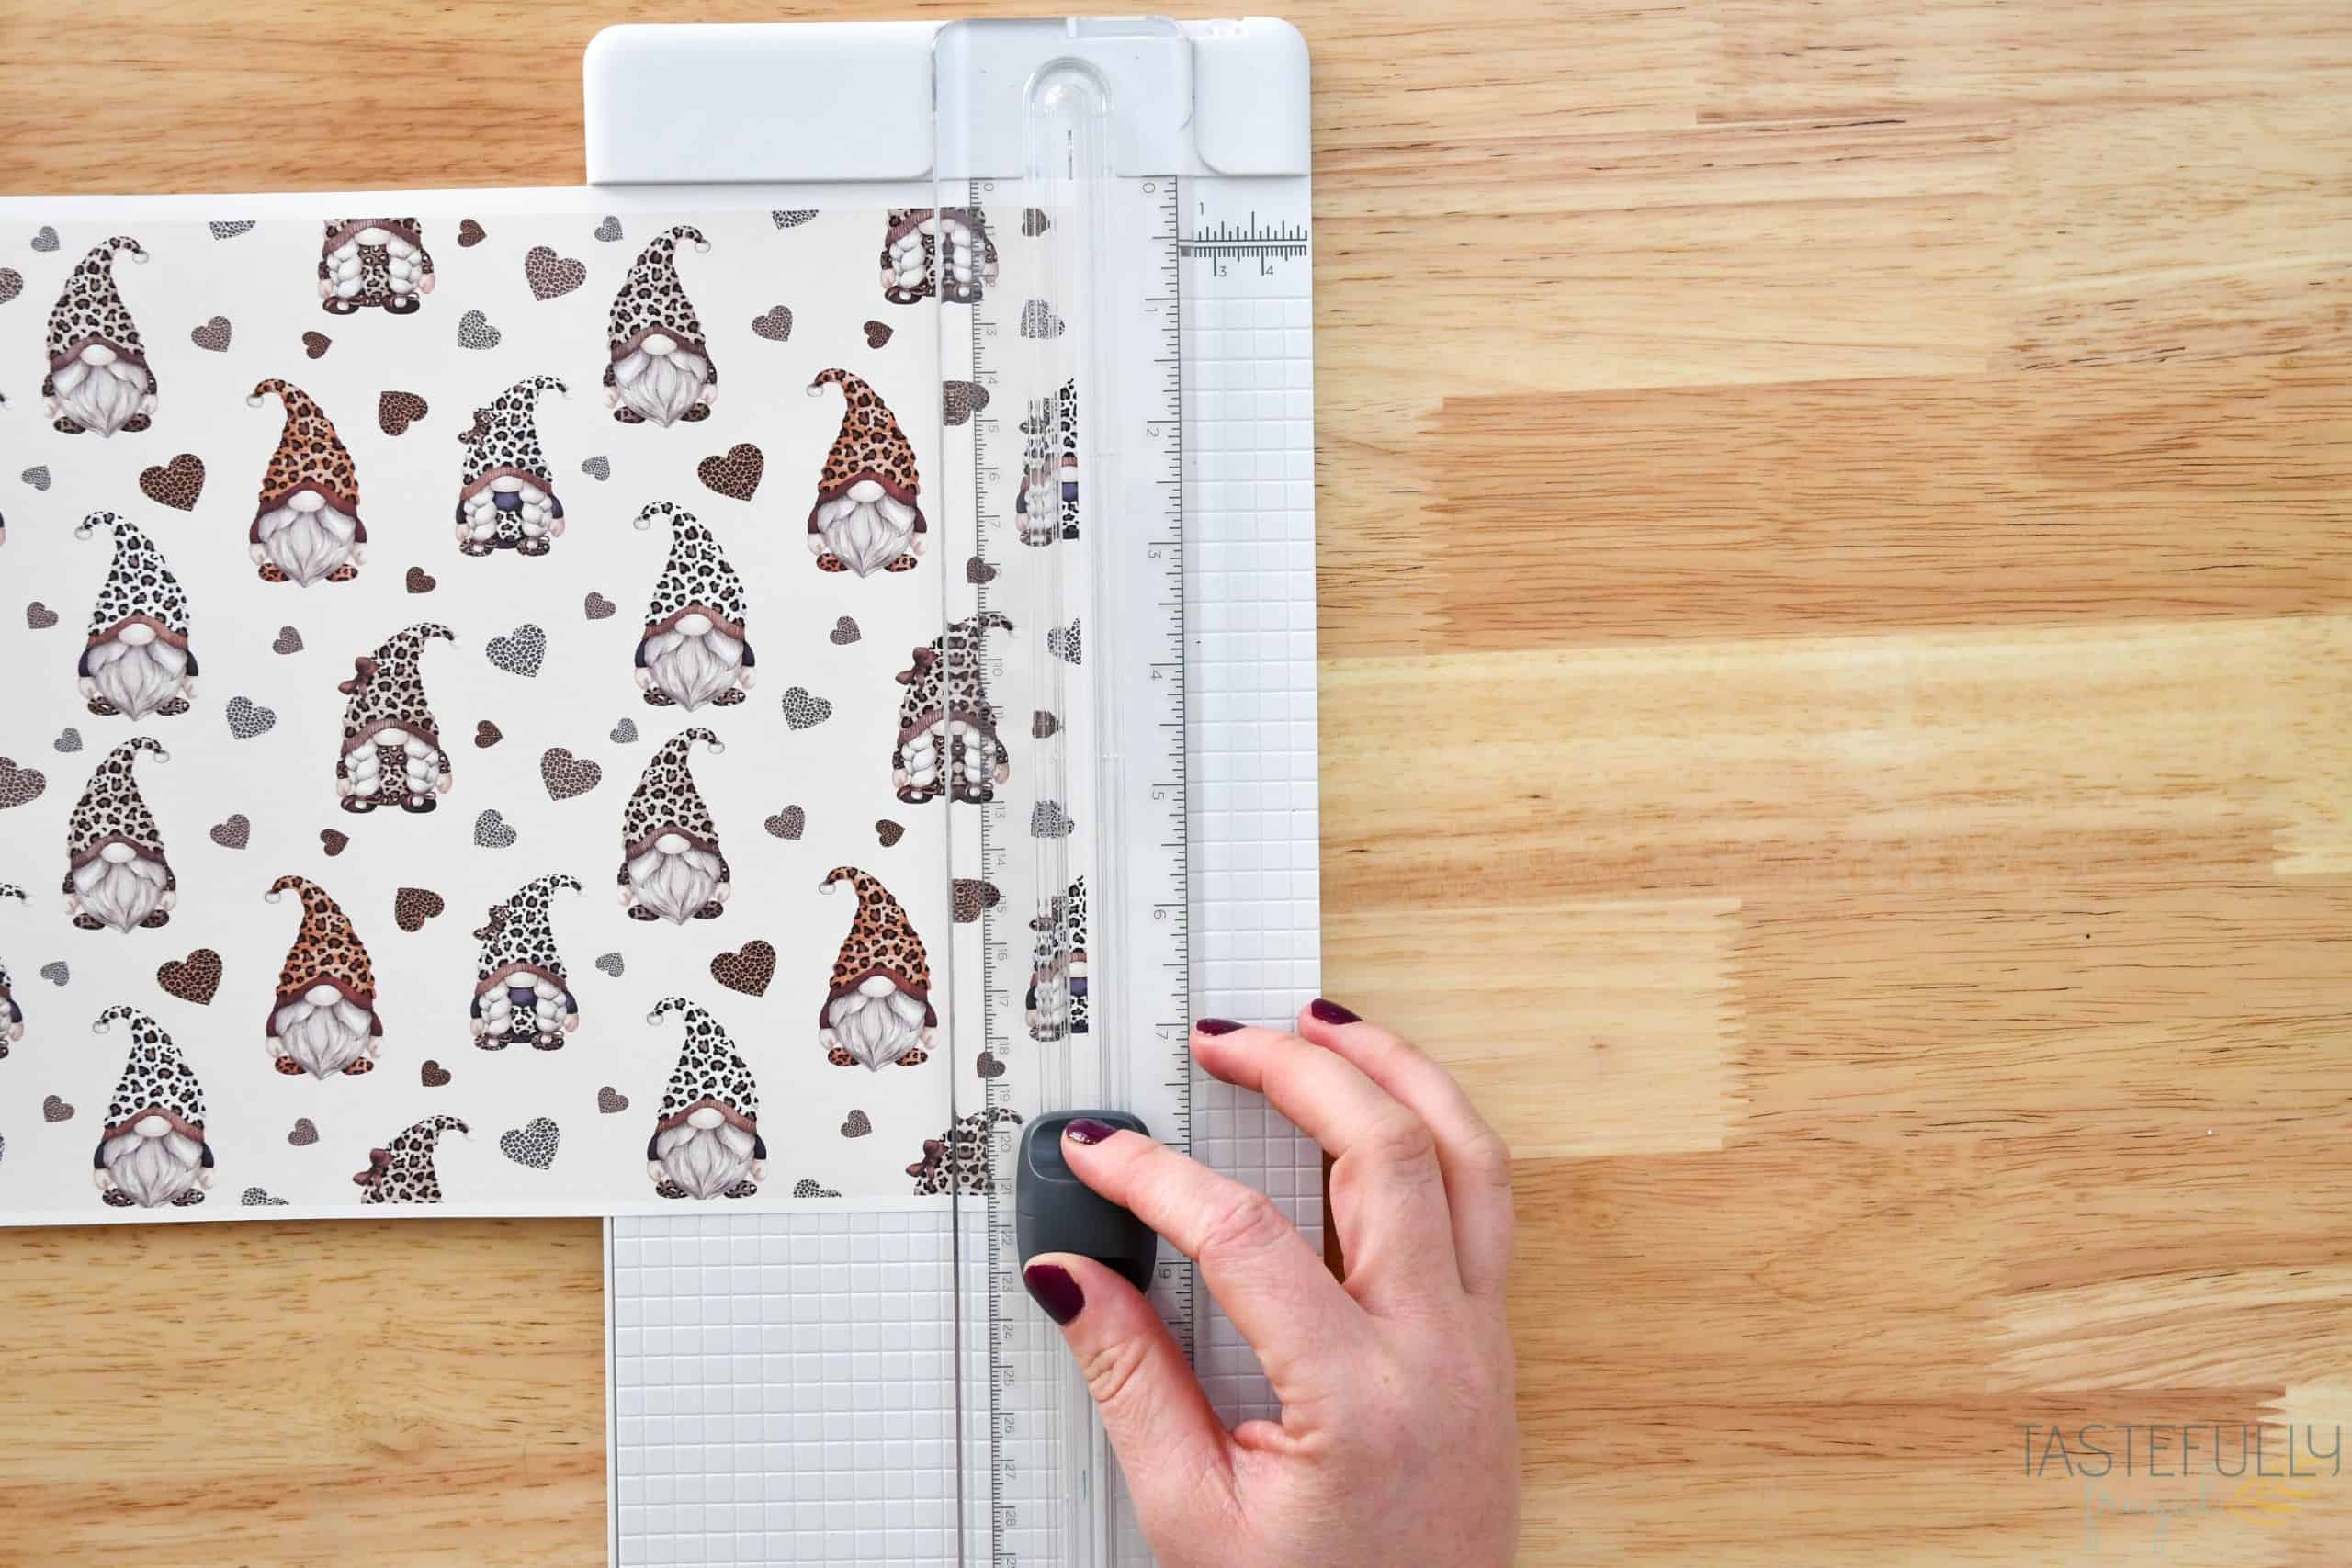
Once your designs in printed you’ll notice you have some excess white on all sides. Trim them down so all you have is your design. I like to use my Cricut paper trimmer for this so I make sure I have straight cuts.
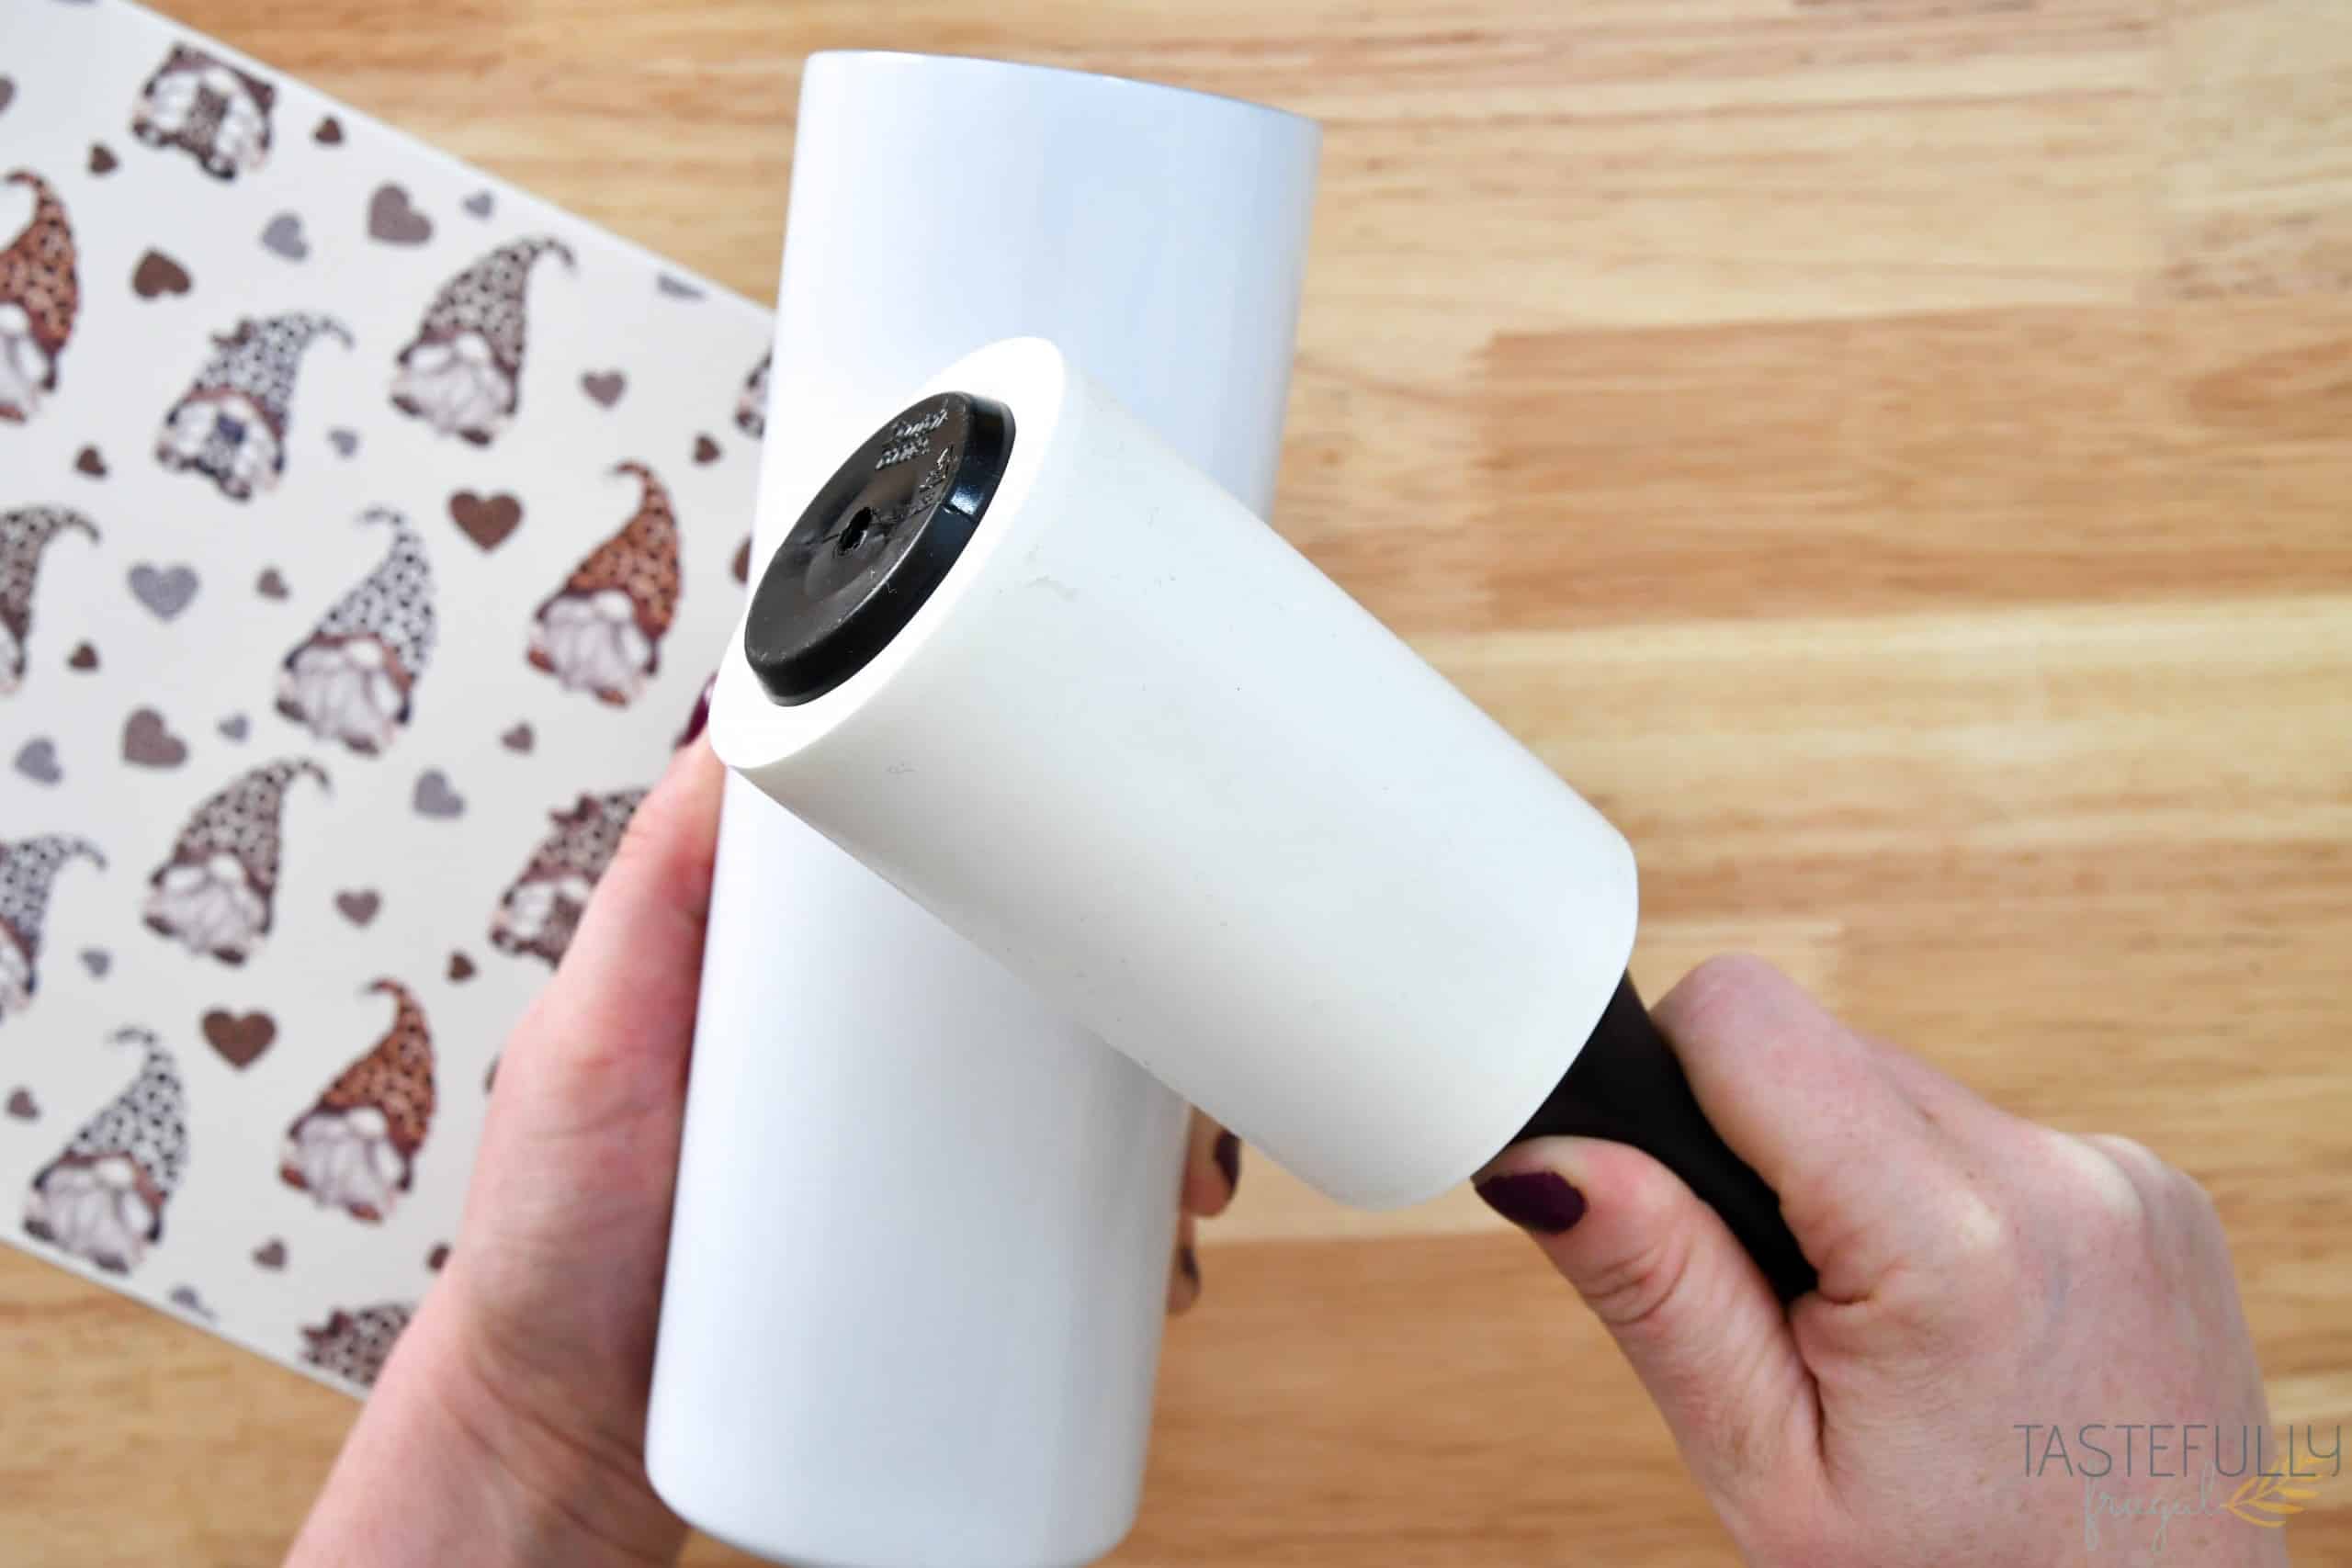
Take the lid off of your tumbler and give it a quick wipe down with a lint roller to remove any dirt or residue.
Place a piece of heat resistant tape sticky side up on the backside (the side of the paper that DOES NOT have the design on it) of one of the long ends.
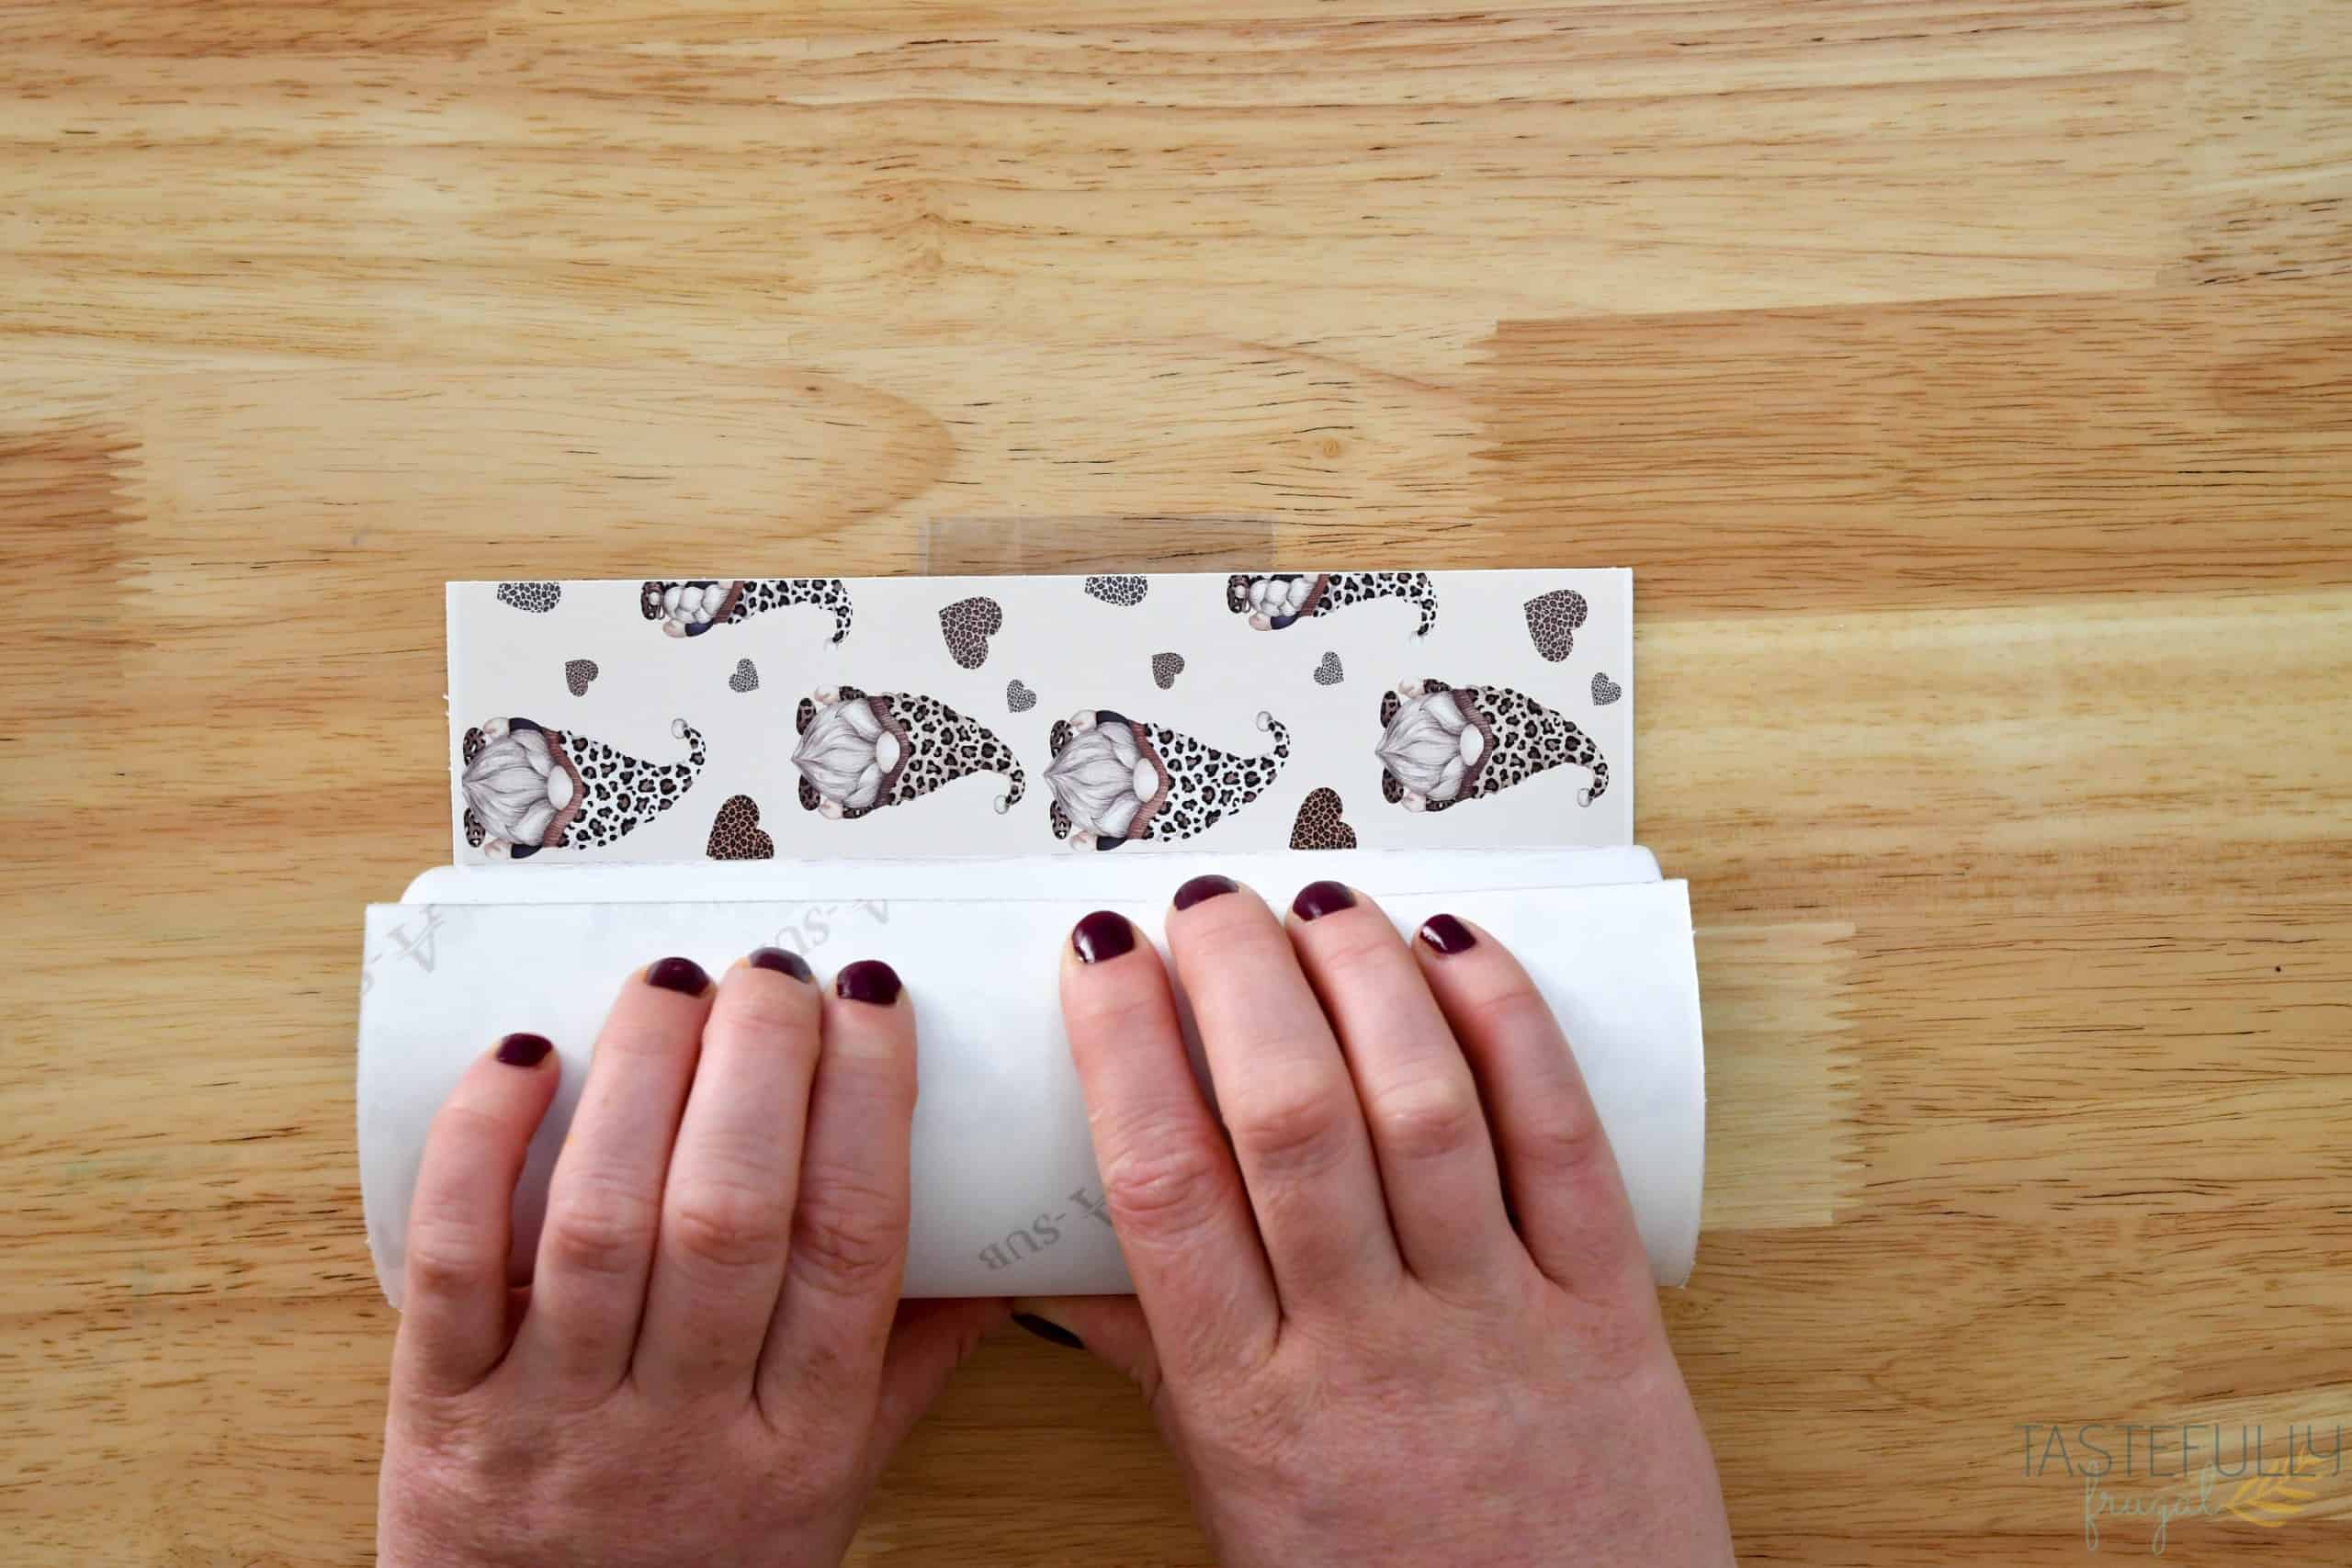
Place your tumbler at the opposite side of your design from the tape and tightly roll it towards the taped side. This will make it so your paper is tight on the tumbler.
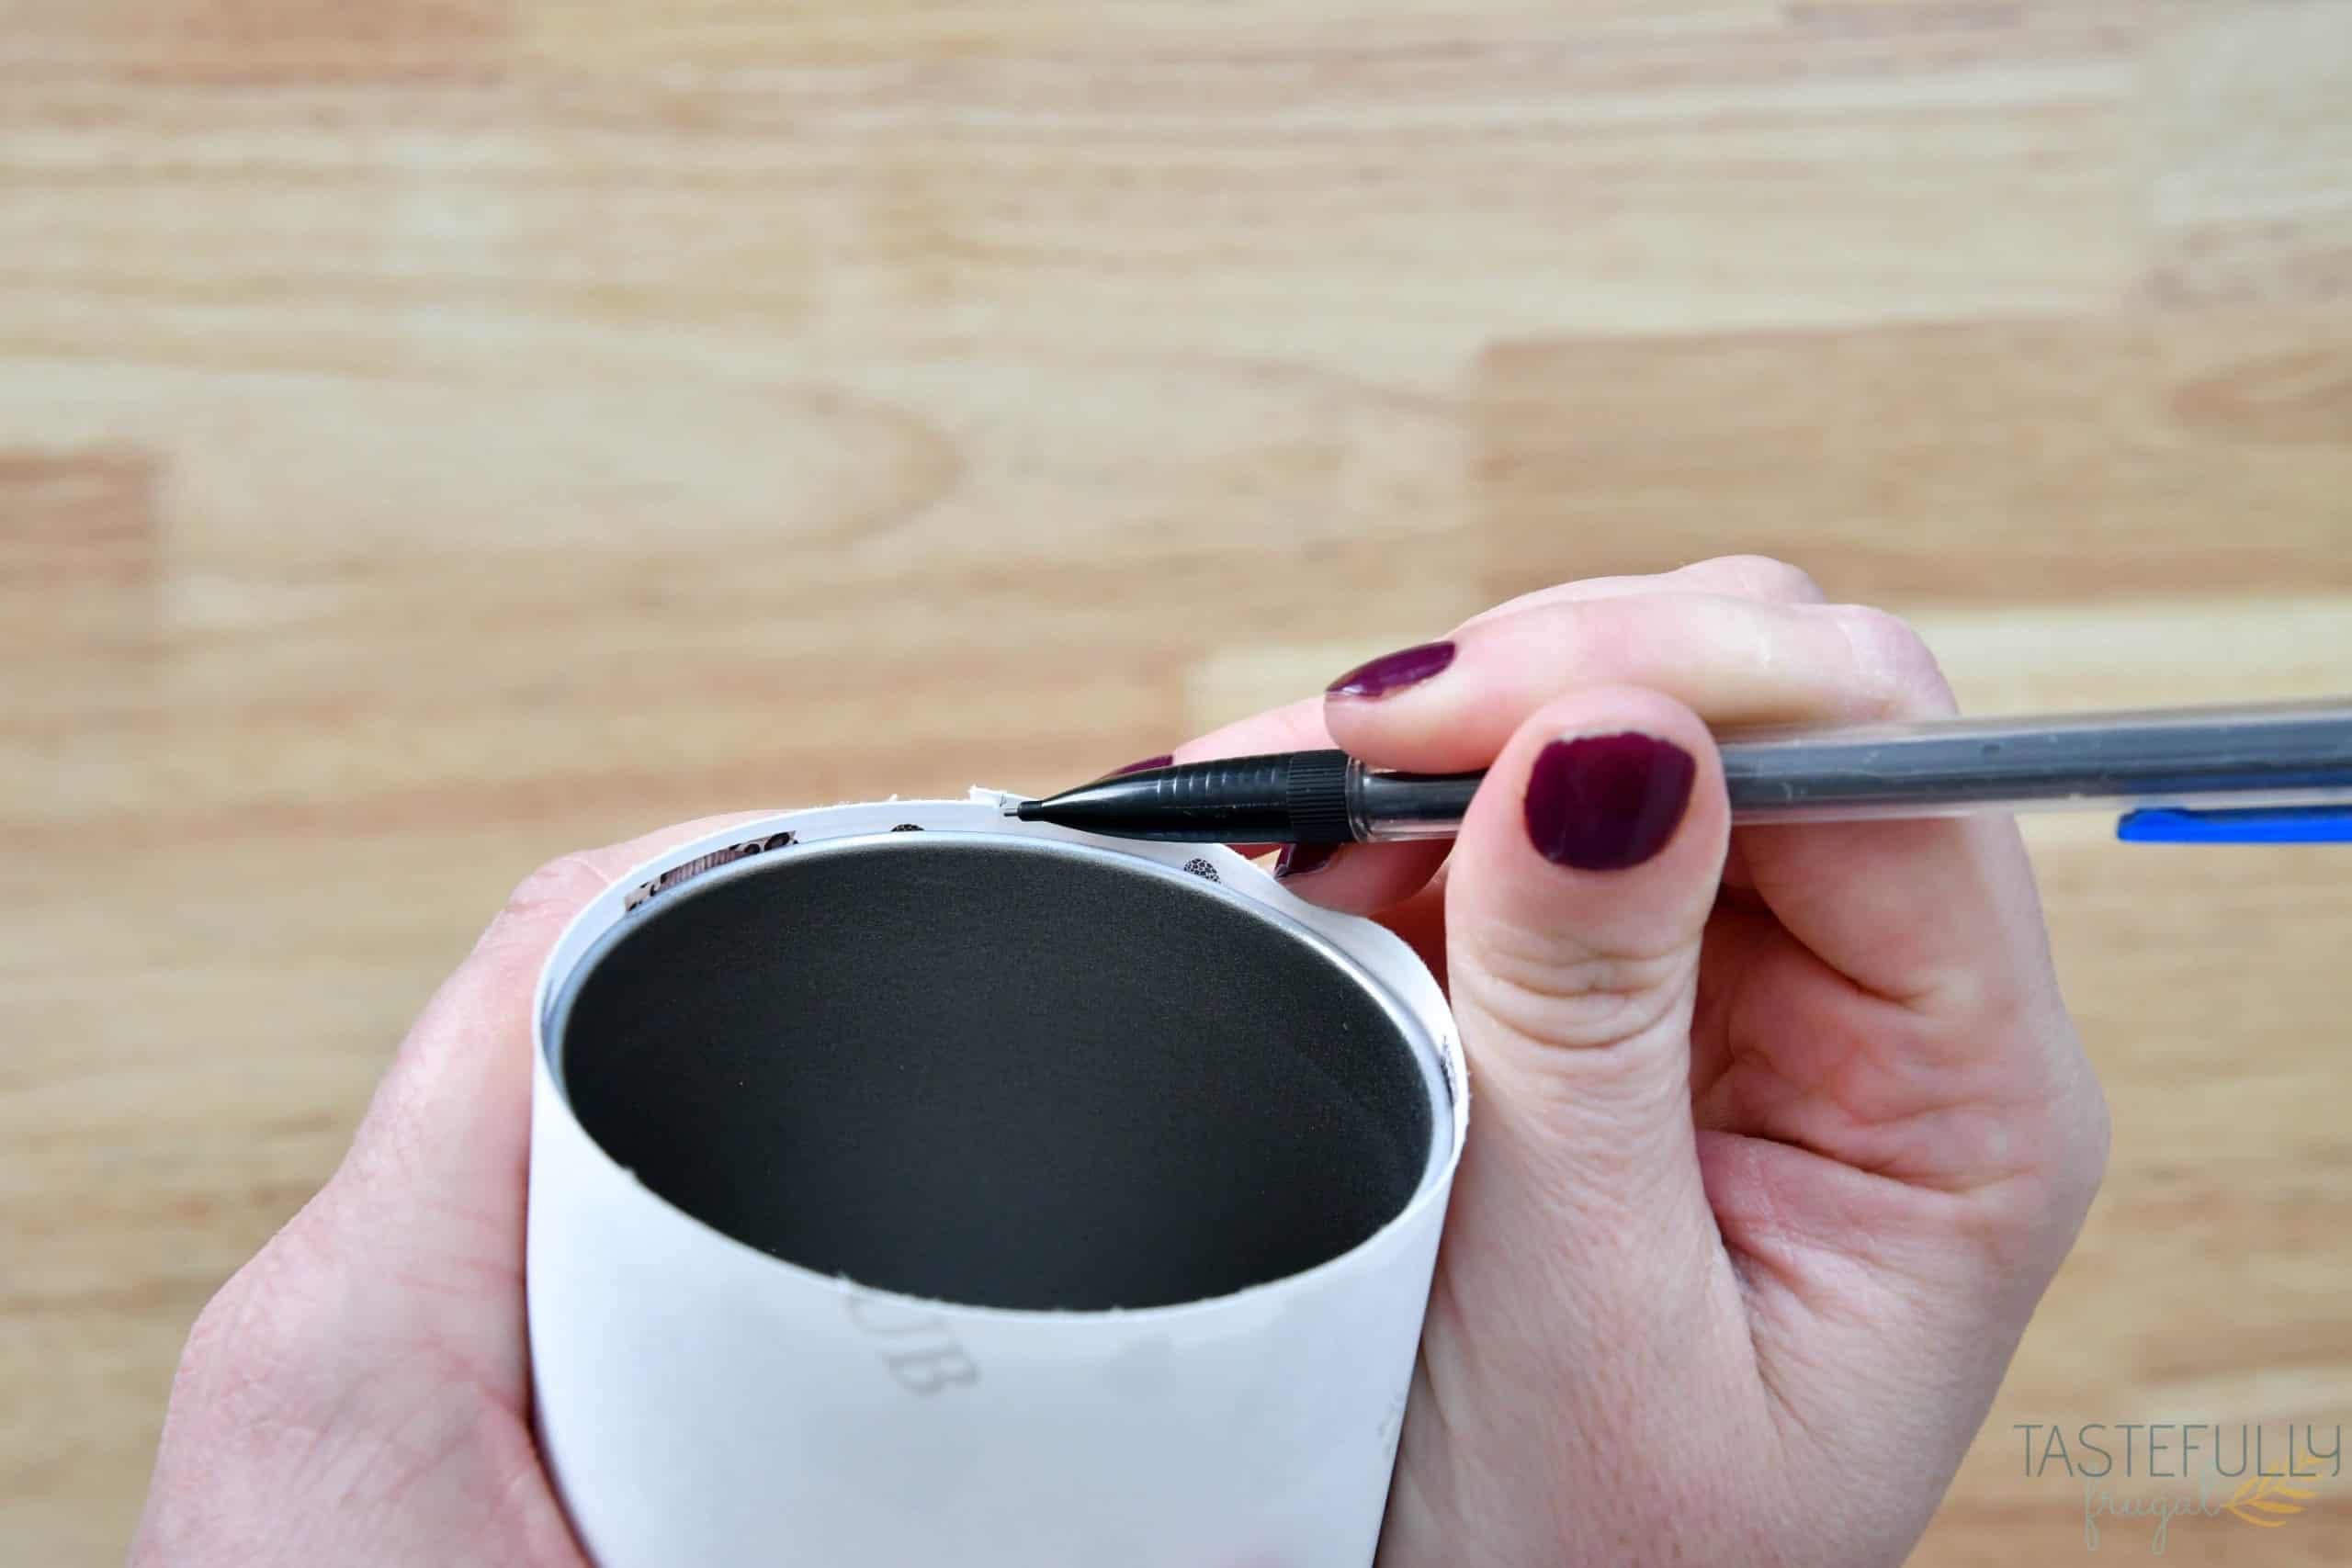
NOTE- If you have any overlap once you are done rolling, use a pencil and mark the overlap on both top and bottom and cut down to side. This will help you get a seamless finished design.
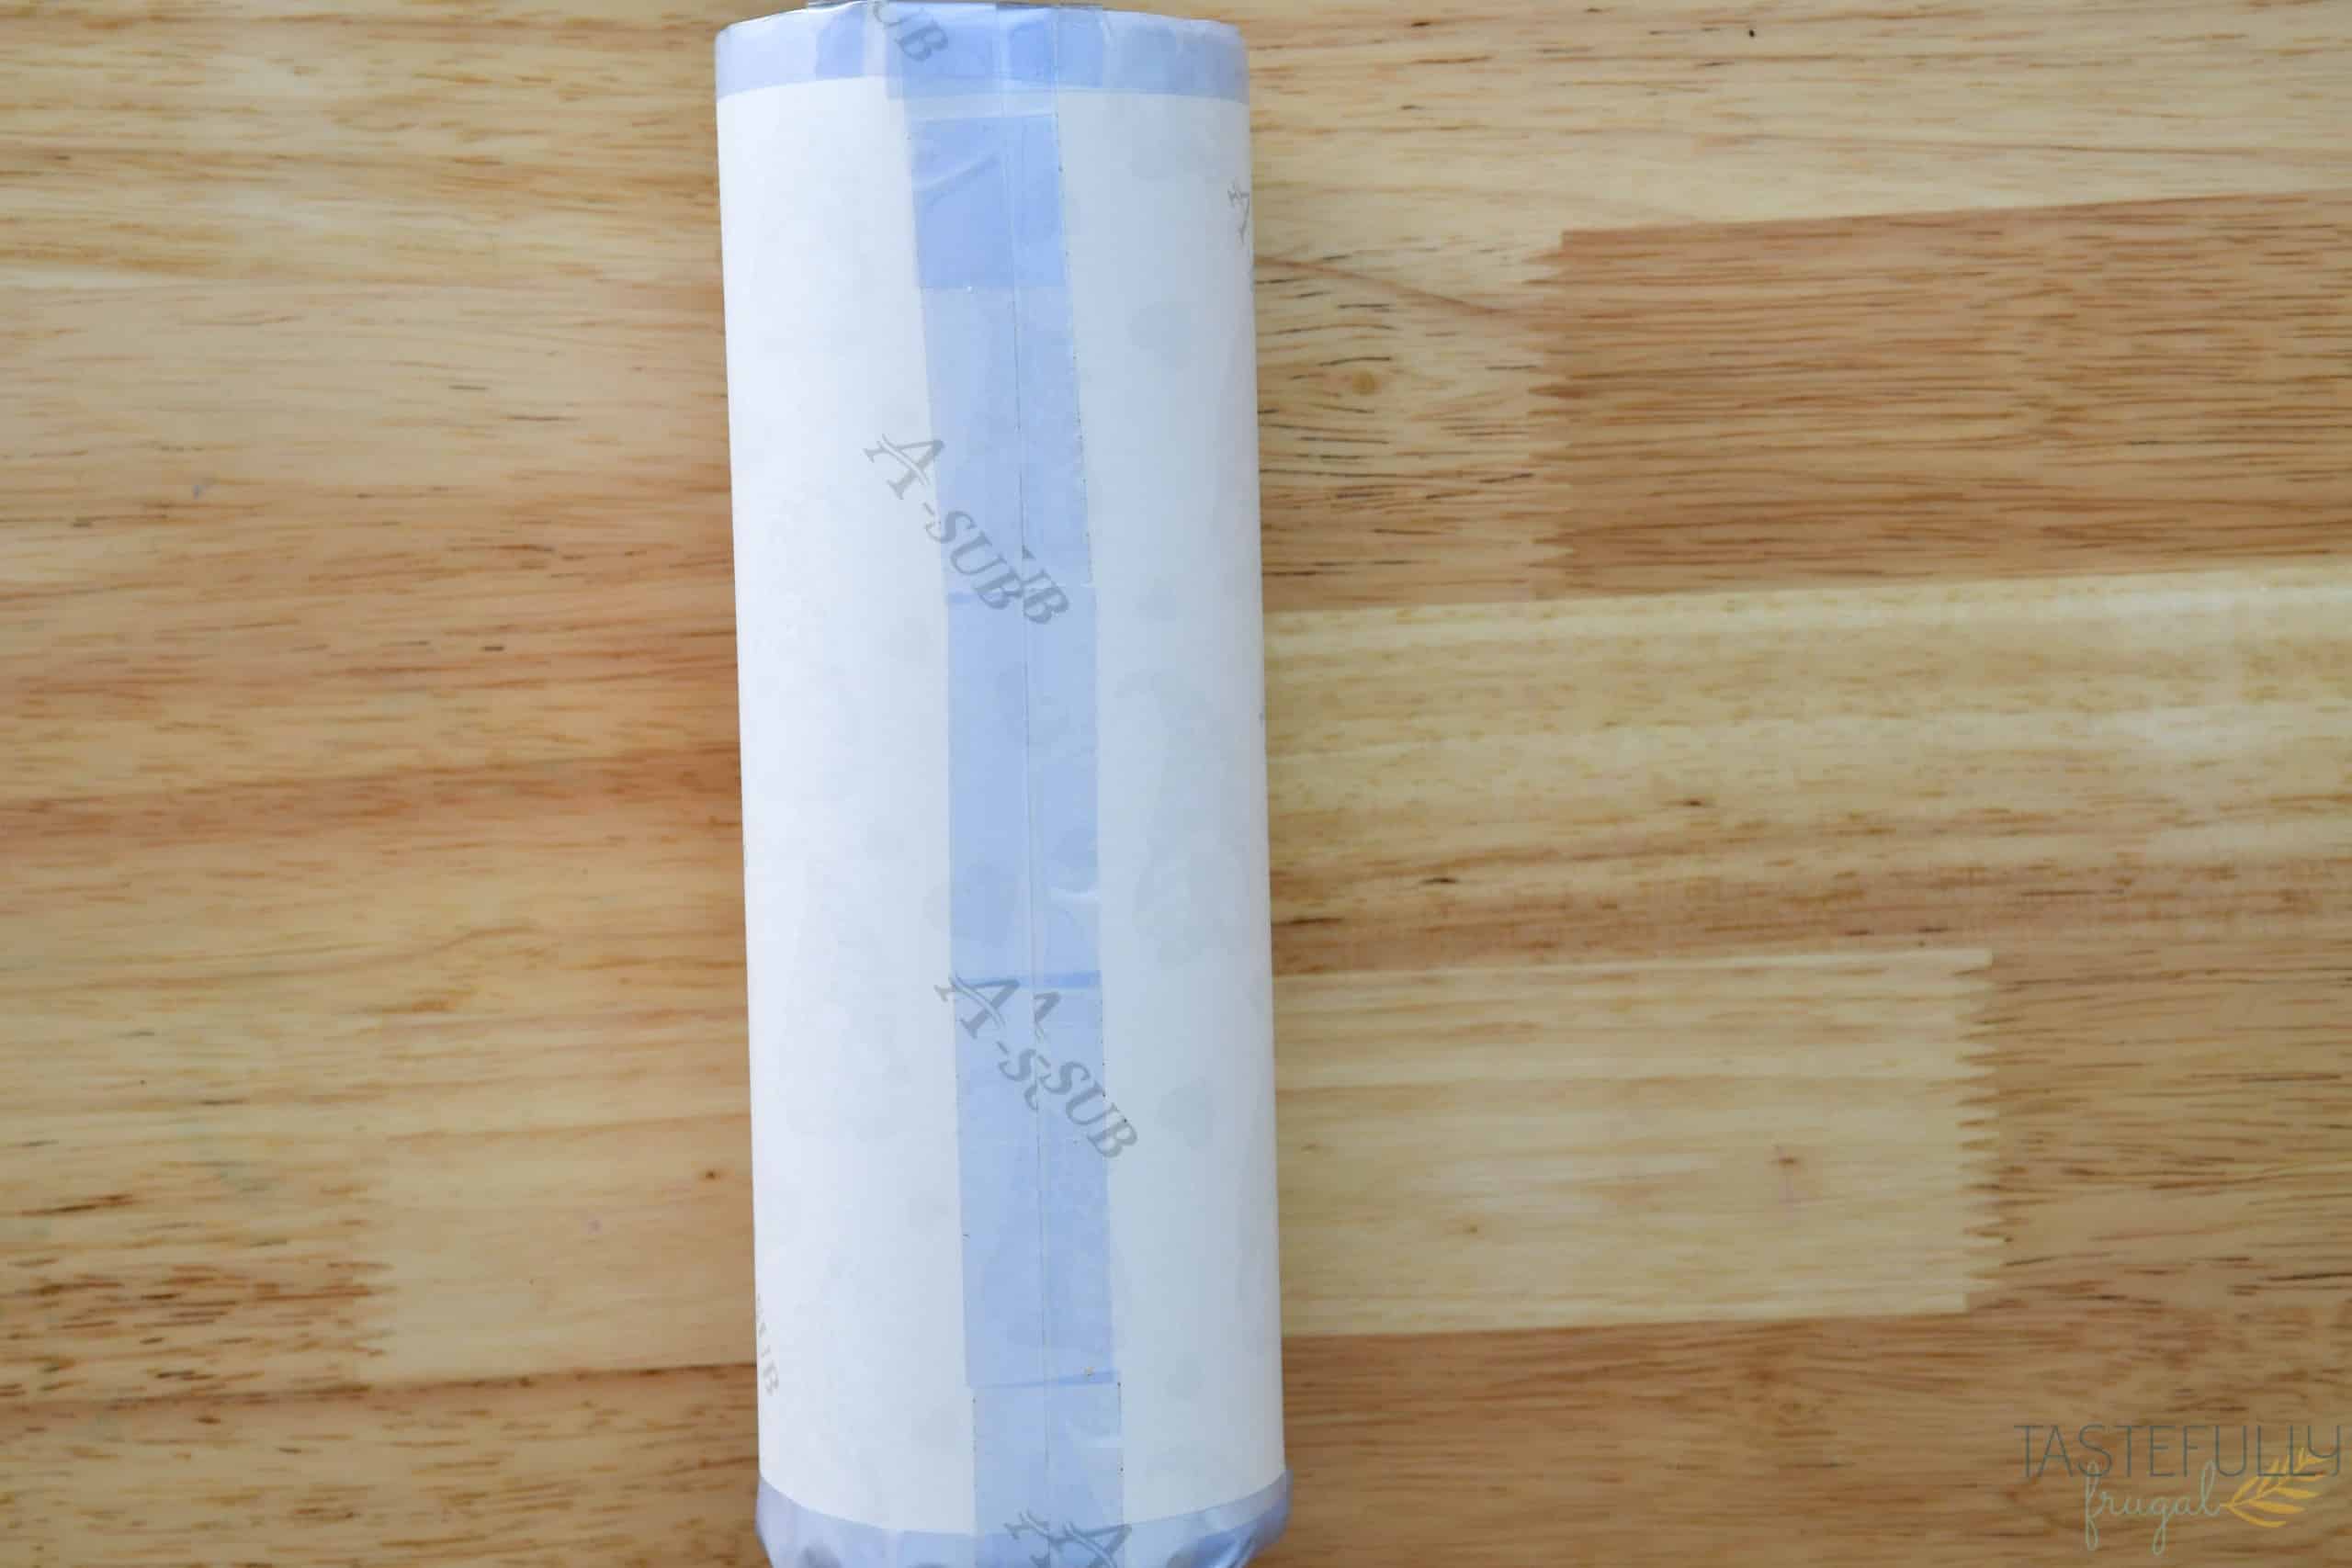
Once have your paper tightly wrapped on to your tumbler, put heat resistant tape all down the seam. You’ll also want to put heat resistant tape all along the top and bottom of the tumbler.
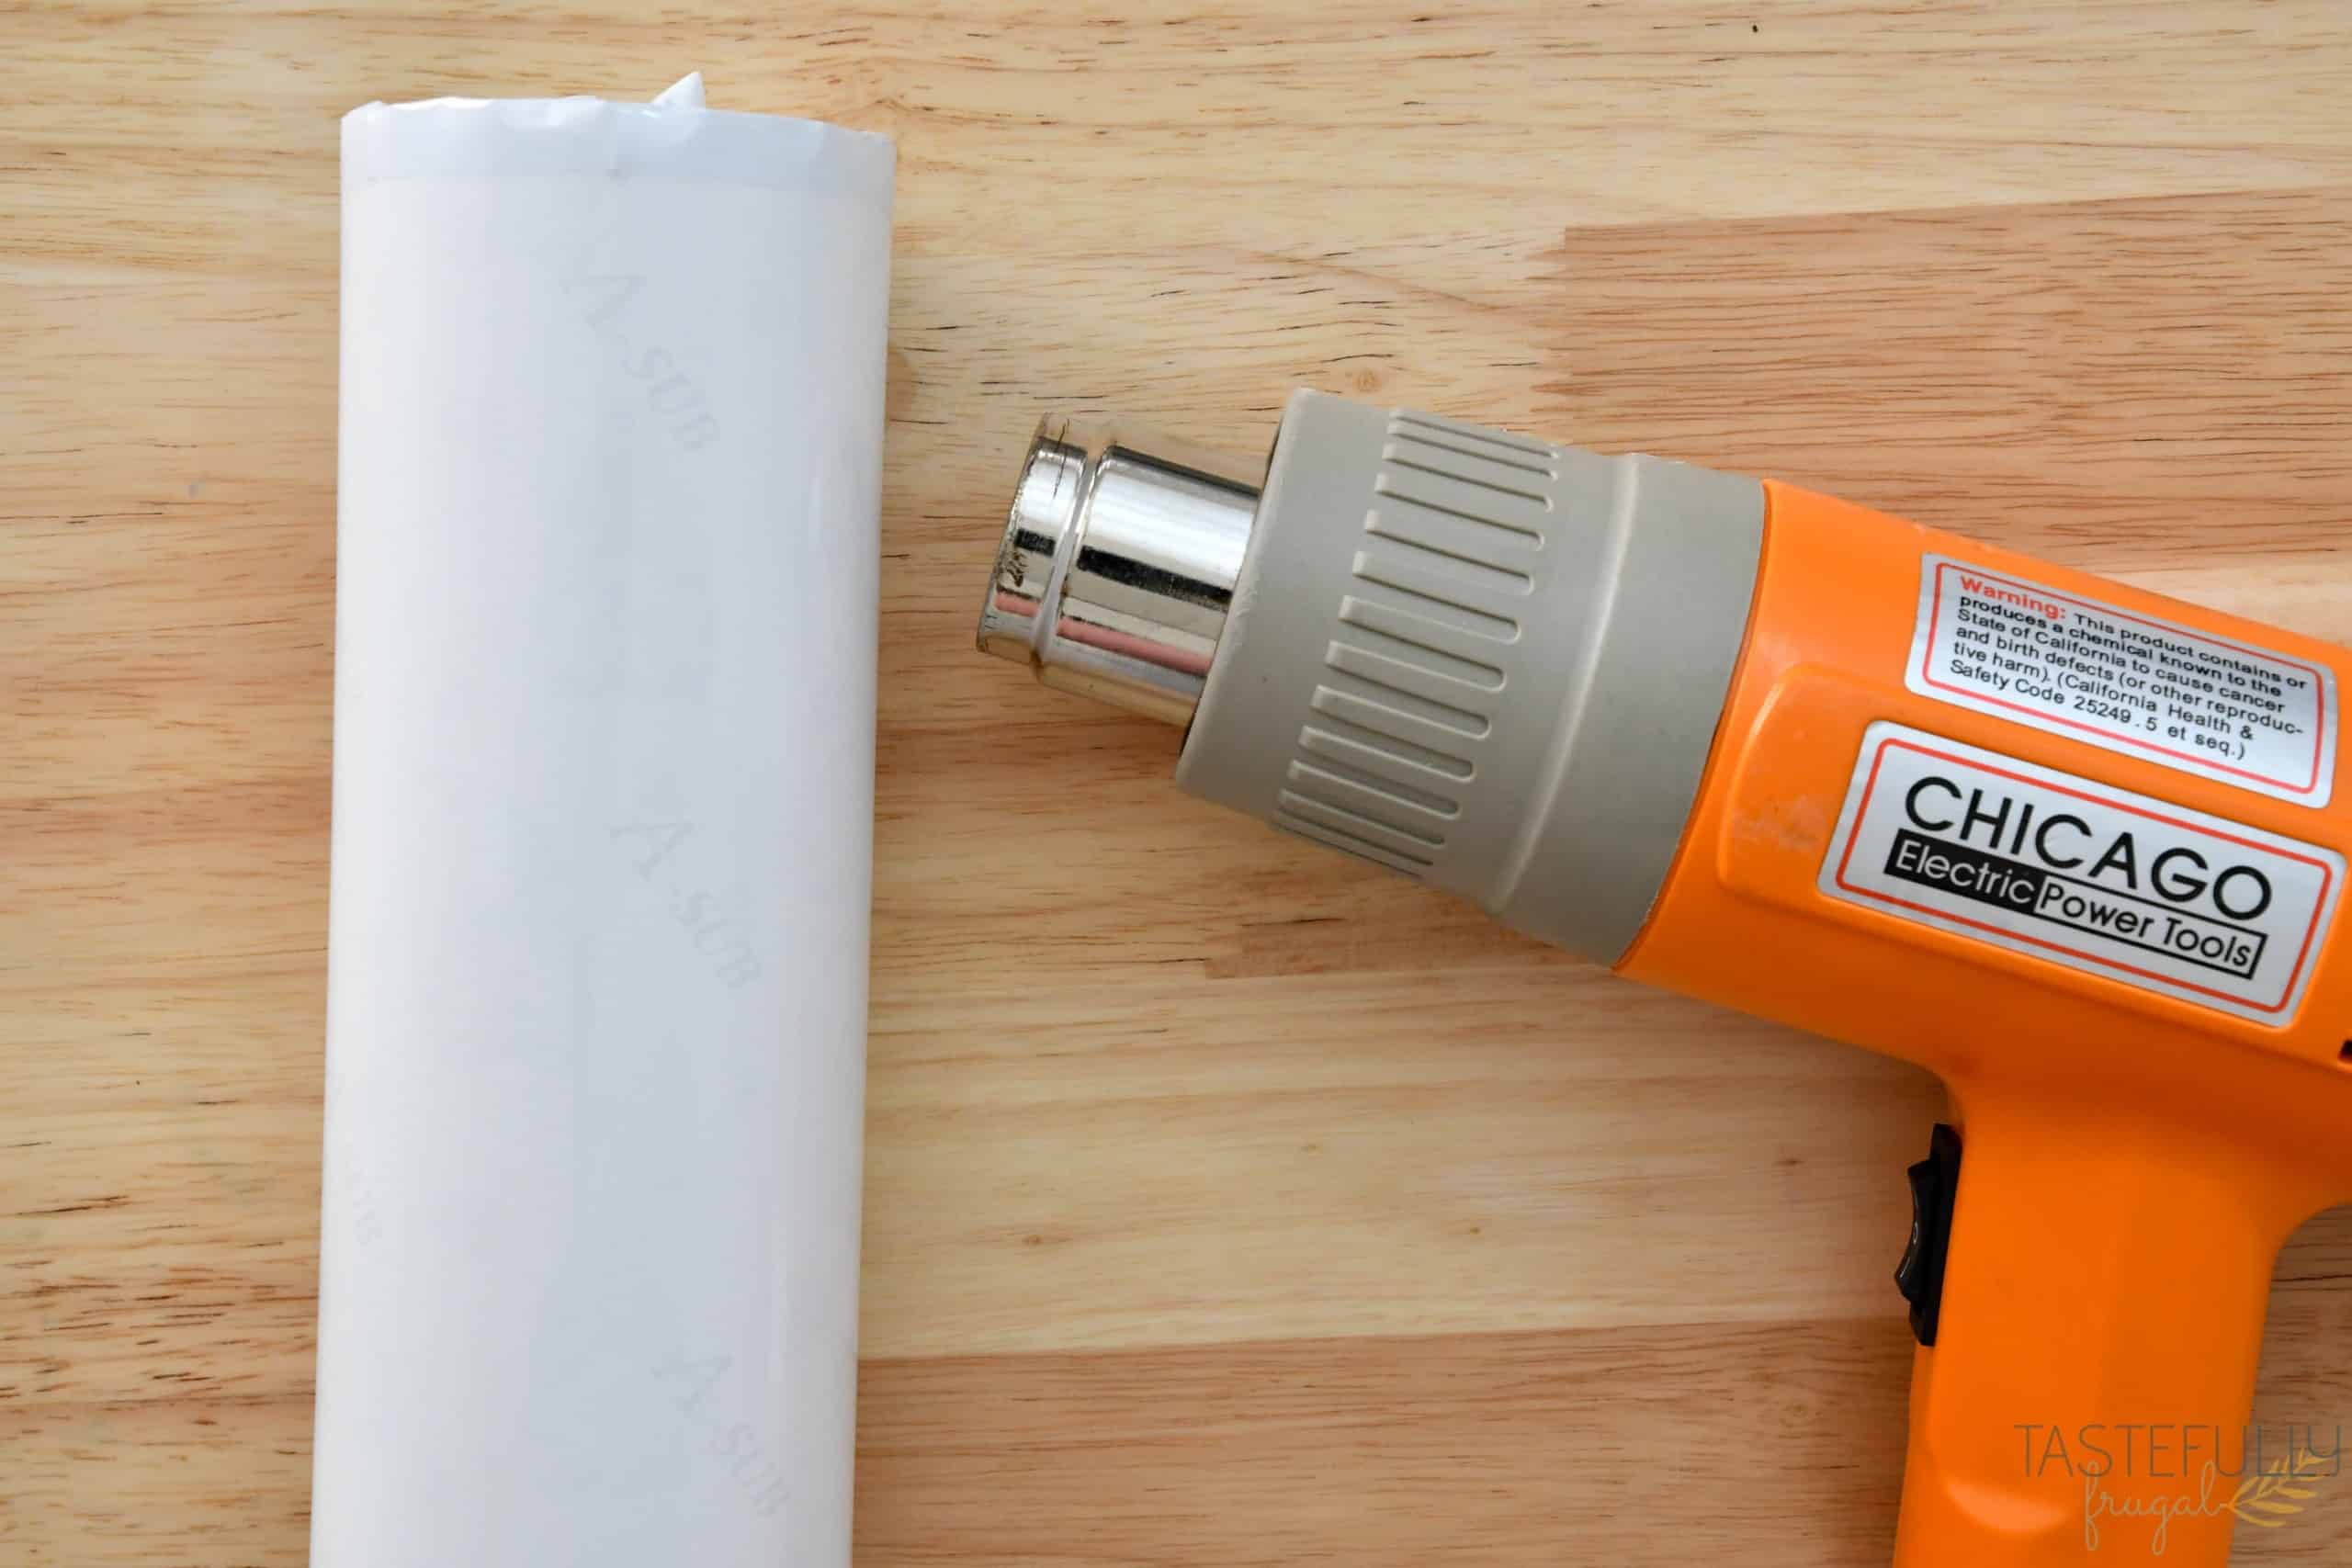
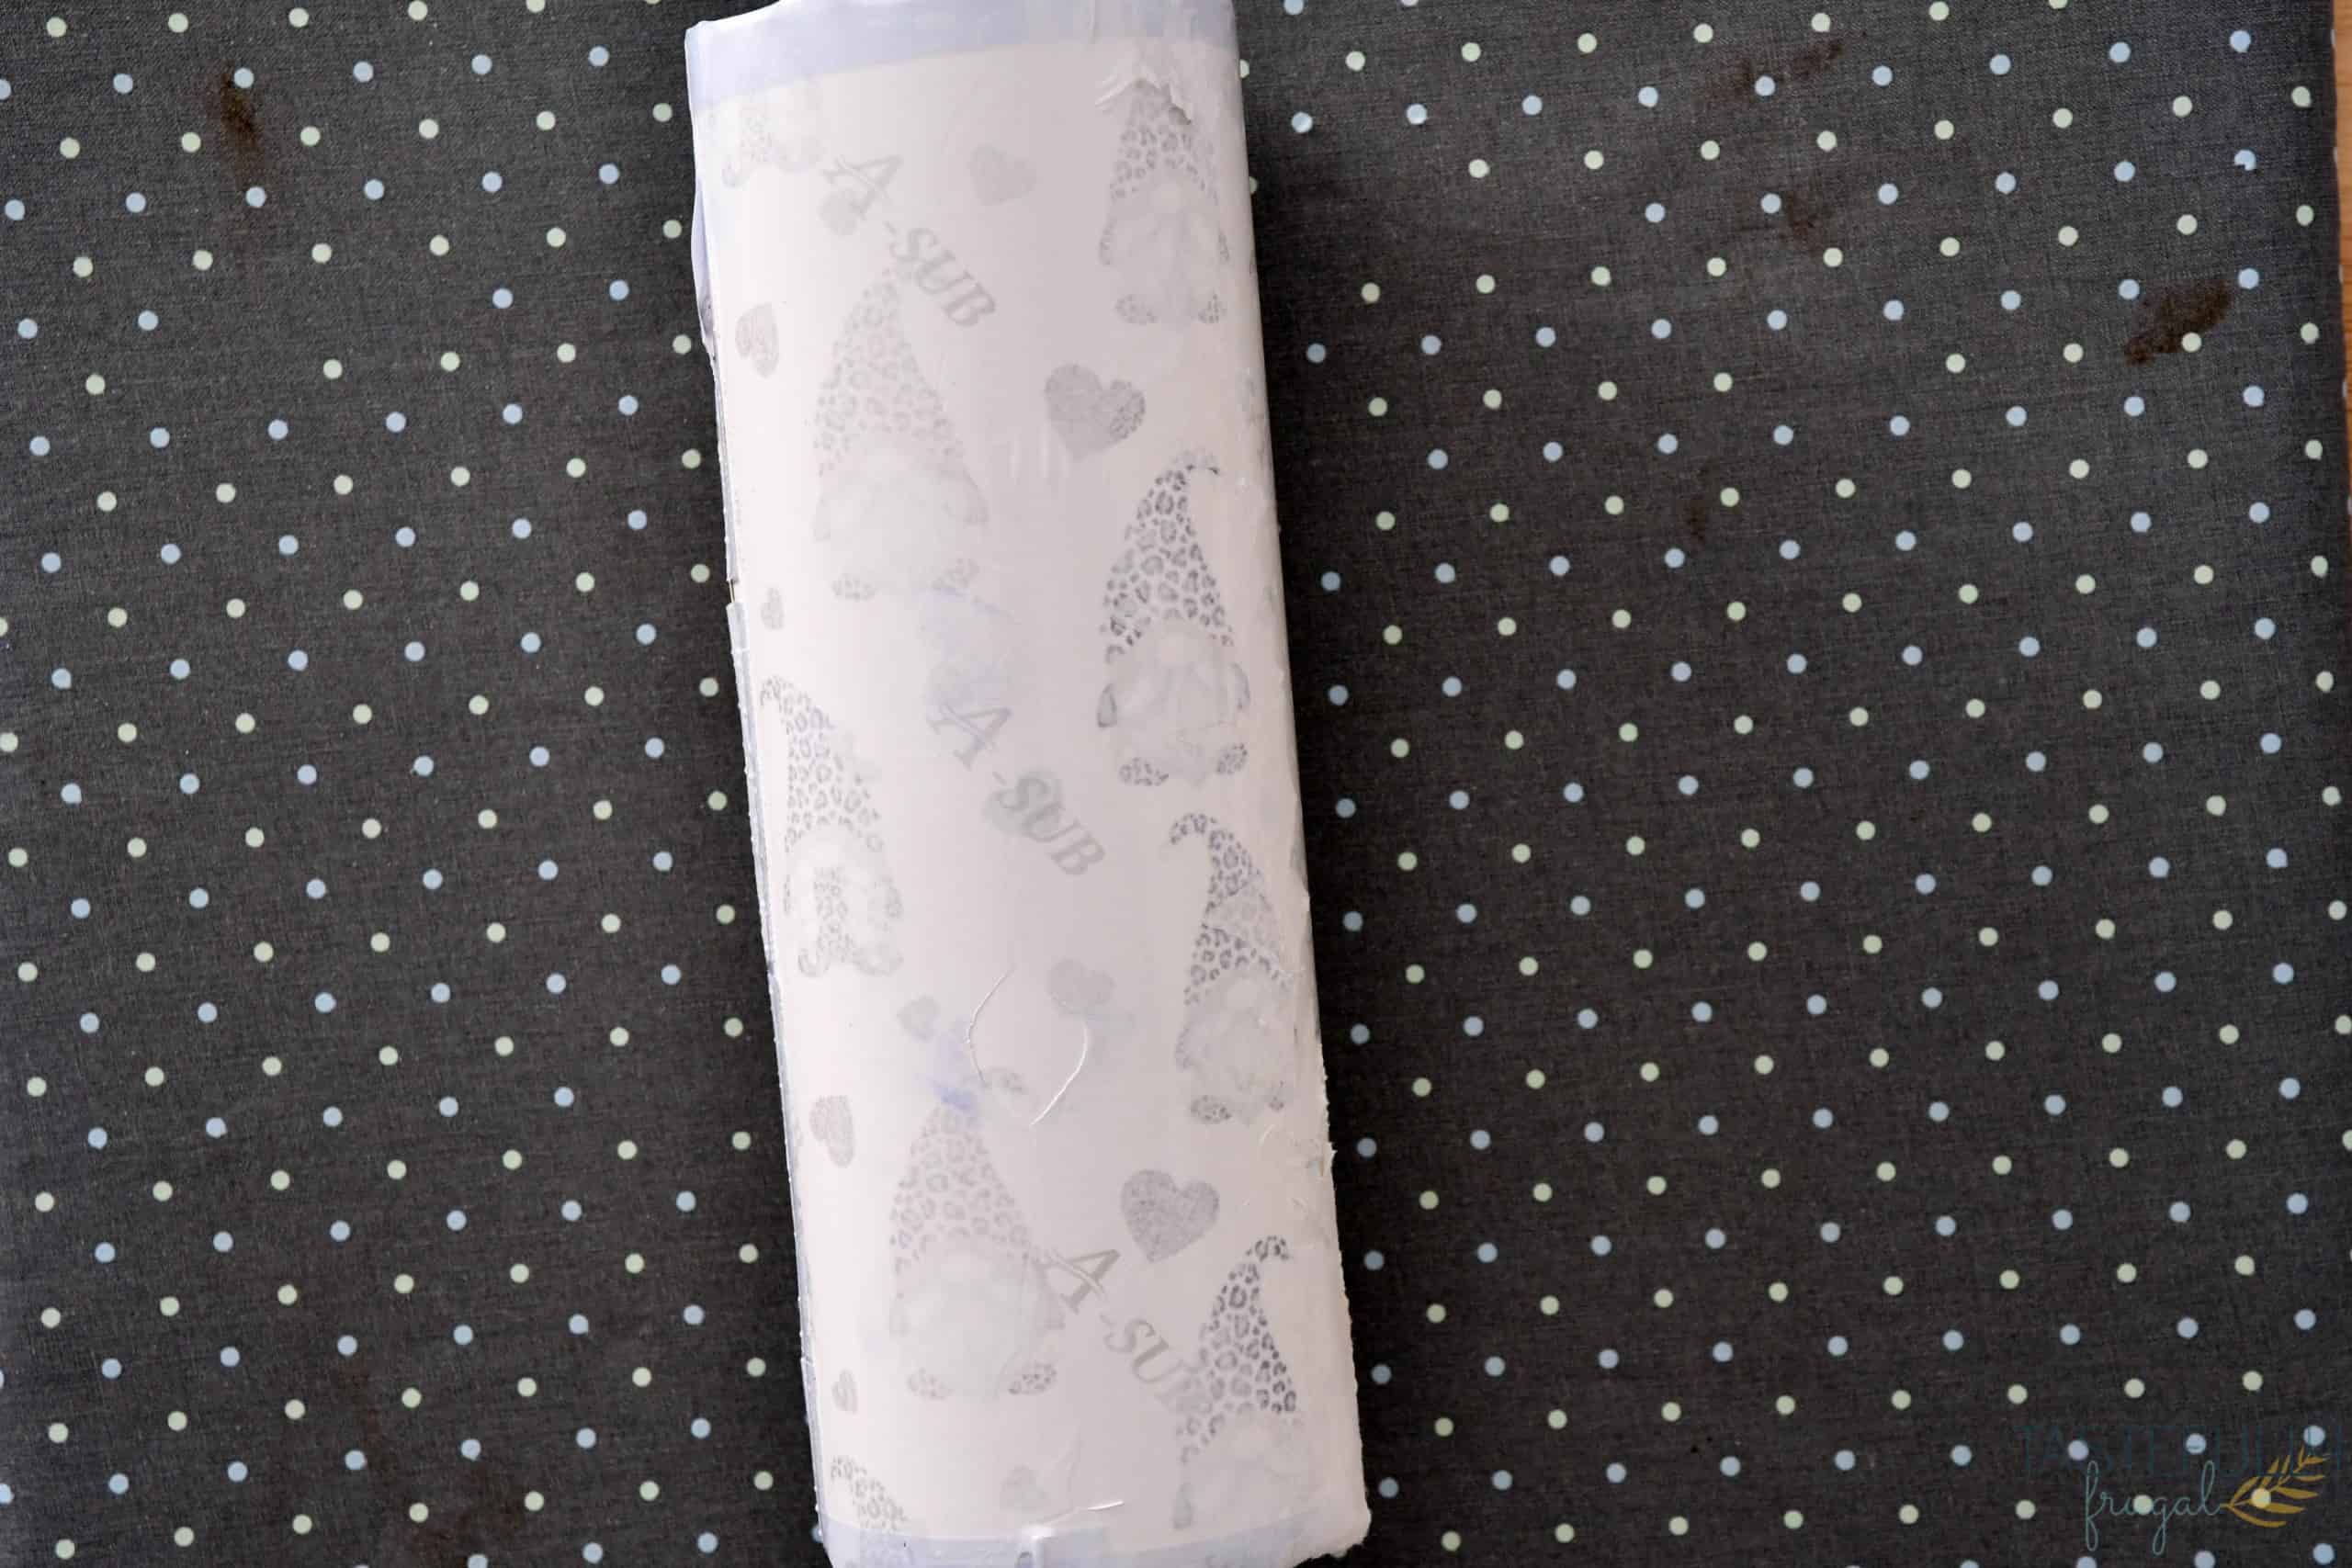
Put your tumbler in to the shrink wrap and use a heat gun to shrink the wrap on to the tumbler. You want to try to get out as many wrinkles as possible. Don’t worry about the wrinkles around where there is tape. NOTE – be careful not to get the heat gun to close to the shrink wrap or it could rip it and this may affect your finished tumbler.
Temperature and Time Settings For Sublimation Tumblers in Convection Oven
If you’ve watched YouTube videos, or read other articles, you’ve probably found that the time and temperature settings vary greatly. I’ll show you below in my fails section what happens if your temperature is too high (or low) and if you don’t have the right time. I have made well over 20 tumblers and have documented the results of each. Below are my recommendations to get the BEST results.
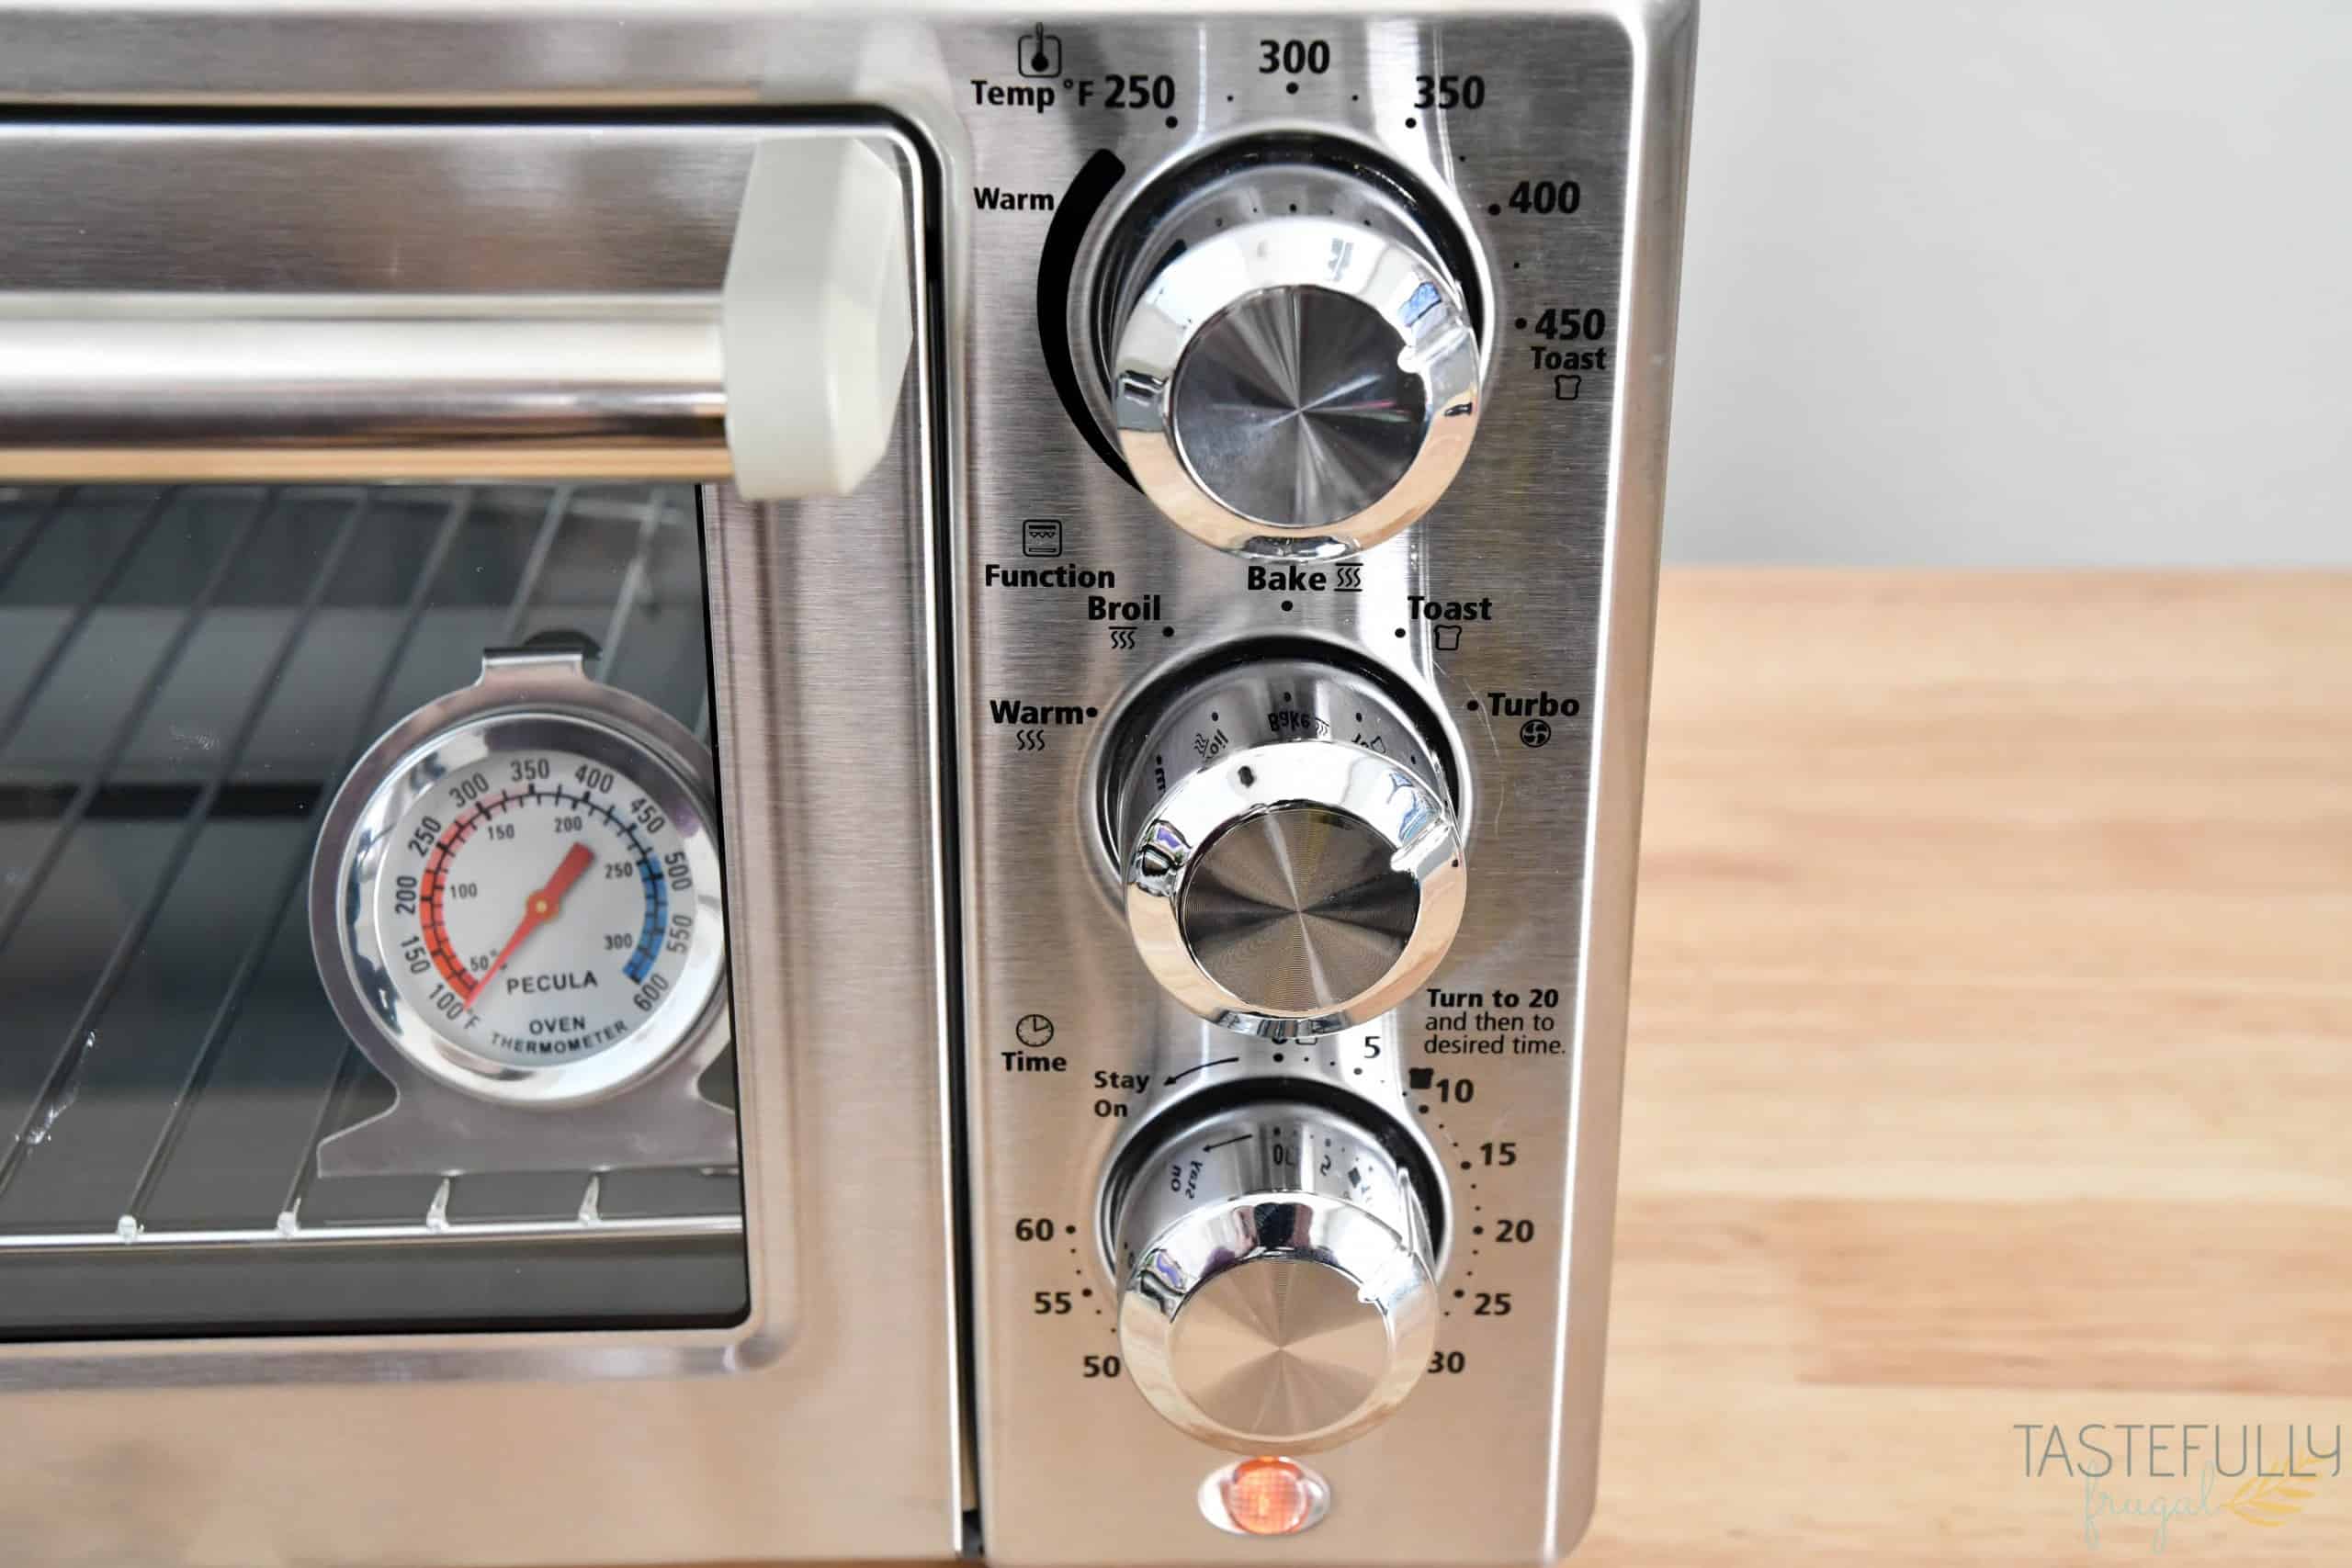
I set my temperature to 400F but will put my tumbler in when the oven thermometer reads about 380F. You’ll notice that the temperature drops pretty quickly when that door opens so you want to try to get your tumbler and paper in the oven as fast as possible.
If your convection oven has a TURBO feature on it, use that setting. And set your timer for 10 minutes. We aren’t pressing the tumbler for that long but this will insure the oven doesn’t shut off too soon. It takes about 3-4 minutes for it to reach temperature.
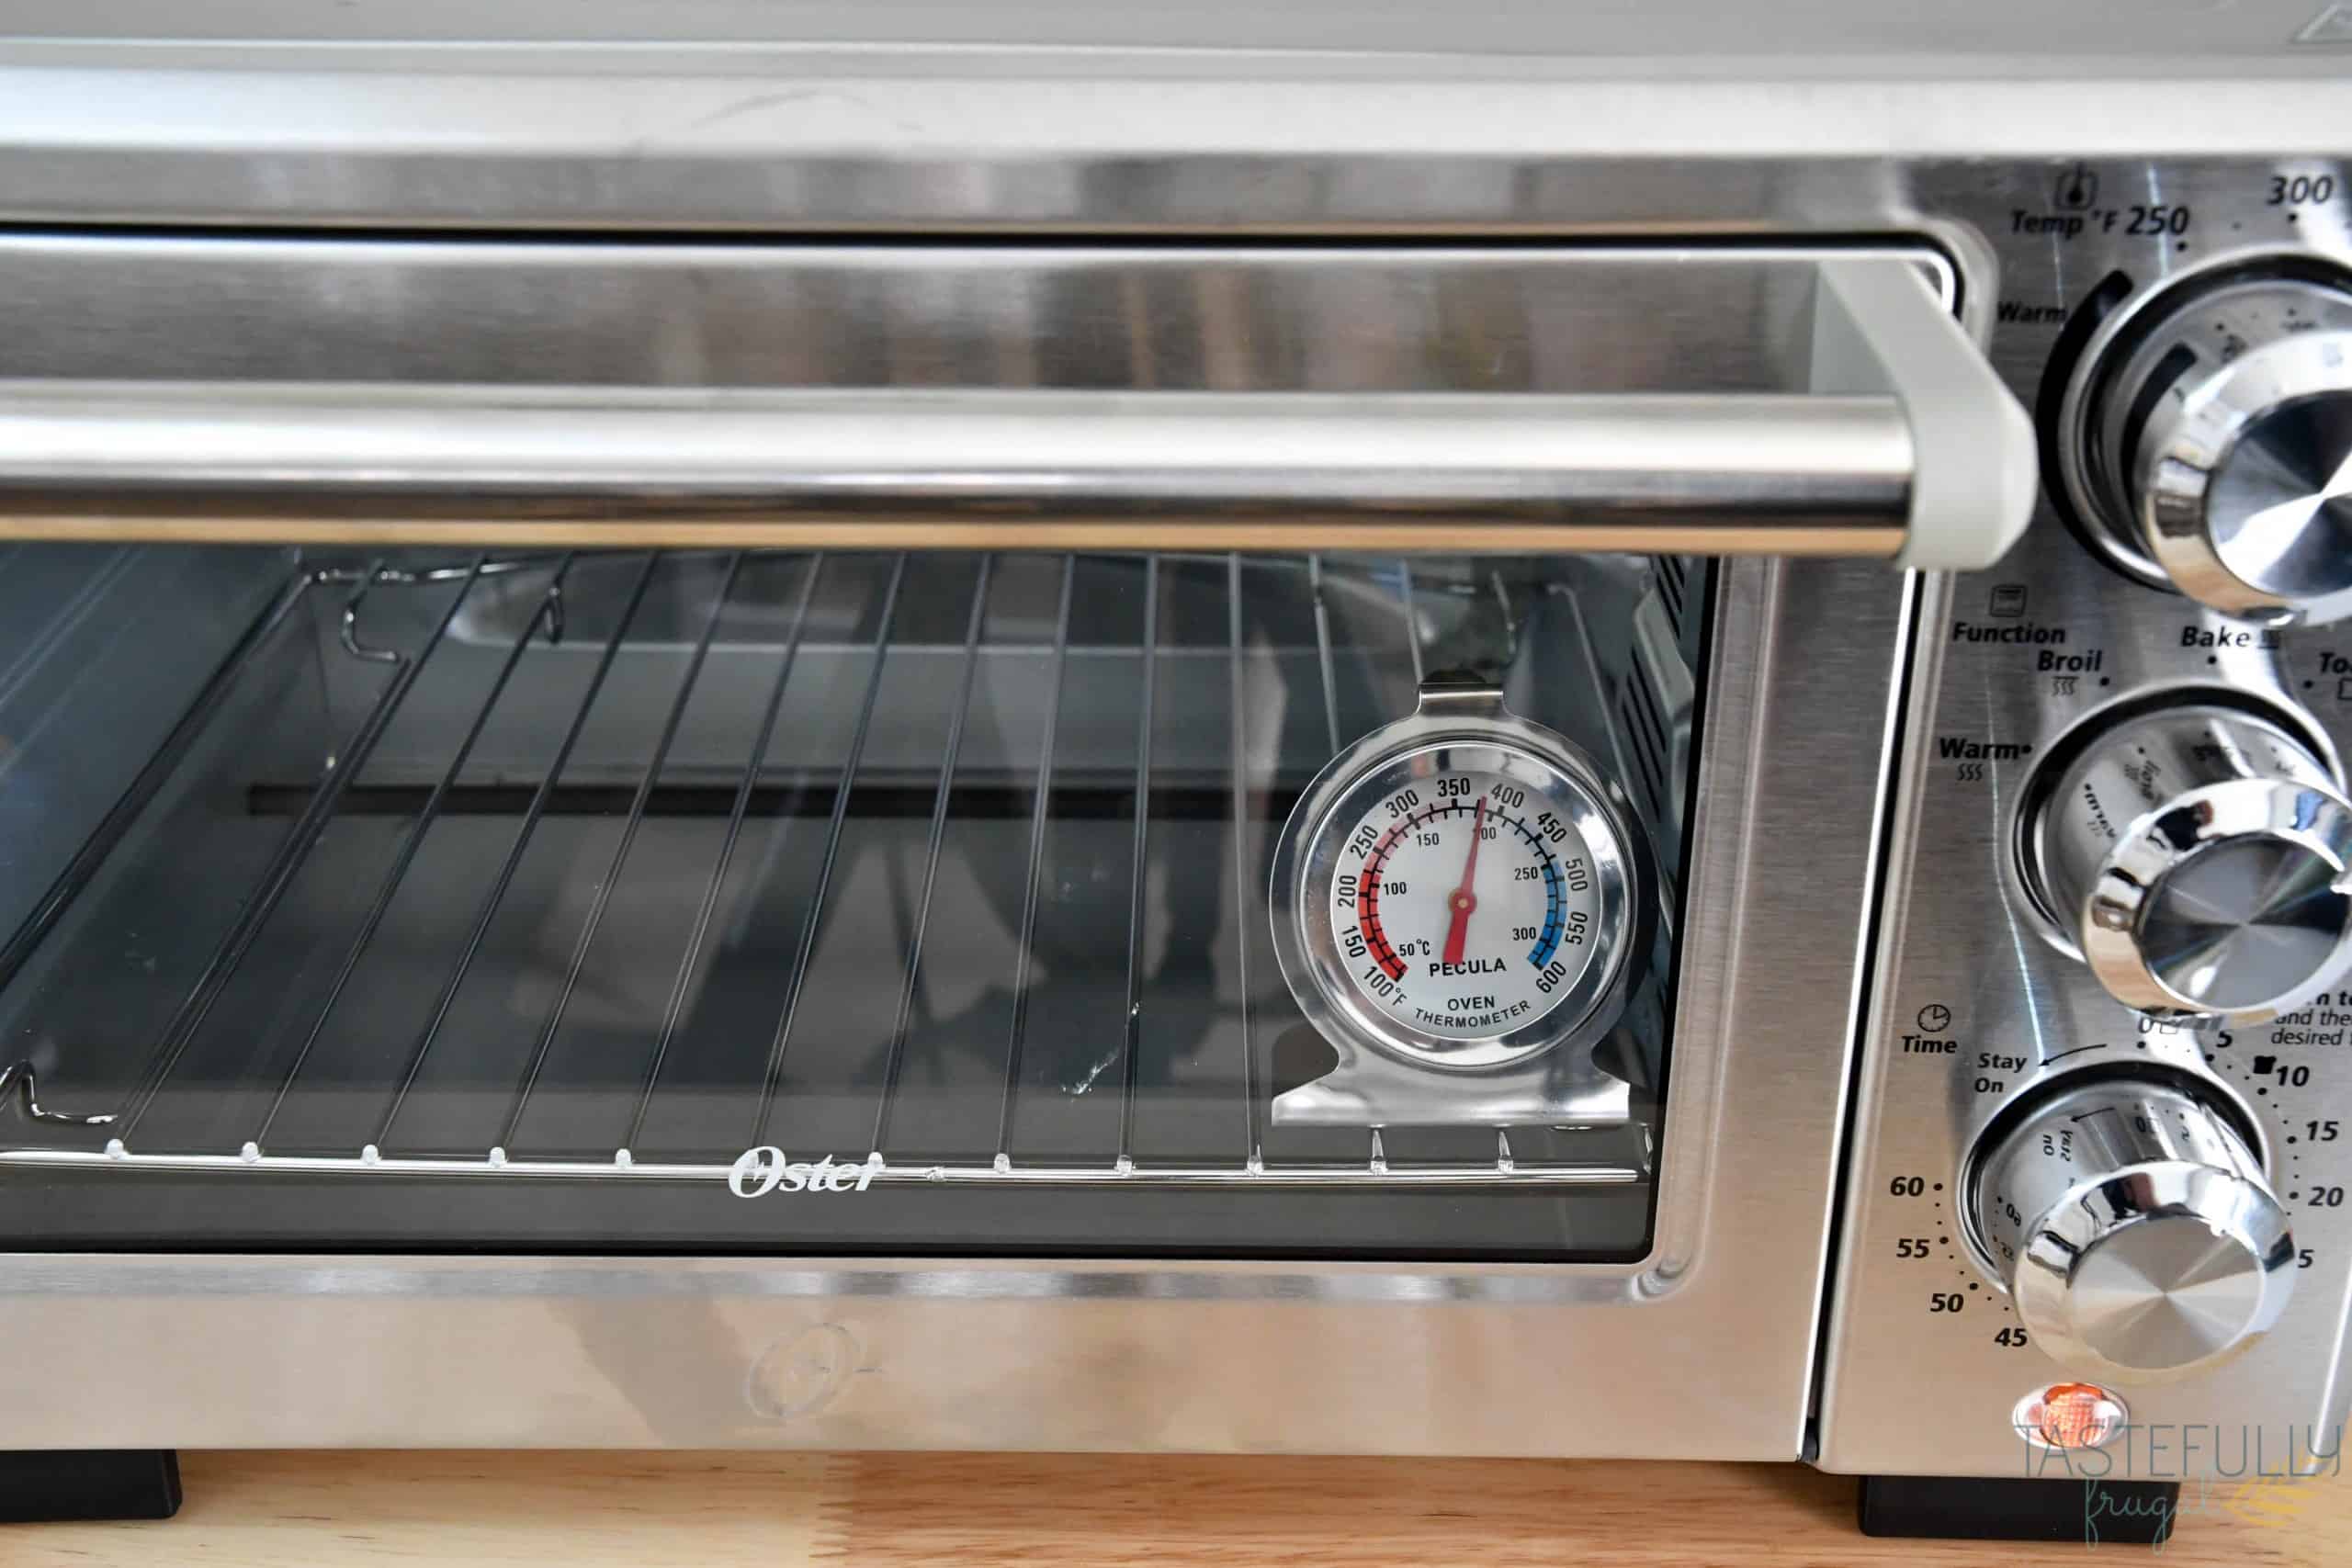
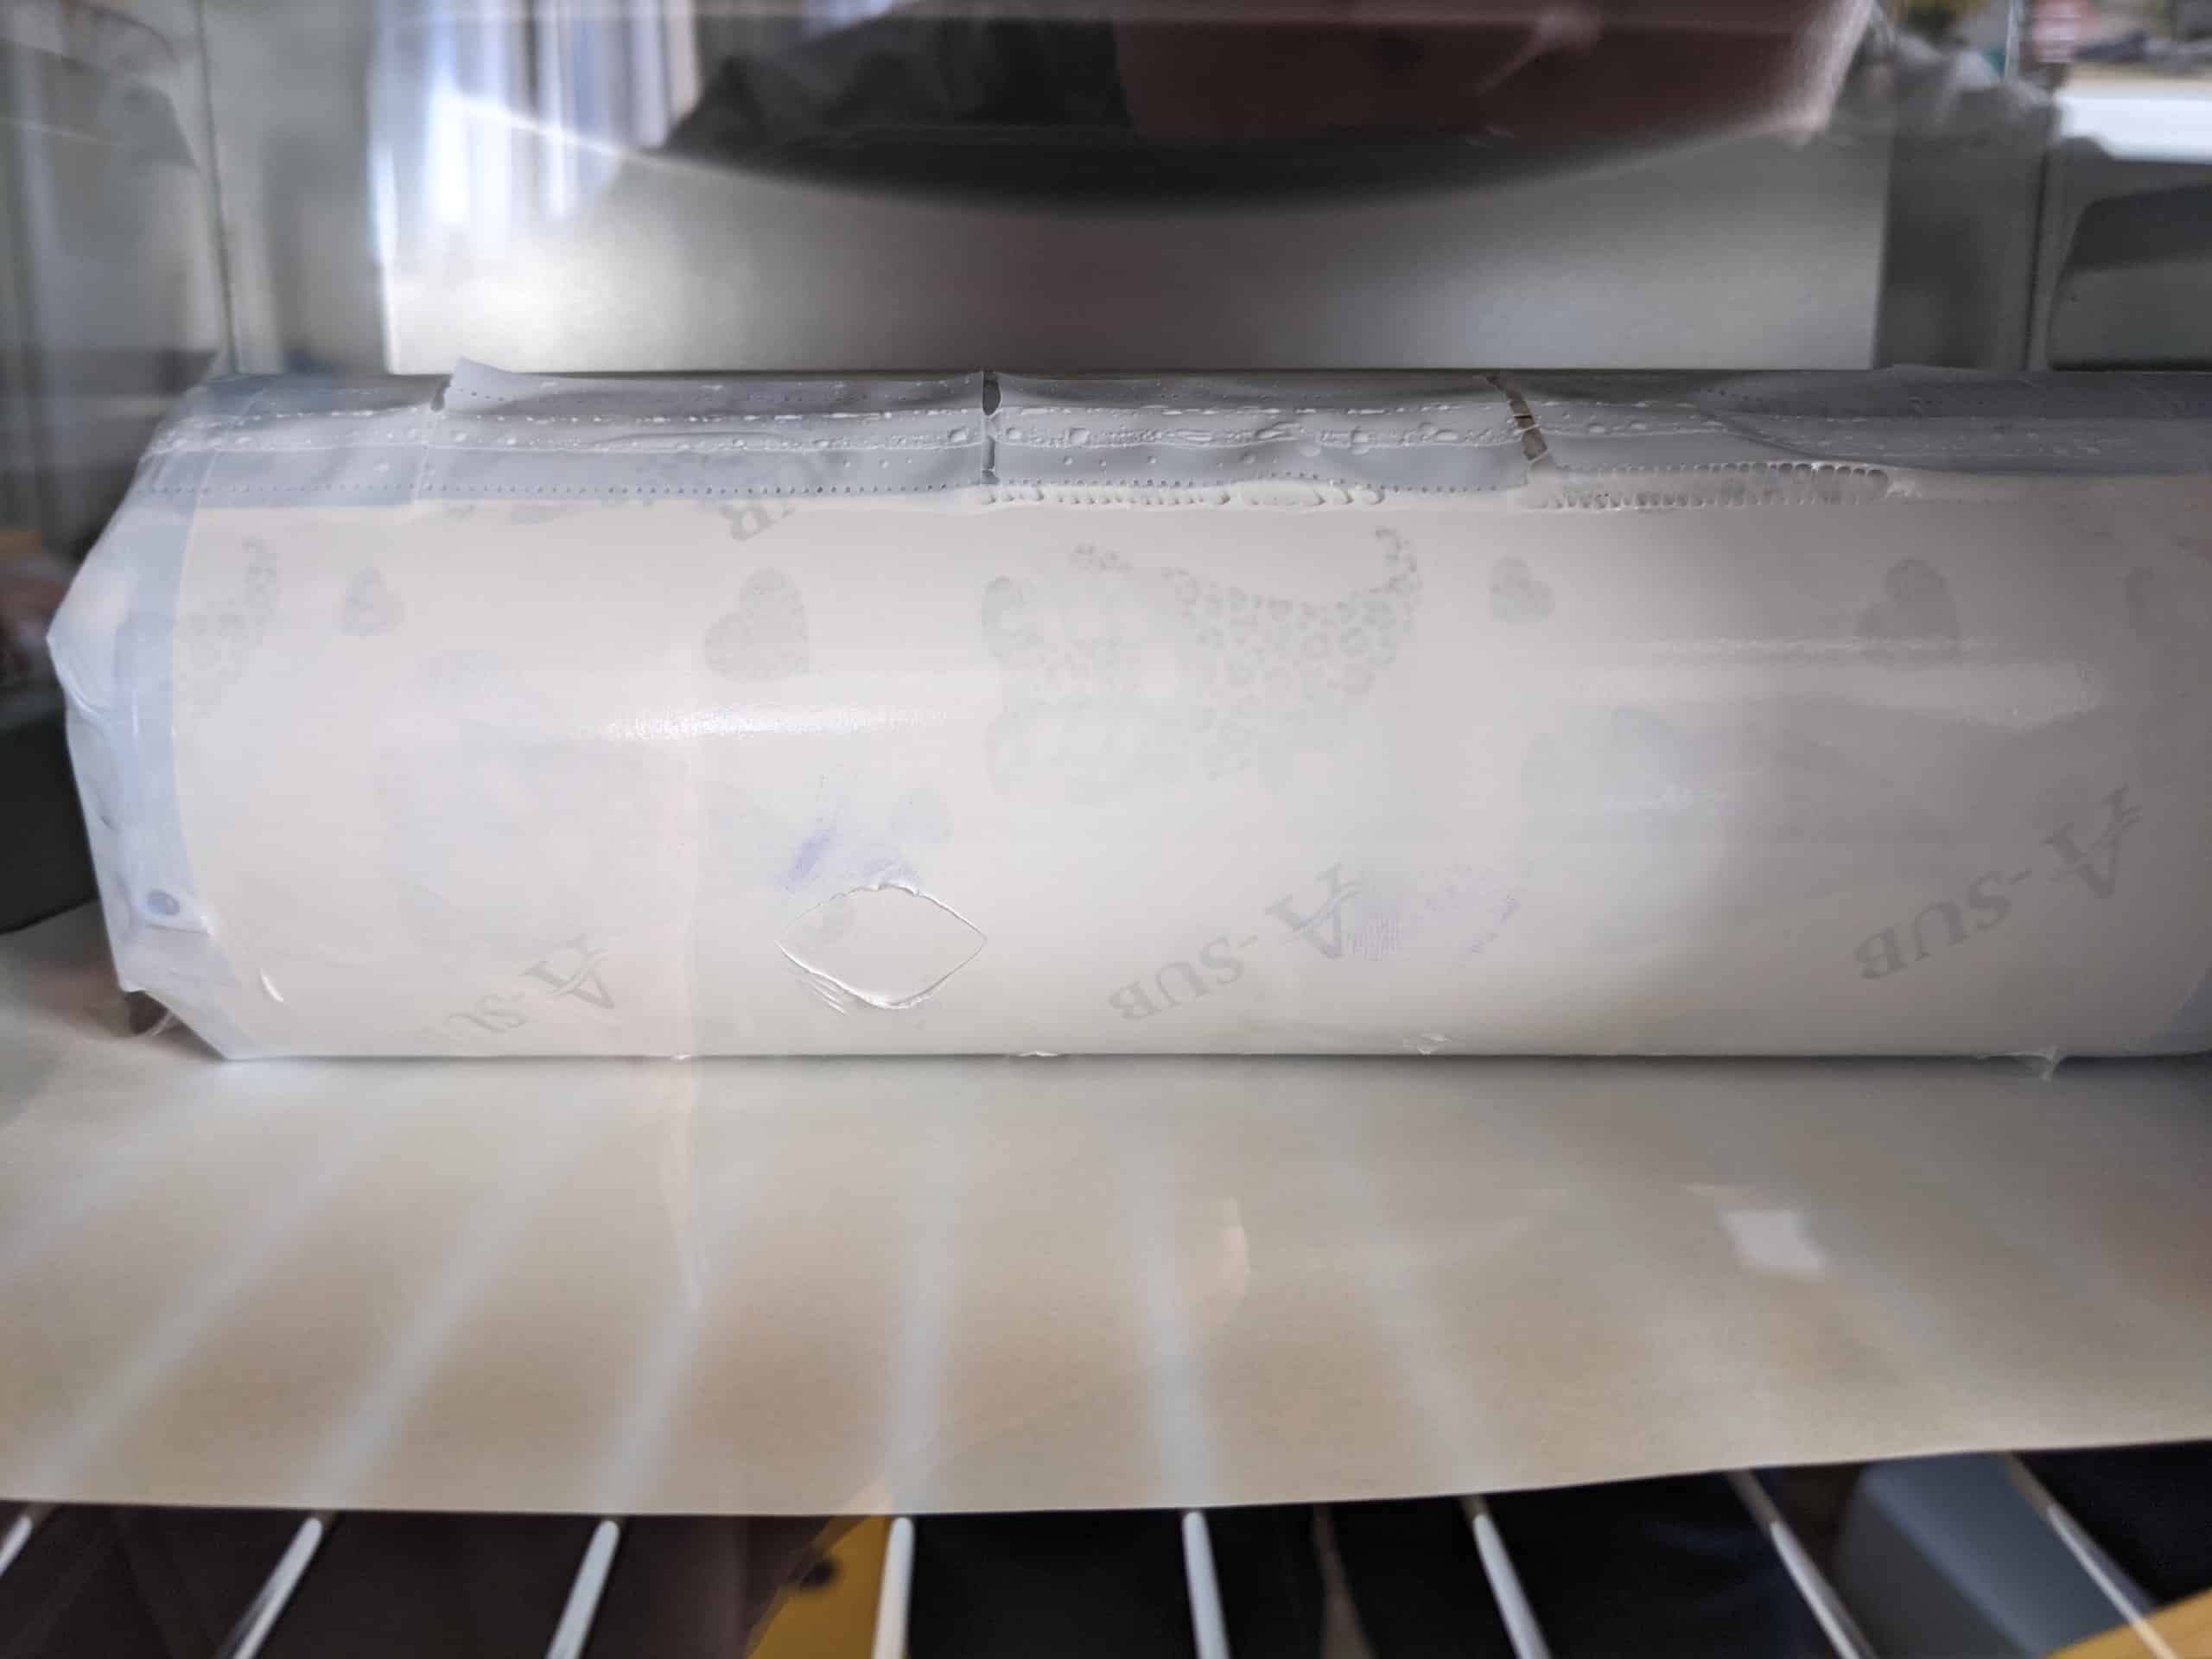
Once your oven is at temperature put a piece of printer paper on the rack. This will prevent the shrink wrap from sticking to the rack. It will brown as it cooks and that is totally fine.
Next, put your tumbler in, laying down on the rack in between the two heat elements on top. Try to get the tumbler as centered as you can without taking a lot of time. Leaving the door open for extended periods of time will drop the temperature.
I’ve found that when I close the oven door after getting everything in and the temperature is between 360-375F it is perfect!
Set a timer for 4 minutes. Keep an eye on your tumbler. You’ll start to see the design showing through the paper and the shrink wrap. You want to be able to see the design but not 100% clearly. If you can see every small part of the design it has pressed to long. But I’ve found between 3:50 and 4 minutes is the perfect time to get a solid press without burning.
Put on heat resistant gloves and remove your tumbler from the oven when it’s done and place on a heat mat. You can use a pot holder or EasyPress mat. Let it cool for a few minutes before you try to remove the shrink wrap and paper.
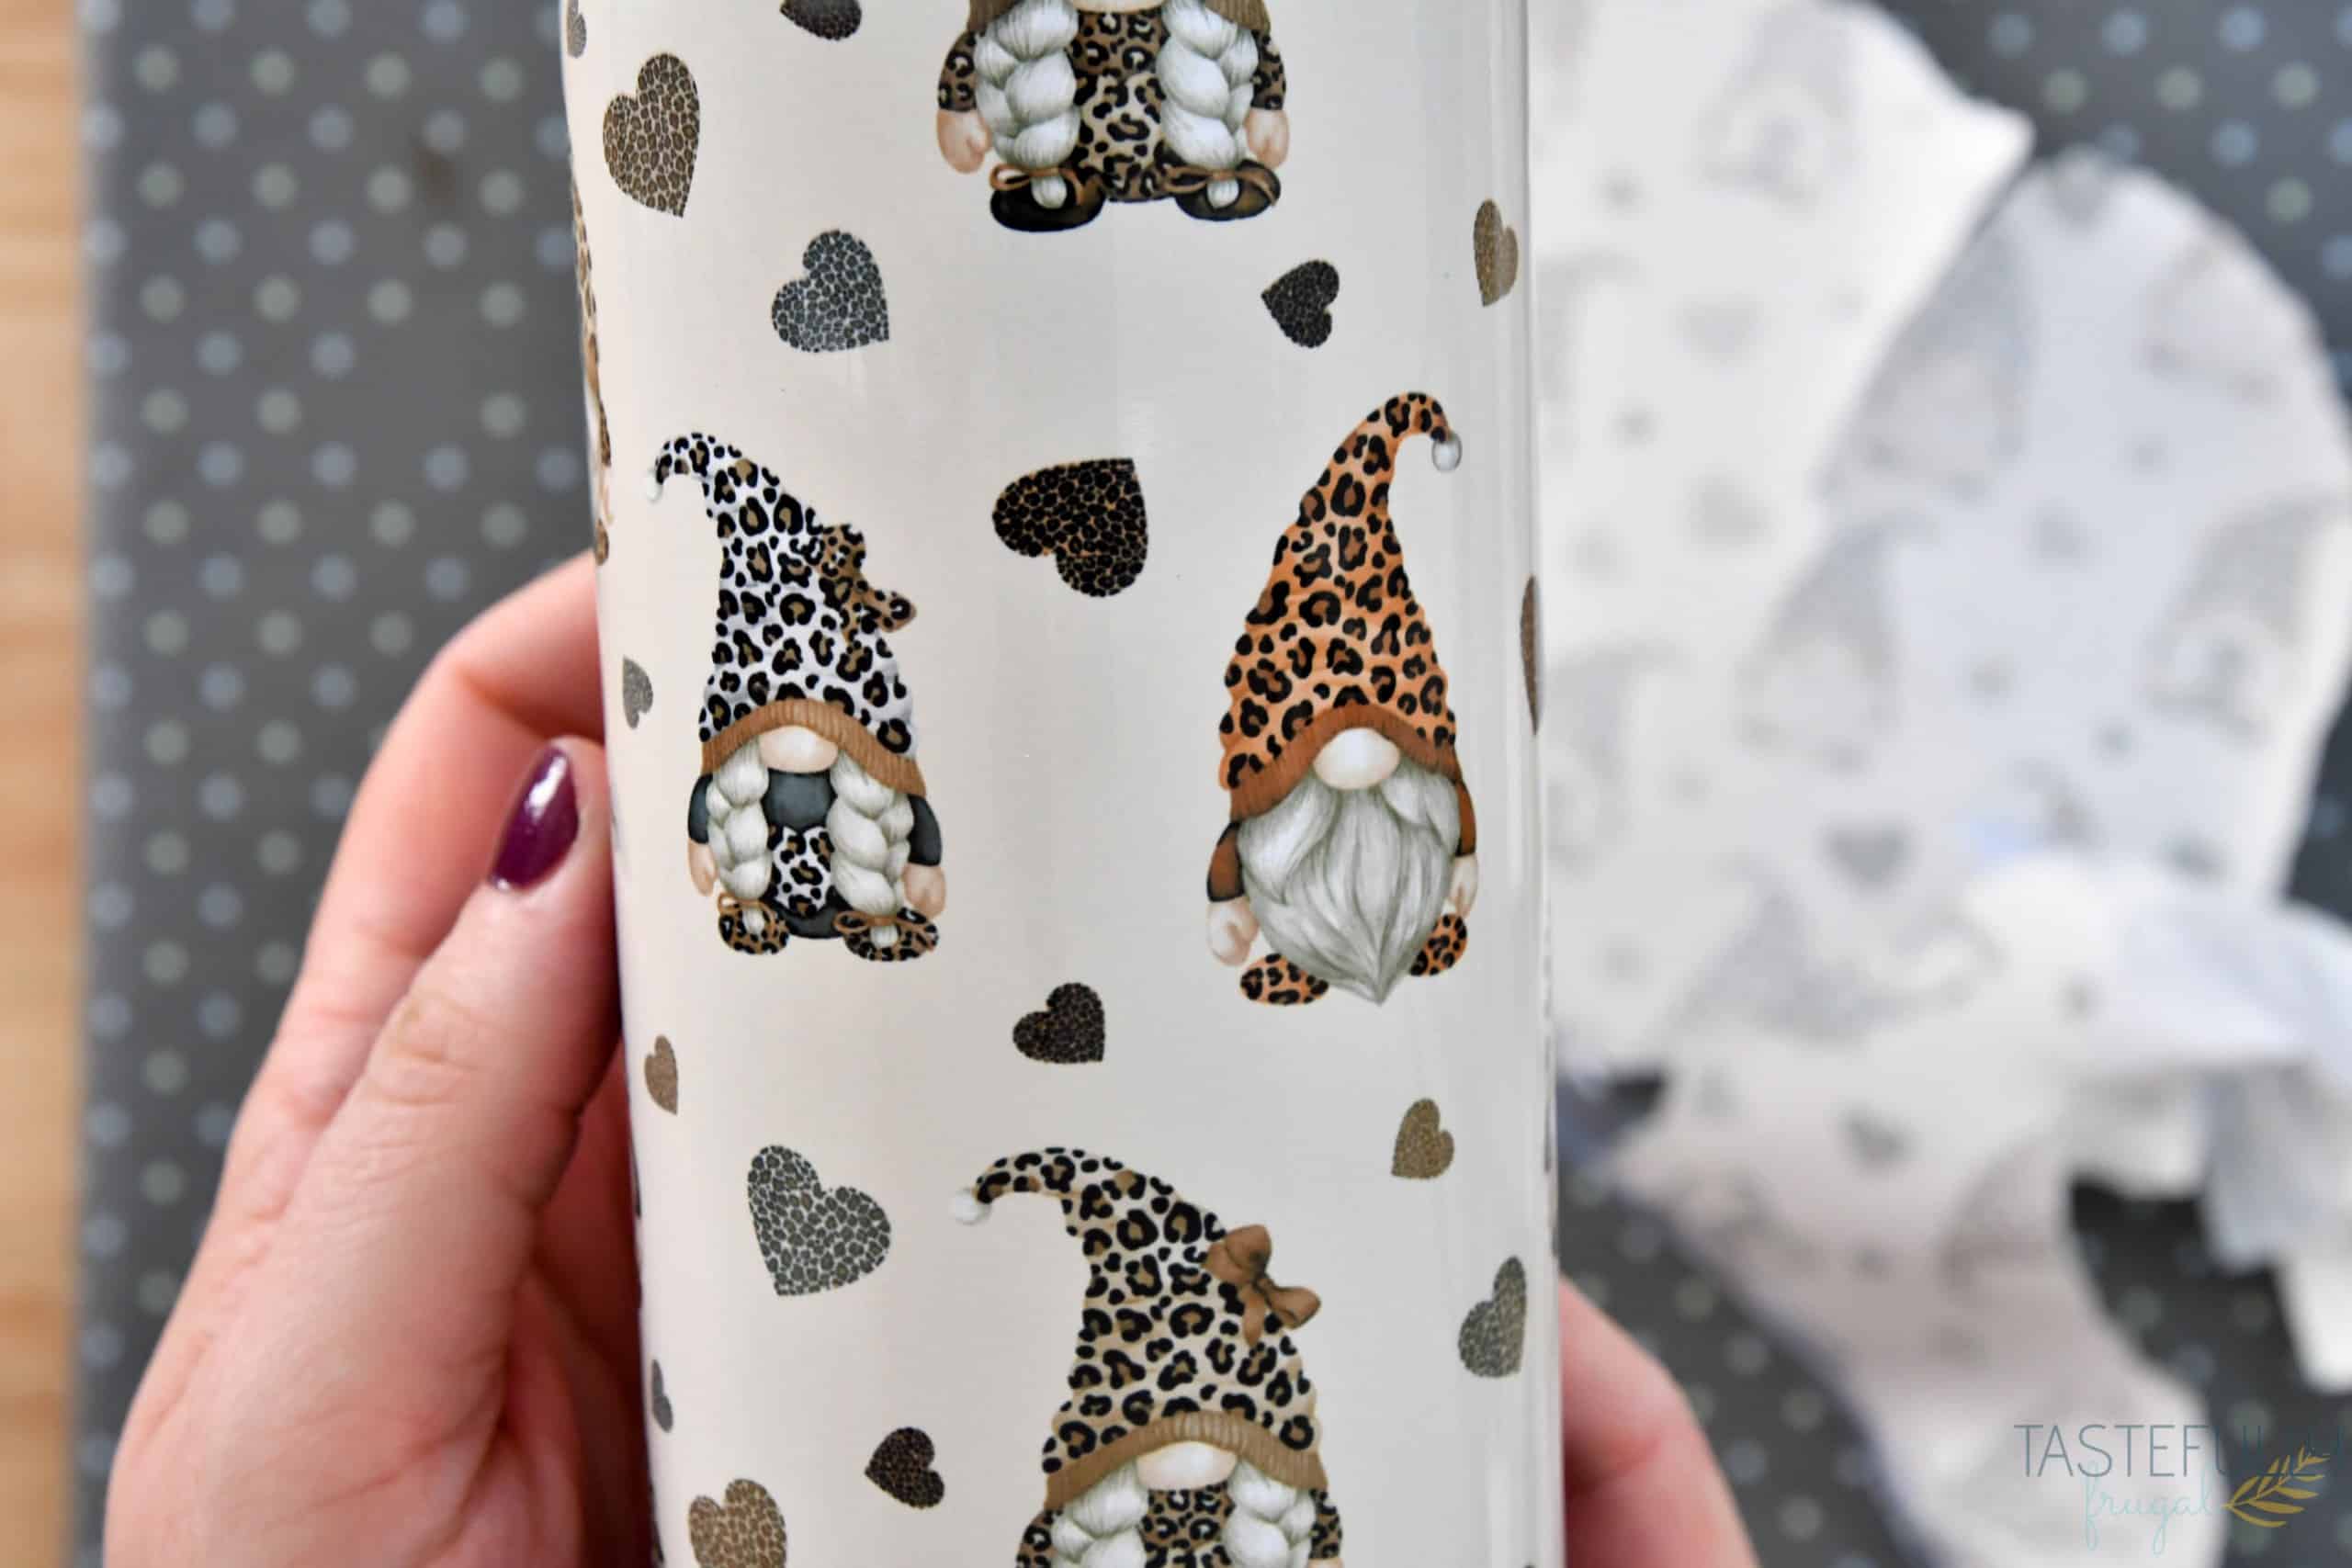
Once your tumbler has cooled down, peel away shrink wrap and paper. NOTE – do not use scissors to cut away paper or wrap, it may scrape your tumbler.
What If My Tumbler Didn’t Turn Out Great
Remember how I said I’ve made 20+ tumblers? Not all of them turned out perfect. Here are some of the problems I had and what caused them.
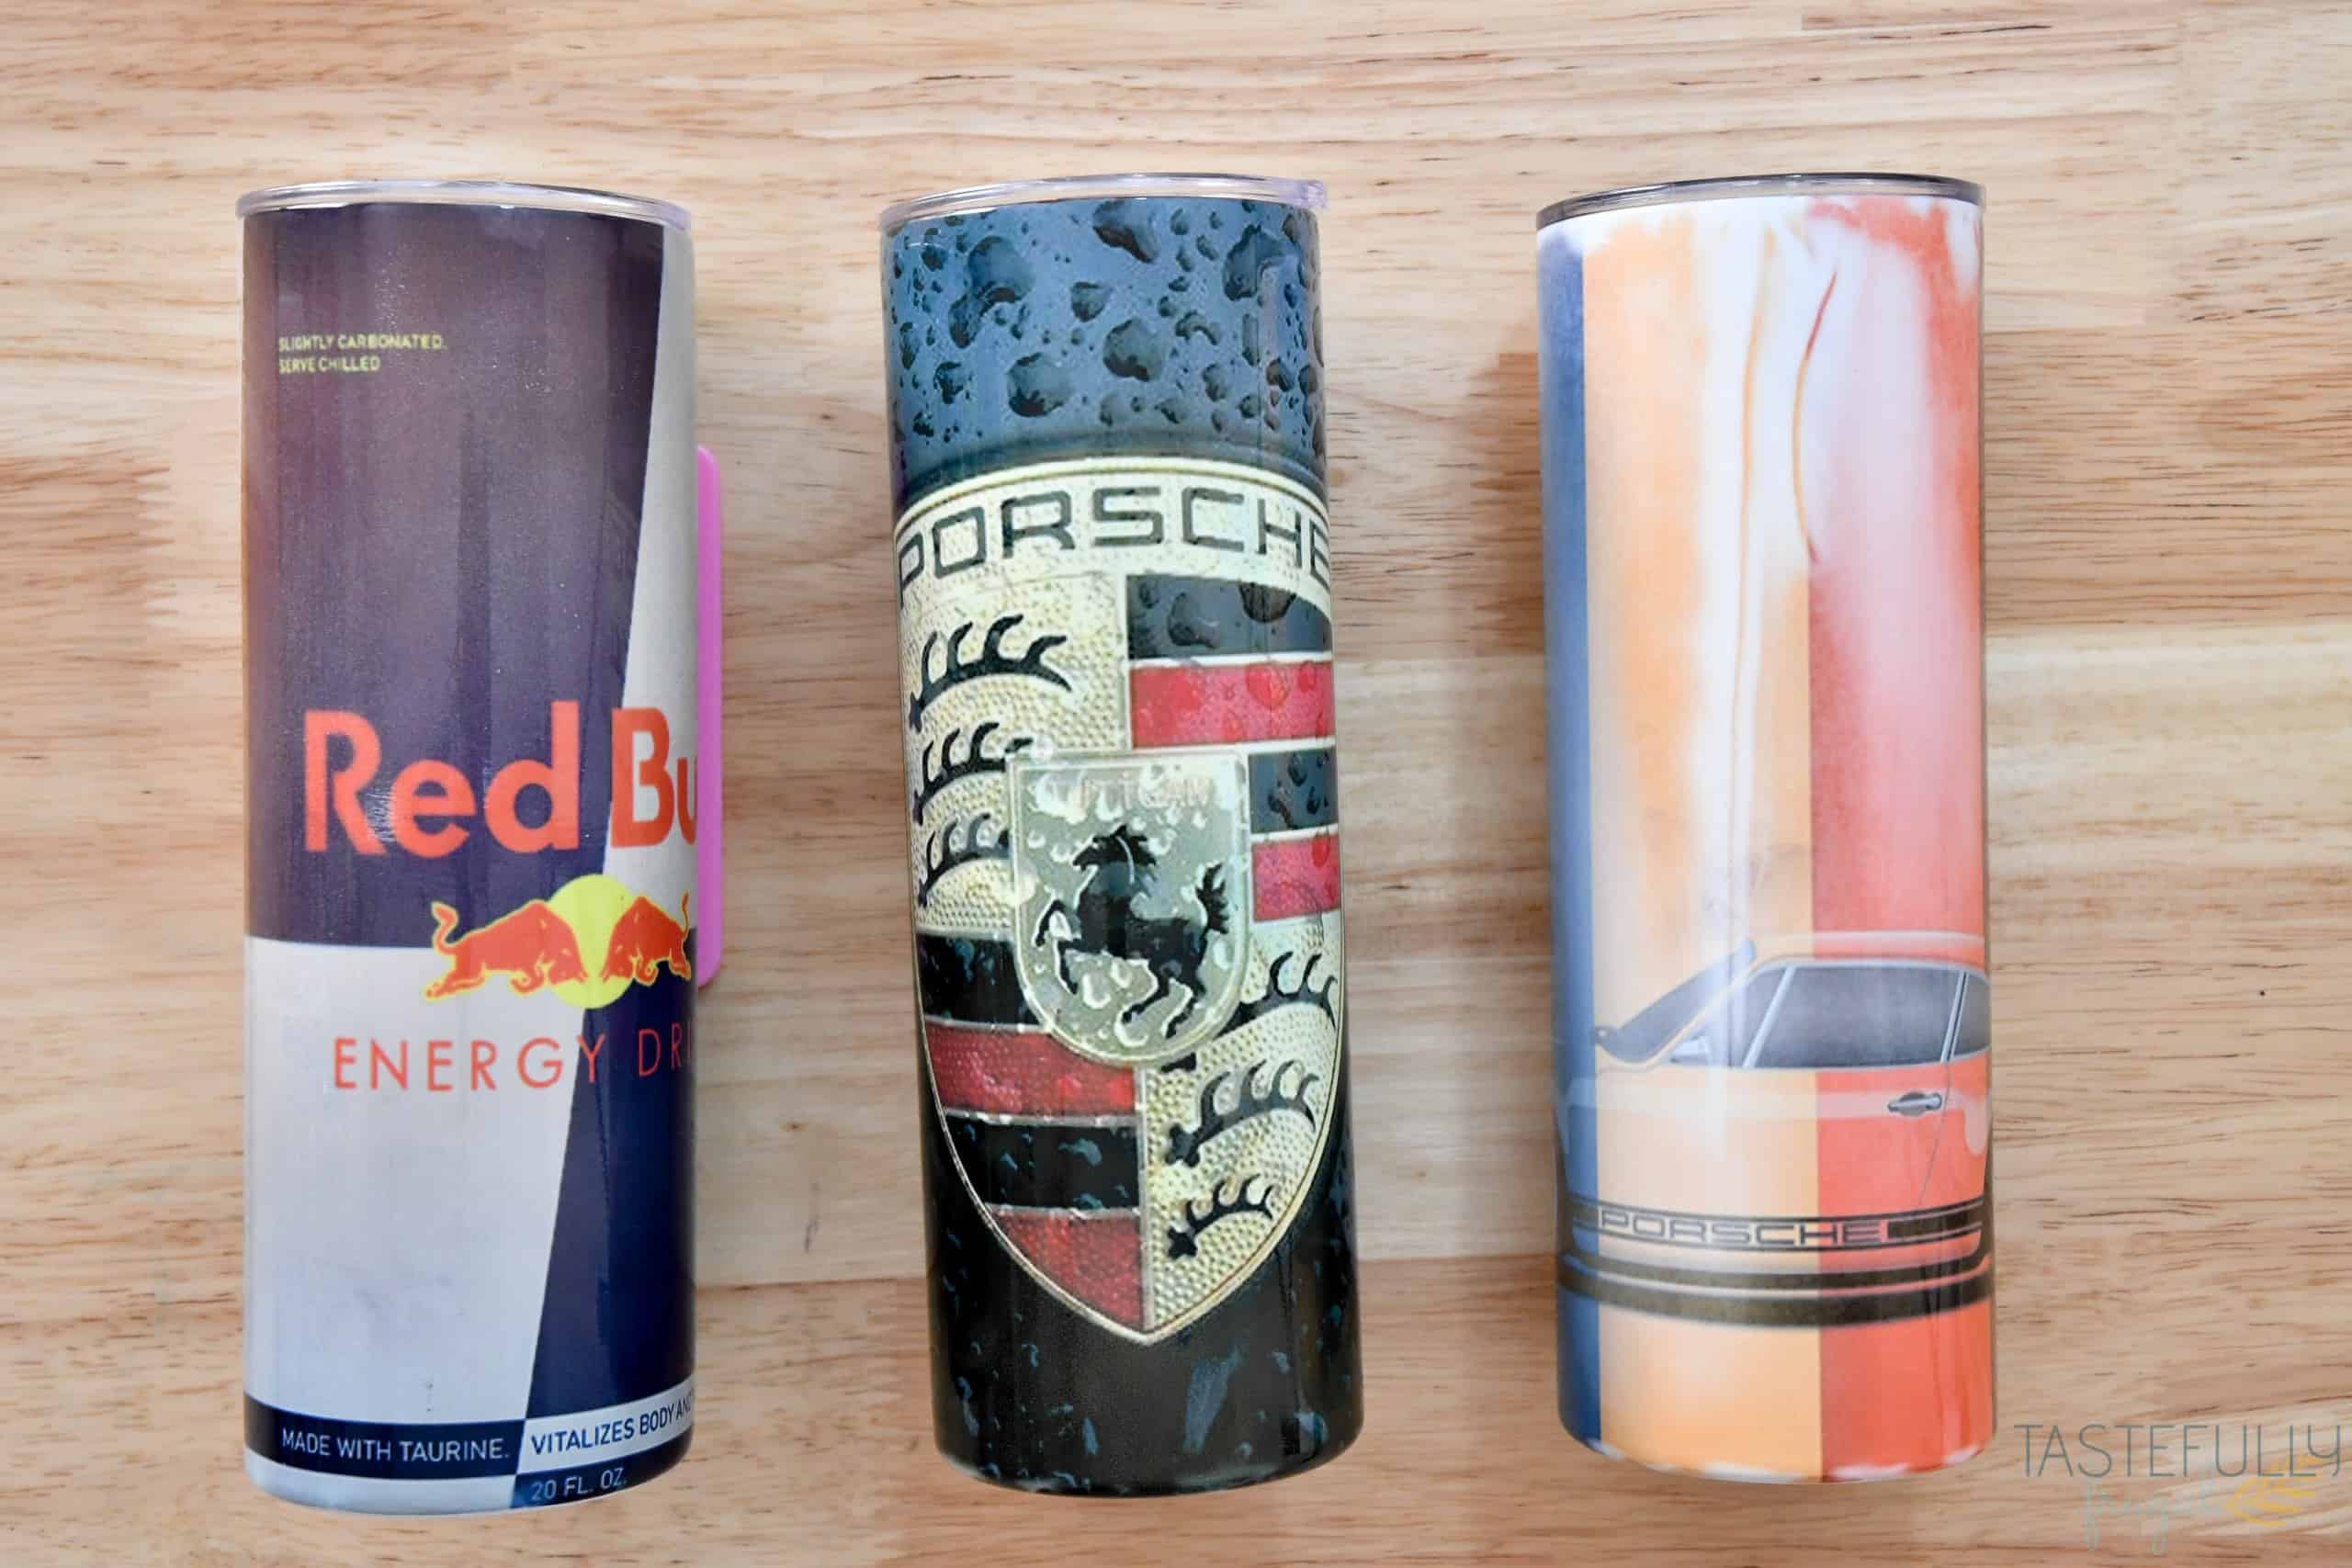
Browning or Vintage Looking Color (Red Bull Tumbler) – This means your tumbler got too hot for too long. Adjust your temperature and time settings to the ones above. If you are using the 375F temperature and still getting burnt looks, try changing your time to 3:30. Keep a close eye on your tumbler and once you can see the design come through dark on your tumbler, take it out of the oven.
Faded Design (Black Porsche Tumbler) – This means you the temperature was either too low or you didn’t press for long enough. Having an oven thermometer in your oven helps you really keep an eye on that temperature. Make sure you don’t have the door open too long when you are putting your tumbler in because it can drop the temperature. If you’re timer goes off at 4 minutes and you still can’t see the design through the shrink wrap, let it press for 30 seconds longer and you should be good.
Fading in Spots (Rainbow Porsche Tumbler) – This means either your paper wasn’t taped on tight enough or your shrink wrap wasn’t tightened enough on your tumbler. Make sure you put tape along the full seam and all the way around the top and bottom of your tumbler. Also, make sure all wrinkles, except for around the taped edges, in your shrink wrap are gone.
I hope you found this post helpful and it gives you the confidence you need to start making sublimation tumblers. They sure are fun to make! If you have any questions, drop them in the comments below and I’ll try to respond as soon as I can.
To check out more sublimation tutorials and craft projects, be sure to subscribe to my YouTube channel. If you want to see the day to day life behind the scenes, and lots of project inspiration, give me a follow on Instagram or Facebook.
The post How To Make Sublimation Tumblers in Convection Oven appeared first on Tastefully Frugal.