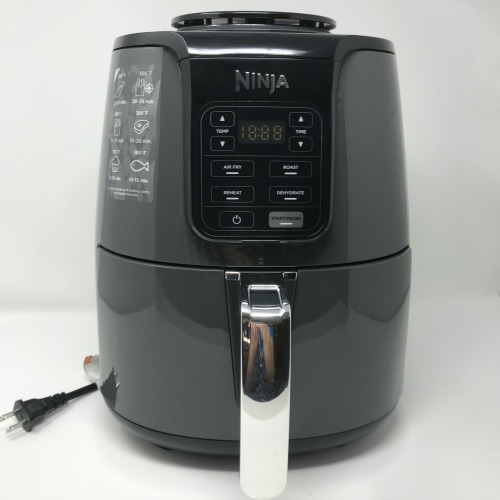
I have seen so many air fryer recipes on the internet that I decided I needed to know if this appliance was worth getting or not. Do I really want another kitchen appliance sitting on the counter? Remember, I have a very small home and I don’t have a lot of counter space. Plus, most of the air fryers looked too tall to sit on the counter and not touch my upper cabinets.
I decided to ask my Food Storage Mom’s Facebook followers if they had one and if they felt it was worth buying. I had read that an air fryer is basically a convection oven in a very small appliance. Several commented they hadn’t taken it out of the box yet. That reminded me of the unopened Sun Oven box so many of my readers talked about.
I’m sure you know of people who realize they need an emergency cooking device, but then never take it out of the box. Are they afraid of it? Are the instructions too much to deal with when you do get it out of the box? Who knows, it could be all of the above.
Anyway, I took the plunge and purchased an Air Fryer. I didn’t buy the most expensive one, but I didn’t buy the cheapest one either. I thought to myself, I will buy one that’s a brand I recognize. So, I settled on the one I’d seen advertised, the Ninja Air Fryer. Ninja Air Fryer
Air fryers come in all sizes and different wattages. I chose a Ninja because I know the brand name. I have never heard of the other companies, so I’m sticking with the one I know. Ninja Air Fryer
This particular unit I purchased has 1550 watts. There are others that you may want to consider, depending on your budget. Please note, I’m not recommending these, I’m just showing you the wattage of some other air fryers:
Instant Vortex Plus Air Fryer Oven
Just so you know, my gas stove/oven combination in my home has a convection oven. Yes, I asked myself, do I really need another kitchen appliance? But, I have also had requests from my readers for recipes, so here they are. I’m actually really excited to share these with you today.
On Facebook, a few mothers said they liked their air fryers because their kids could reheat leftovers, frozen food, and a few other things. Every mother needs a little break, I totally get that. One mother said she liked the fact that it didn’t heat up her kitchen.
This brought back memories of those toaster ovens Mark and I had when we were first married. Also, here in Southern
This is what I’ve learned about the difference between an air fryer and a convection oven. The air fryer doesn’t directly
Air fryers have smaller chambers and higher speed circulation than a convection oven. Therefore, the food cooks faster in an air fryer compared to conventional convection ovens when baking or frying food.
Air Fryer Recipes: Step-by-Step Instructions
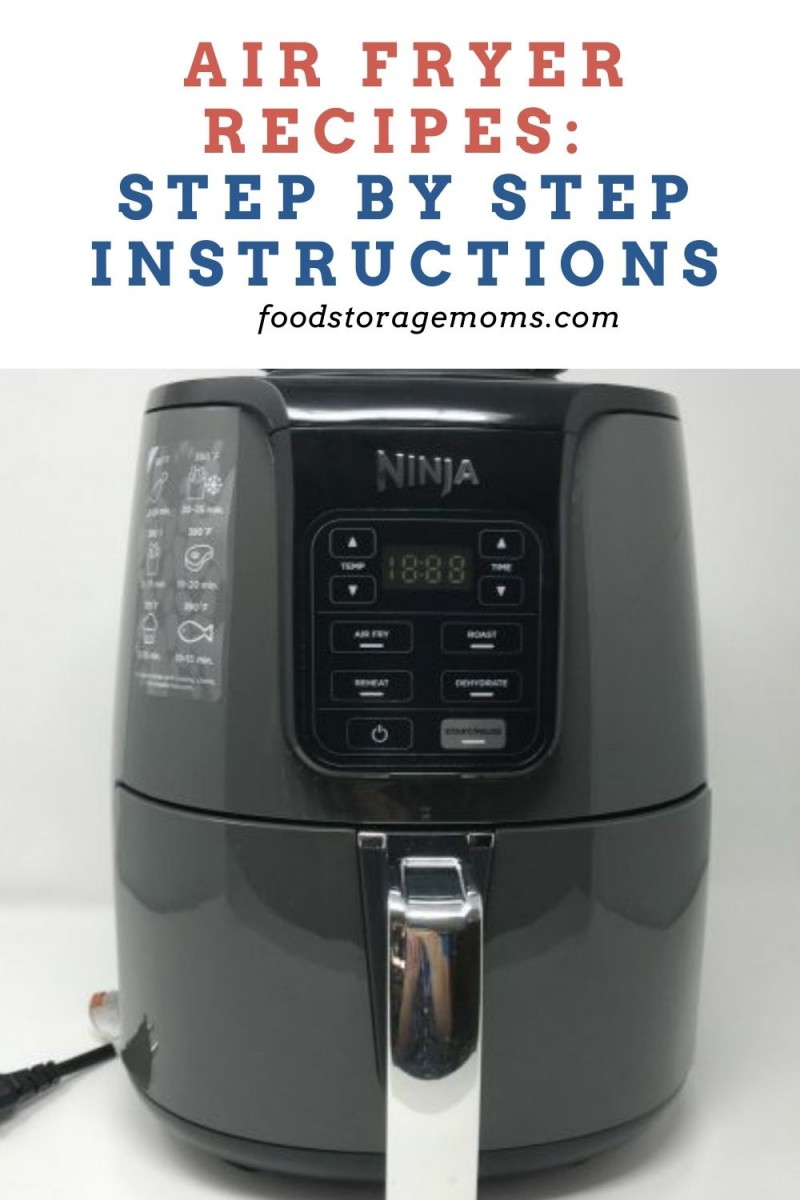
Air Fryer Instructions
I do better with pictures so let’s get started with how to use an Air Fryer before we get to the recipes. This is the one I bought below.

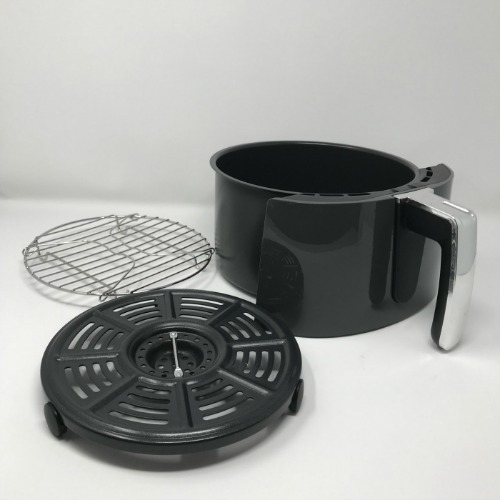
The first thing you do is take it out of the box and remove the packing and cardboard within the basket. You wash the ceramic-coated basket, the multi-rack (included in my model), and the ceramic-coated crisper plate with warm water and pat dry. Never clean the main unit in the dishwasher. You can see those items below.
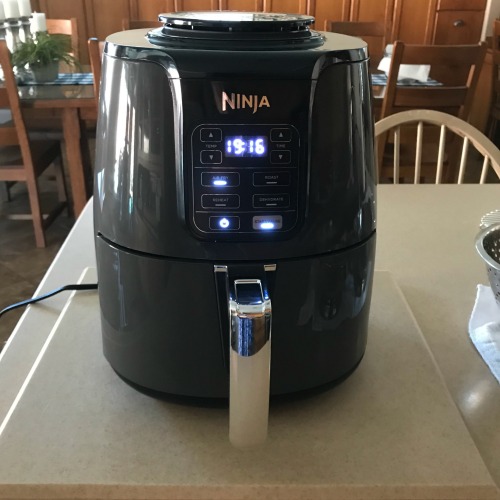
To convert conventional recipes to work in an air fryer, reduce the temperature by 25 degrees. Please place the air fryer on a heat-safe surface like the one shown below because it gets very hot. Have something ready to place the basket on when you pull it out after cooking to protect your countertop.
When you’re ready to try your first recipe, preheat the air fryer for three minutes. When you preheat it, you push the air fryer button and push 3 for three minutes on the right-hand side and then the start button.
I started with asparagus cut into 2-inch pieces. You can use a bag or a bowl to coat the asparagus with olive oil before placing them in the basket. Once you preheat the air dryer for 3 minutes, it’s ready to toss the asparagus into the basket.
It’s hot and it will sizzle, so be ready, it’s awesome! Push the basket into the air fryer and push the air fryer button or roast button and cook for 8 -10 minutes, depending on your brand, at 390 degrees.
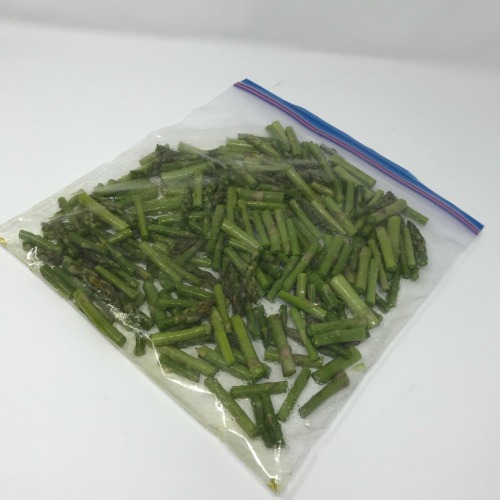
I placed the 2-inch pieces of asparagus in the basket and pushed them into the air fryer. I set it to 390 degrees (your brand may vary) and cooked it for 10 minutes. Next time, I’ll only do 8 minutes.
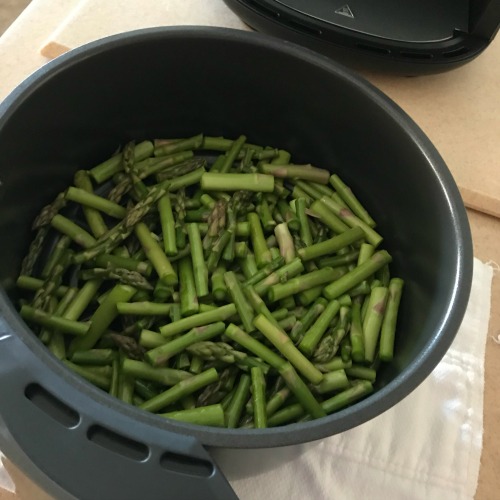
Here is the finished product cooking them for 10 minutes. Oh my gosh, this is awesome! It’ll take a little getting used to because it cooks so fast. I mean really fast. What I love is that it’s a little crispy like when you bake them in the oven, but in half the time or less.
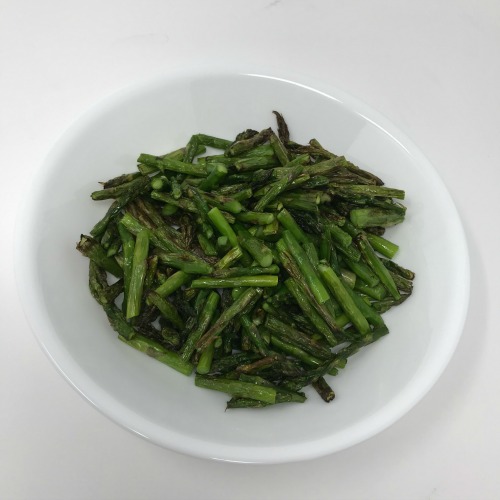
So let’s get started with the air fryer recipes now that you know how to use this awesome kitchen appliance.
Air Fryer Tips:
Place your air fryer on a heat-resistant countertop piece.
Preheat for 3 minutes, or whatever your air fryer instruction manual states.
Place the food items evenly and one layer deep.
The book with the Ninja Air Fryer suggests at least one tablespoon of oil on the items to be cooked when cooking vegetables and potatoes. More oil if you want the food crispier.
When cooking smaller amounts of food, cook for less time than suggested.
When cooking larger amounts of food, cook for more time than suggested.
Use some silicone tongs to rotate food in the air fryer basket to protect the basket. Check often.
Halfway through cooking, shake the food after stopping the air fryer, then restart.
To convert the recipes you use for conventional ovens, reduce the air fryer temperature by 25 degrees.
When making french fries, soak the cut potatoes in cold water for at least 30 minutes to remove the excess starch before cooking them. Use a paper towel to pat the potatoes until very dry.
Shake the potatoes/fries a couple of times (shutting off /pausing the air fryer) when you air fry them. U
Air Fryer Recipes
I will for sure use my air fryer when making asparagus for dinner.
Asparagus

Asparagus-Air Fryer Recipe by Food Storage Moms
Ingredients
- 1 bunch fresh asparagus
- 1 tablespoon olive oil
- 1 tablespoon water
- salt and pepper to taste
Instructions
- Wash the asparagus, trim it, and cut the spears into 2-inch pieces. Place the cut pieces in a gallon-size sealable bag. Add the olive oil and water in the bag. Seal the bag. Distribute evenly in the bag by coating the asparagus completely. Preheat your Air Fryer according to directions. The Ninja shows 3 minutes. Place the asparagus in the Air Fryer basket. Bake at 390 degrees for 8 minutes.
Cauliflower
This is so close to how it tastes when I bake my cauliflower in the oven, but it takes about 15 minutes to preheat my stove and 3 minutes to preheat this air fryer. It takes 30 minutes to bake in a conventional oven and 10 minutes in this air fryer. This is a
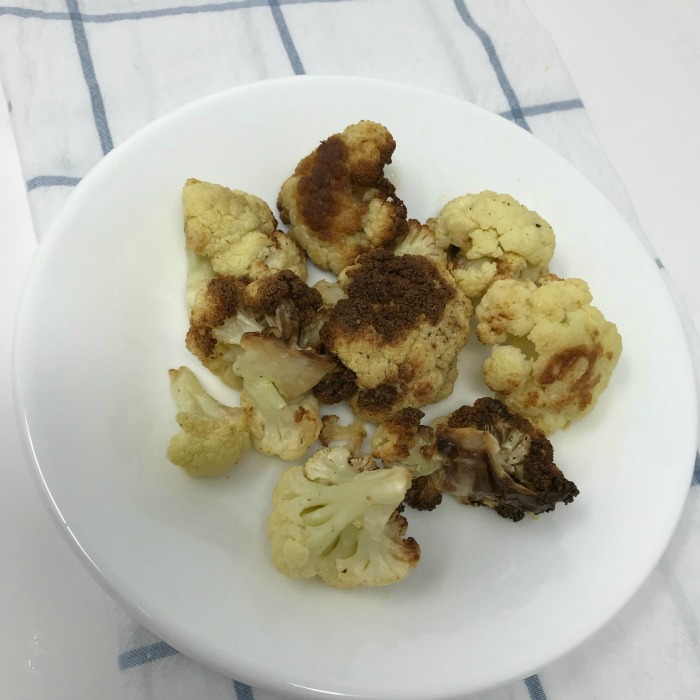
Cauliflower-Air Fryer Recipe by Food Storage Moms
Ingredients
- 1 head fresh cauliflower
- 1 tablespoon olive oil
- 1 tablespoon water
- salt and pepper to taste
Instructions
- Trim the cauliflower, and break or cut into small flower pieces. Place the pieces in a gallon-size sealable bag. Add the oil and water. Seal the bag, cover the cauliflower as evenly as possible with the oil mixture. Preheat the air fryer according to your brand. The Ninja says 3 minutes. After preheating the air fryer, add the cauliflower and bake at 390 degrees for 8-10 minutes.
Crookneck or Yellow Squash
This is a great way for two people to cook only a few crooknecks or yellow squash. Here’s the deal, there is zero oil splattering on your stove. This is awesome! But, I must say, if I was cooking this type of squash for my family, I would use a frying pan and let the grease splatter. It tasted just like it was fried or very close to it, but when you are frying 8 -10 squash, air frying it doesn’t make sense to me since I can cook all of them in the oven at one time. Just giving you the heads up here.
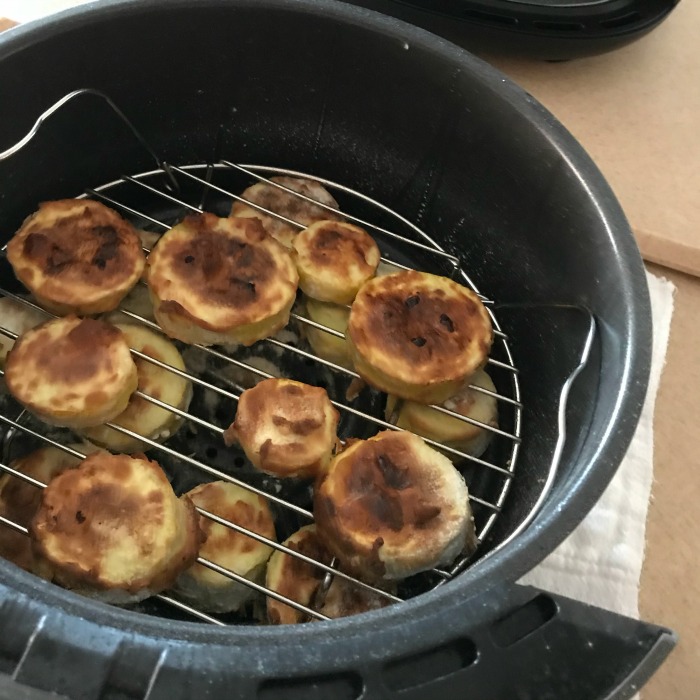
Crookneck or Yellow Squash by Food Storage Moms
Ingredients
- 2 crookneck/yellow squash
- 1 egg
- 1 cup flour
- salt and pepper to taste
- vegetable oil spray
Instructions
- Wash and slice the squash into circular 1/2-inch slices. Discard the ends. Dip the slices into the egg and then the flour. Preheat the air fryer according to your brand. The Ninja says 3 minutes. After preheating your air fryer, place the pieces in the air fryer basket. Lightly coat vegetable spray on the sliced squash. I used a rack inside the air basket so I could cook two layers. Bake at 390 degrees for 15 minutes.
Zucchini
I would definitely fix these again, oh my gosh! When I go out to eat, which is rare, I see deep-fried zucchini spears for about $8.99 on the appetizer menu. The only fat these have is the vegetable spray that I sprayed on them before I started the air fryer. This is a keeper for sure! My homemade ranch dressing is listed below as well.
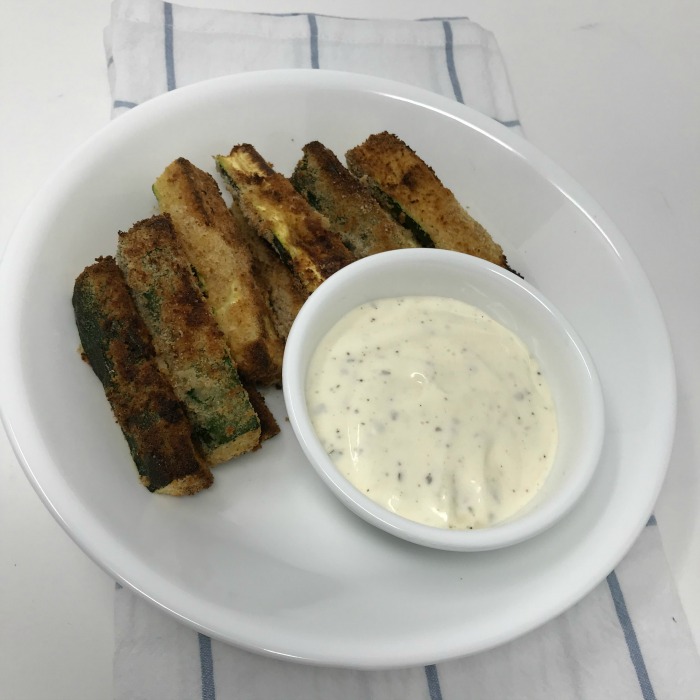
Zucchini-Air Fryer Recipe by Food Storage Moms
Ingredients
- 1 zucchini (about 8-inches long)
- 1/2 cup plain bread crumbs
- 1 egg, beaten
- vegetable spray
Instructions
- Wash the zucchini, discard the ends. Slice the zucchini lengthwise, and cut the zucchini slices in half. Preheat the air fryer according to your brand. The Ninja air fryer says 3 minutes. Coat the strips with egg and then roll the strips/slices in the bread crumbs. Place the strips in the air fryer basket and spray the zucchini pieces with vegetable spray. Bake at 390 degrees for 15 minutes. Serve as an appetizer or vegetable side dish.
Homemade Ranch Dressing
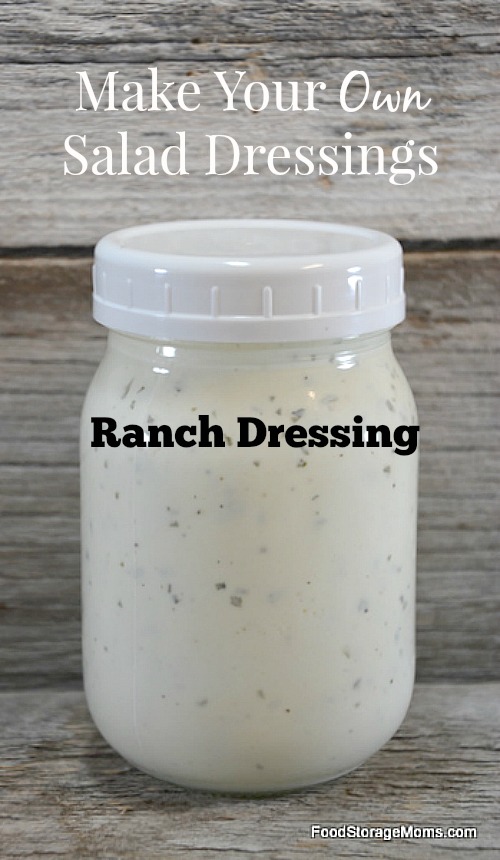
Homemade Ranch Dressing by Food Storage Moms
Ingredients
- 1 cup buttermilk
- 1 cup mayonnaise
- 1 teaspoon parsley
- 1/8 teaspoon dill
- 1/4 teaspoon garlic powder
- 1/4 teaspoon onion powder
- 2 teaspoons dried chives
- 1/8 teaspoon pepper
- 1/4 teaspoon seasoned salt
- 1/8 teaspoon dry mustard
Instructions
- Combine all of the ingredients in a pint mason jar and whisk until smooth. Refrigerate and enjoy! You can use it as a salad dressing or dip for veggies!
Air Fried Chicken
Okay, let’s be honest here, this is not that famous Utah chicken recipe made by a guy that wears white and has a white mustache and beard (think KFC). Nope, not at all. This is not fried, it is cooked in an air fryer. I’ll tell you this, it is so juicy, I’ll cook my chicken this way in the future for sure! The bonus is that it stays HOT for a very long time after you remove it from the Air Fryer. Love it!
It’s perfect for two people or some college students. Not so much for a large family, unless you share three chicken thighs, which in all honesty may be healthier for us. These chicken thighs are huge and plump. I don’t typically buy thighs, but I may now.
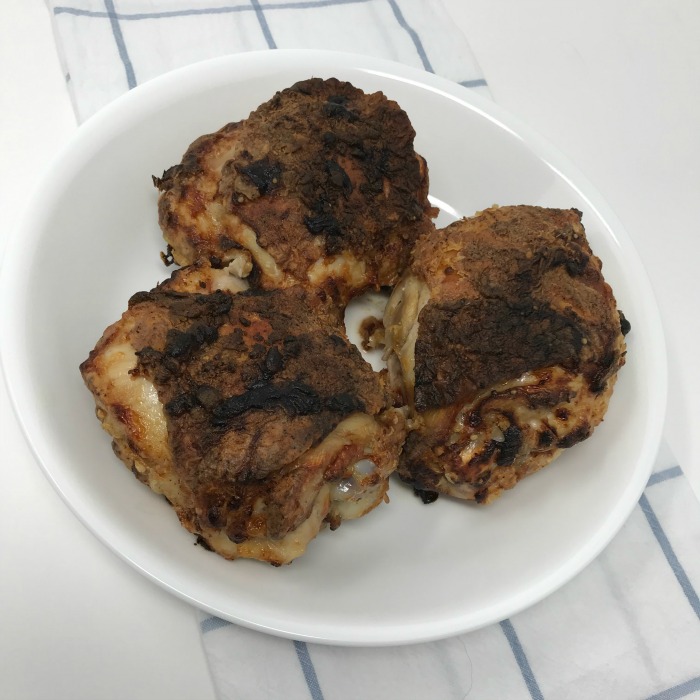
Fried Chicken-Air Fryer Recipe by Food Storage Moms
Ingredients
- 3 chicken thighs
- 1 cup flour
- 1 cup buttermllk
- 2 teaspoons paprika
- salt and pepper
Instructions
- Wash the chicken, and pat dry. Coat the chicken thighs or breasts with buttermilk. Combine the flour, paprika, salt, and pepper in a bowl. Coat the chicken with the flour mixture and place the meat in the air fryer basket. Preheat the air fryer for 3 minutes or according to your brand. The Ninja air fryer says 3 minutes. Bake for 25 minutes at (400°F) = (204°C) degrees or until the chicken is cooked through. If it's not cooked all the way push the basket back in the air fryer and cook it a few more minutes as needed.
Fresh Cut French Fries
These french fries are fabulous! So easy and the best ones ever!

Fresh-Cut French Fries by Food Storage Moms
Ingredients
- 1 pound russet potatoes (sliced thick-1/4-inch)
- 1/2 to 3 tablespoons canola oil
- salt as desired
Instructions
- Wash potatoes, peel, or do not peel. Soak the cut potatoes in cold water for at least 30 minutes. Drain, and pat dry very well. Place the cut potatoes in a gallon-size sealable bag. Add the amount of oil as desired inside. Seal the bag, and coat all the potatoes with your hands outside the bag. Preheat the air fryer for 3 minutes or the time that your brand says. Place the potatoes in the basket and insert them into the air fryer. Select "air fry" and set temp to (390°F) = (198°C) degrees and set the time to 25 minutes. After cooking for 10 minutes, push pause or stop. Use the tongs to move the potatoes around and return the basket back to the air fryer. Cook for another 15-20 minutes and return the basket until crispiness is desired. Serve immediately after cooking. Sprinkle with salt if desired.
Cooking A Steak
I must confess, I was apprehensive about using an air fryer for a steak. This steak was a New York strip and was just under one pound. Because this was my first steak to cook in an air fryer, I cooked it for 20 minutes. It was too long. I like my steaks medium. This steak was well done because I cooked it for 20 minutes and didn’t need to. So, please keep in mind the time you cook your steak.
I still like my steaks cooked on the barbecue, mainly for the flavor, but this was fast and easy.
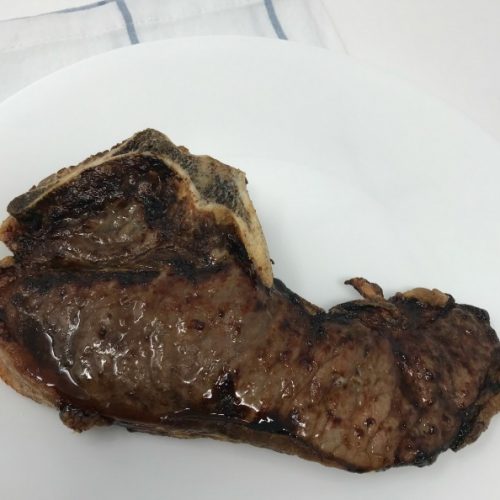
Steak-Air Fryer Recipe by Food Storage Moms
Ingredients
- 1-2 steaks, pat with oil if desired
Instructions
- Preheat the air fryer for 3 minutes or whatever your brand states. The Ninja says 3 minutes. Place the steak (s) on the hot air fryer basket and push the basket into air fryer. Set the temperature to 390 degrees for 10-20 minutes depending on wellness desired.
Final Word
I hope my air fryer recipes help you get started if you decide you want to try an air fryer. It’s also good for reheating leftover meat, pizza, and other foods that get “soggy” in the microwave. My daughters would love one of these, I may get them for Christmas gifts. I was so apprehensive to purchase another kitchen appliance because these are actually fairly tall (about 13″) sitting on a kitchen counter.
I believe that single mothers or college students would love to have one of these to cook small portions. The air-fried chicken that I made was so juicy it was hard not to like this air fryer. It was so moist compared to baking it in the oven. Let me know what your experiences with air fryers have been like and also if you have some recipes you can share.
Thanks for being prepared for the unexpected. May God bless this world. Linda
The post Air Fryer Recipes: Step-by-Step Instructions appeared first on Food Storage Moms.

